WRMK | Christmas Album Gifts with the Mini Cinch

WRMK | Christmas Album Gifts with the Mini Cinch


[Ad] WRMK | Christmas Album Gifts with the Mini Cinch

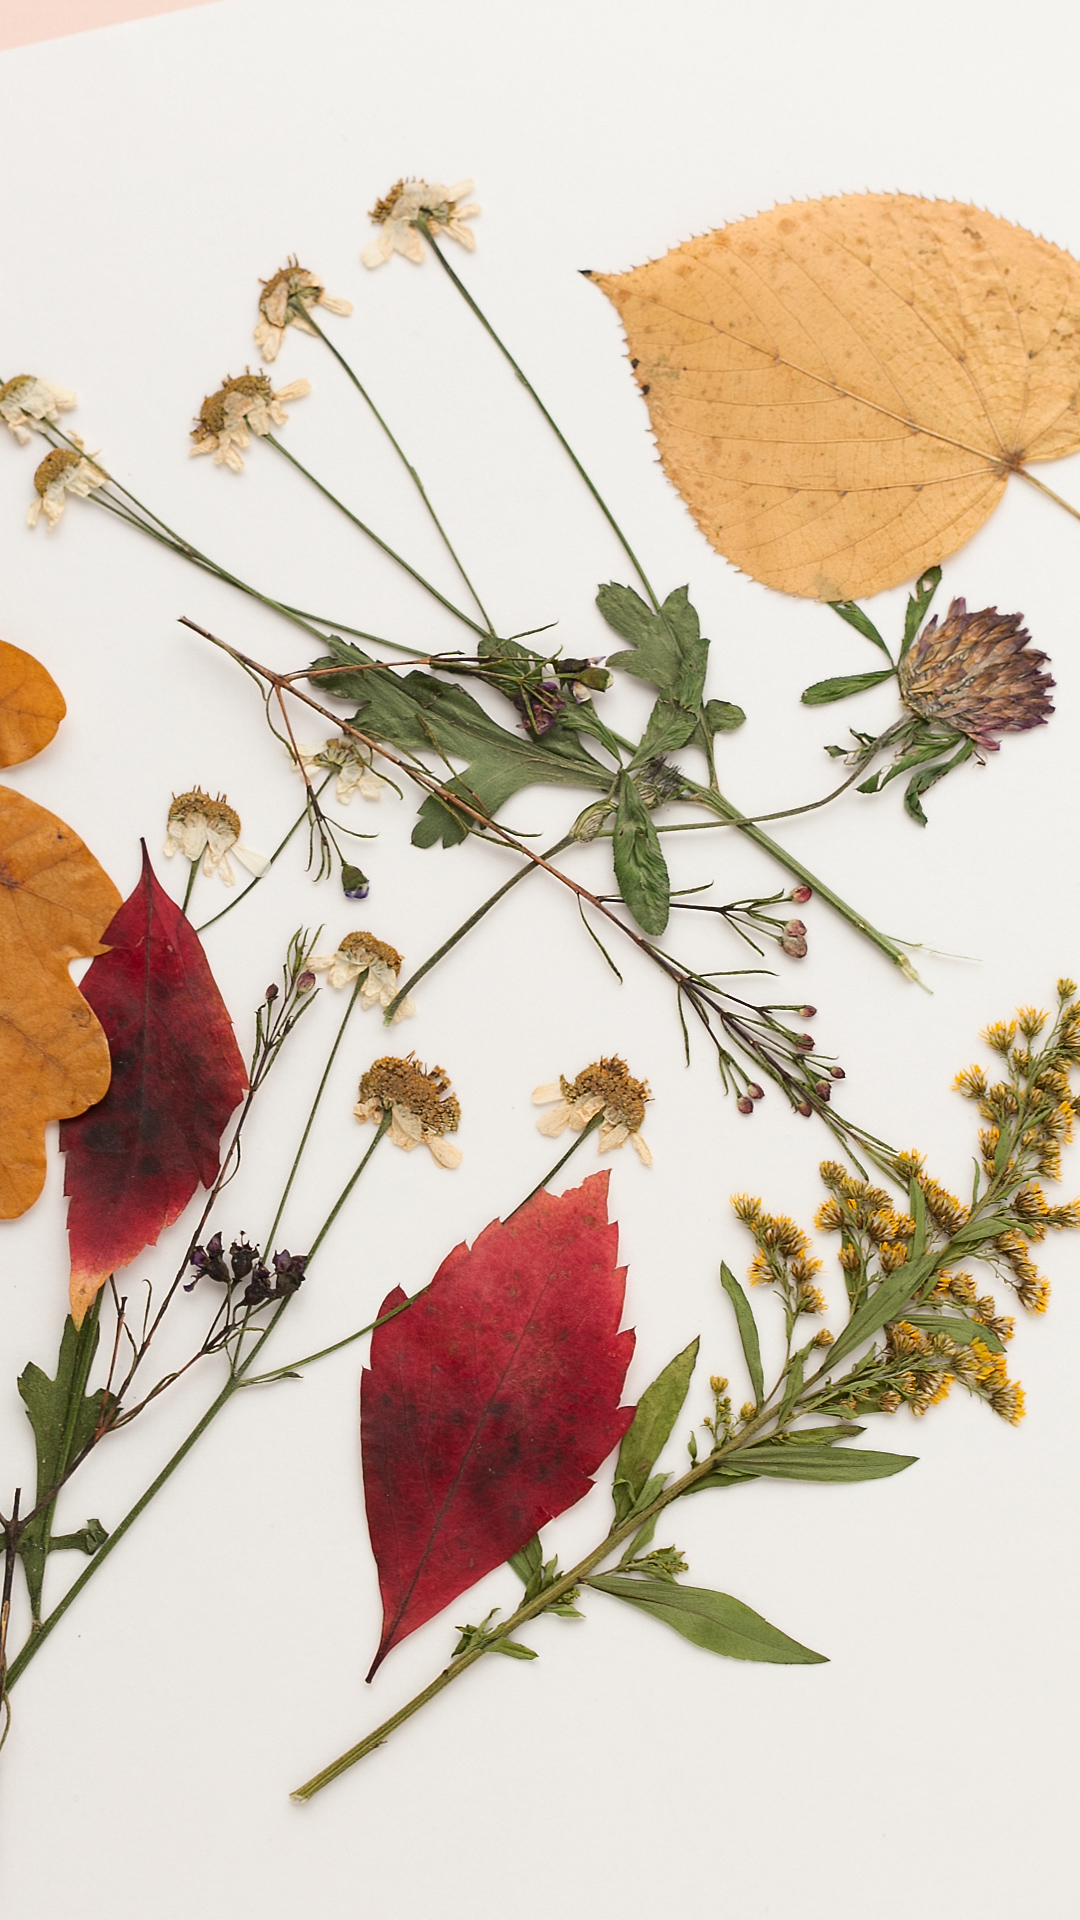
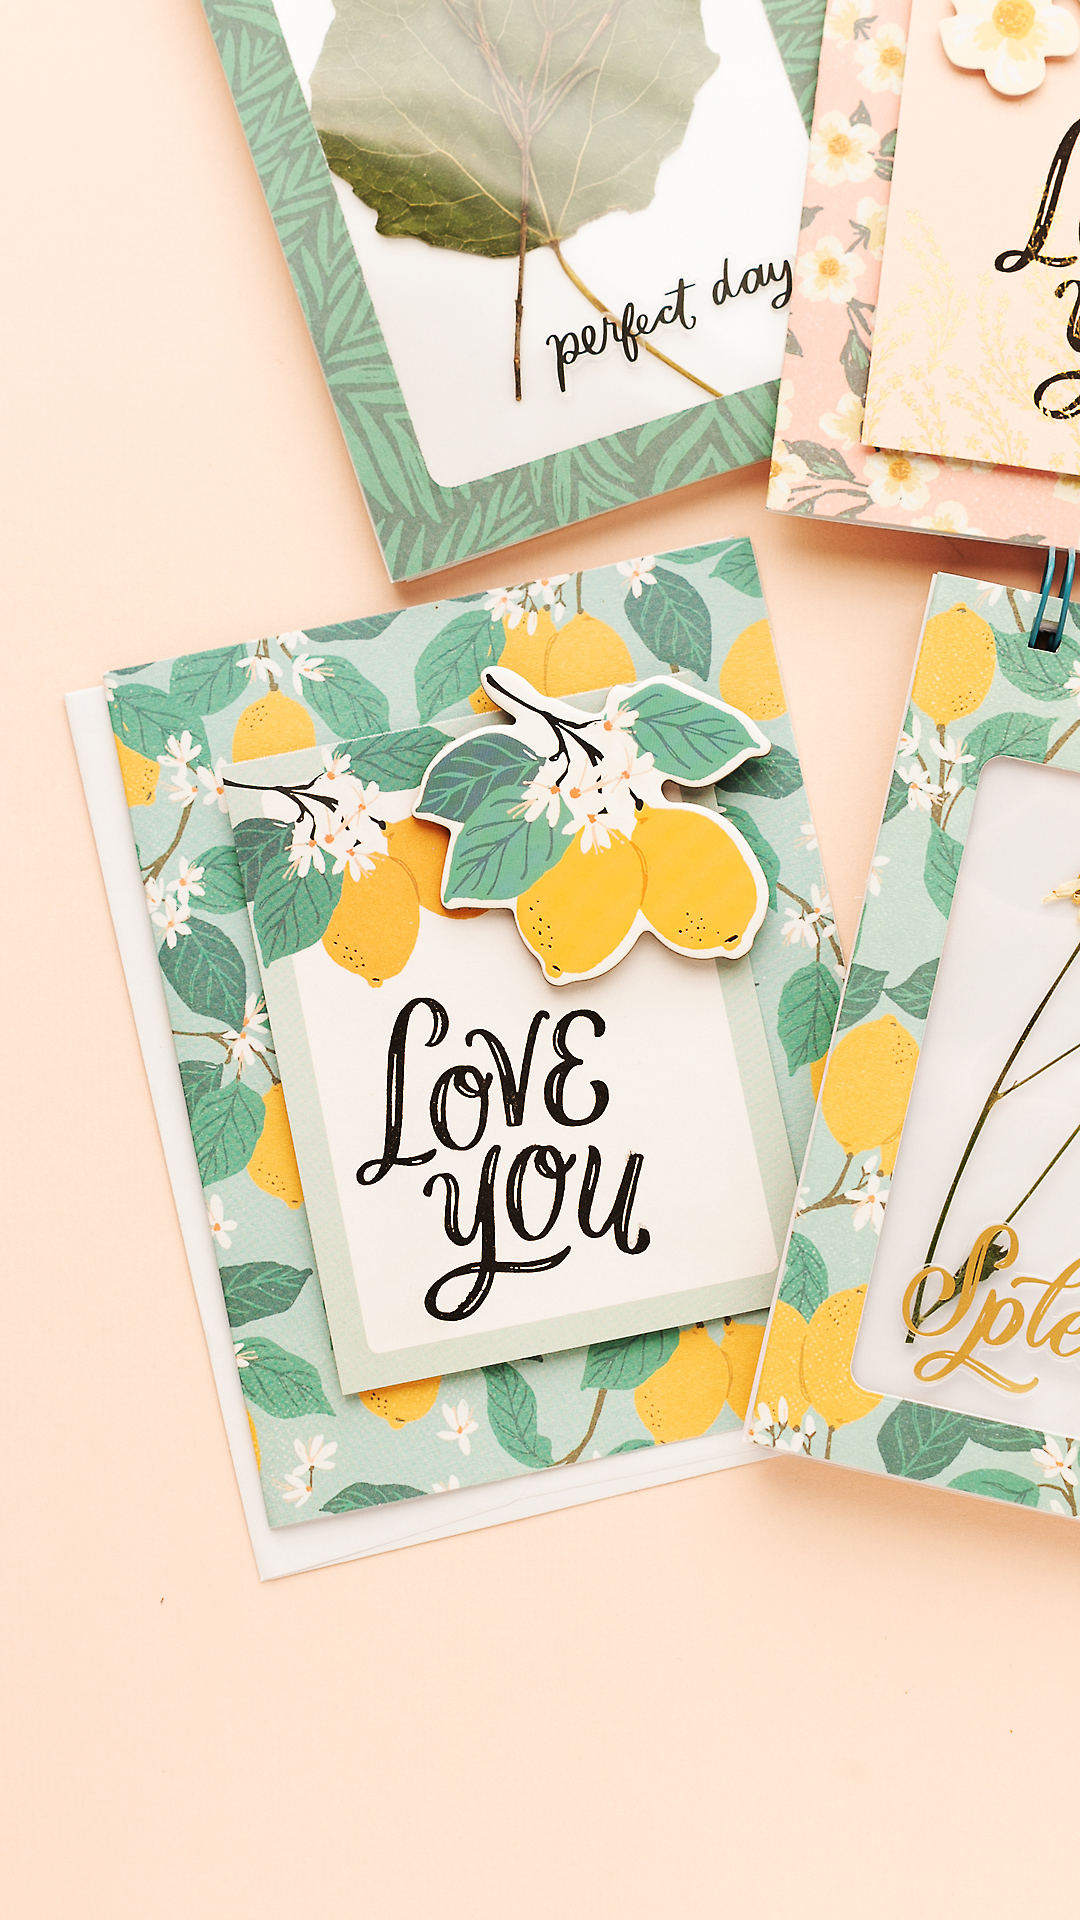
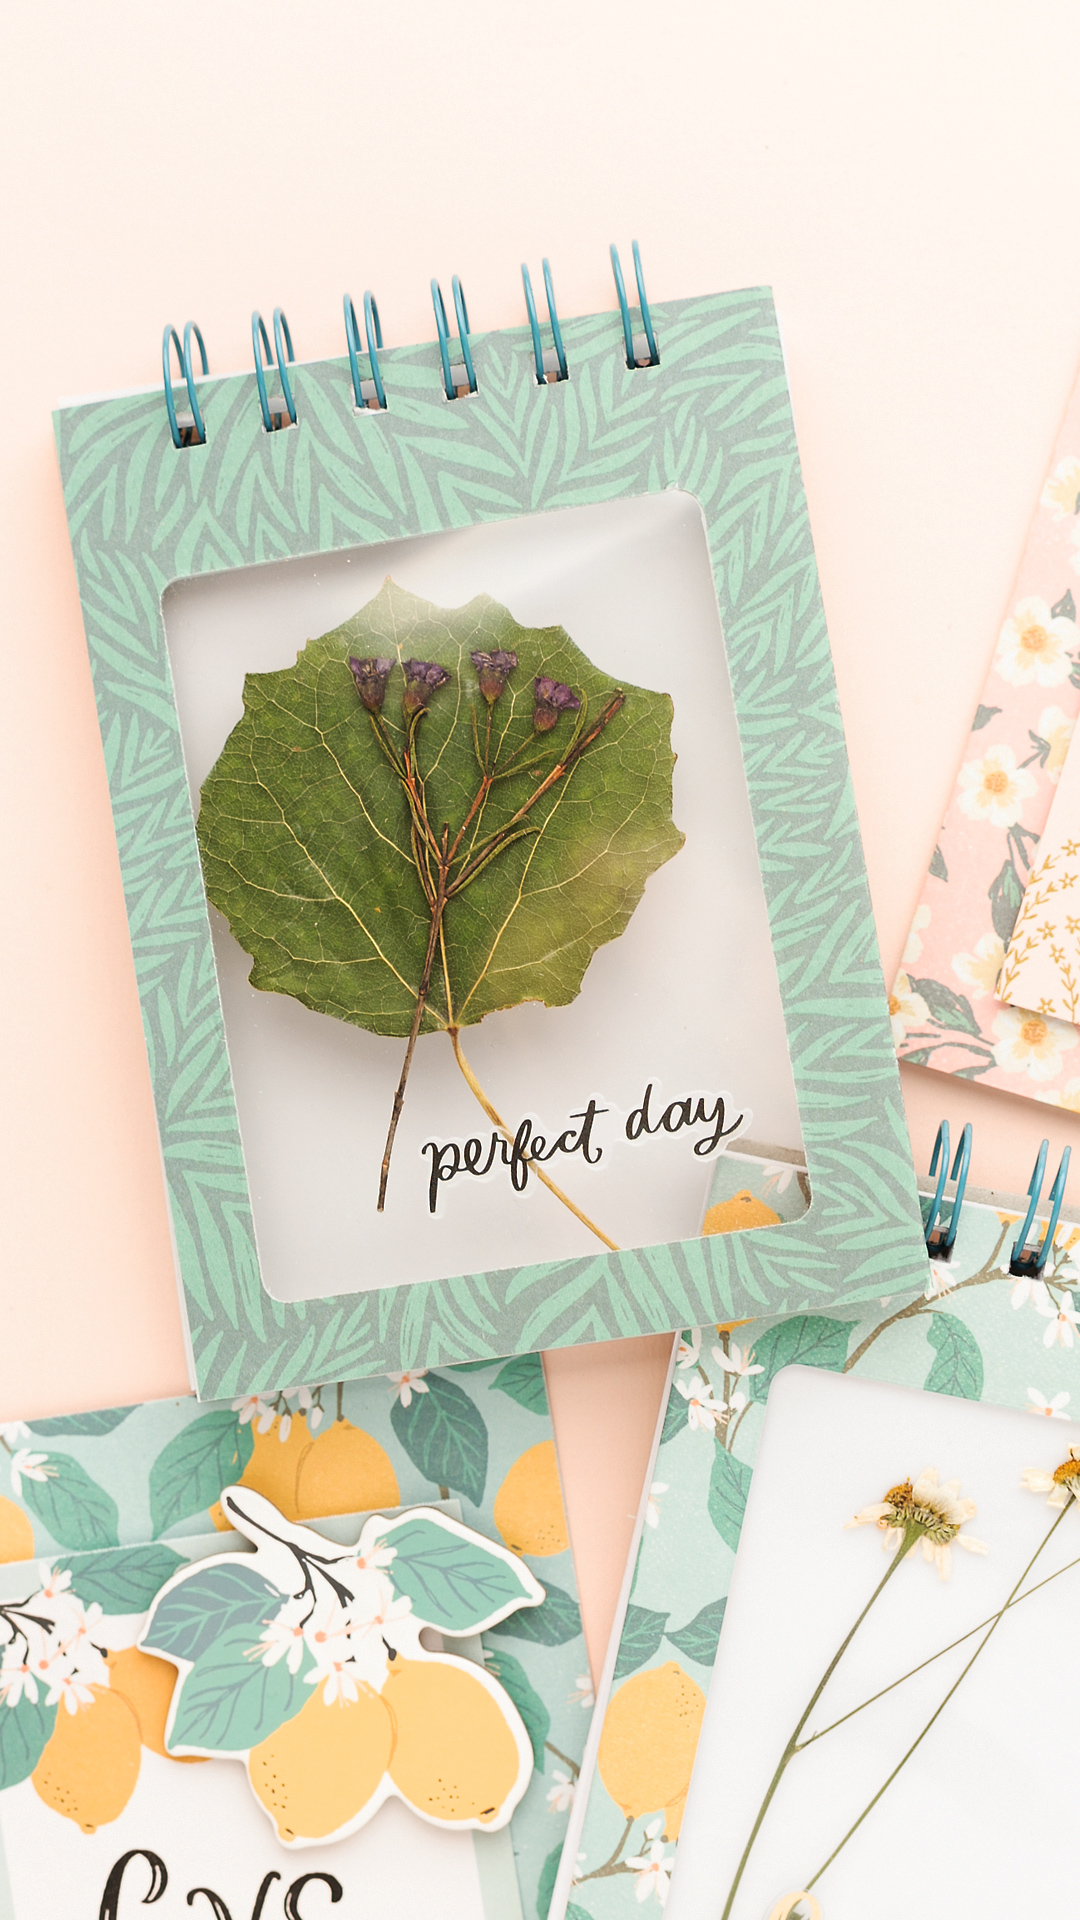
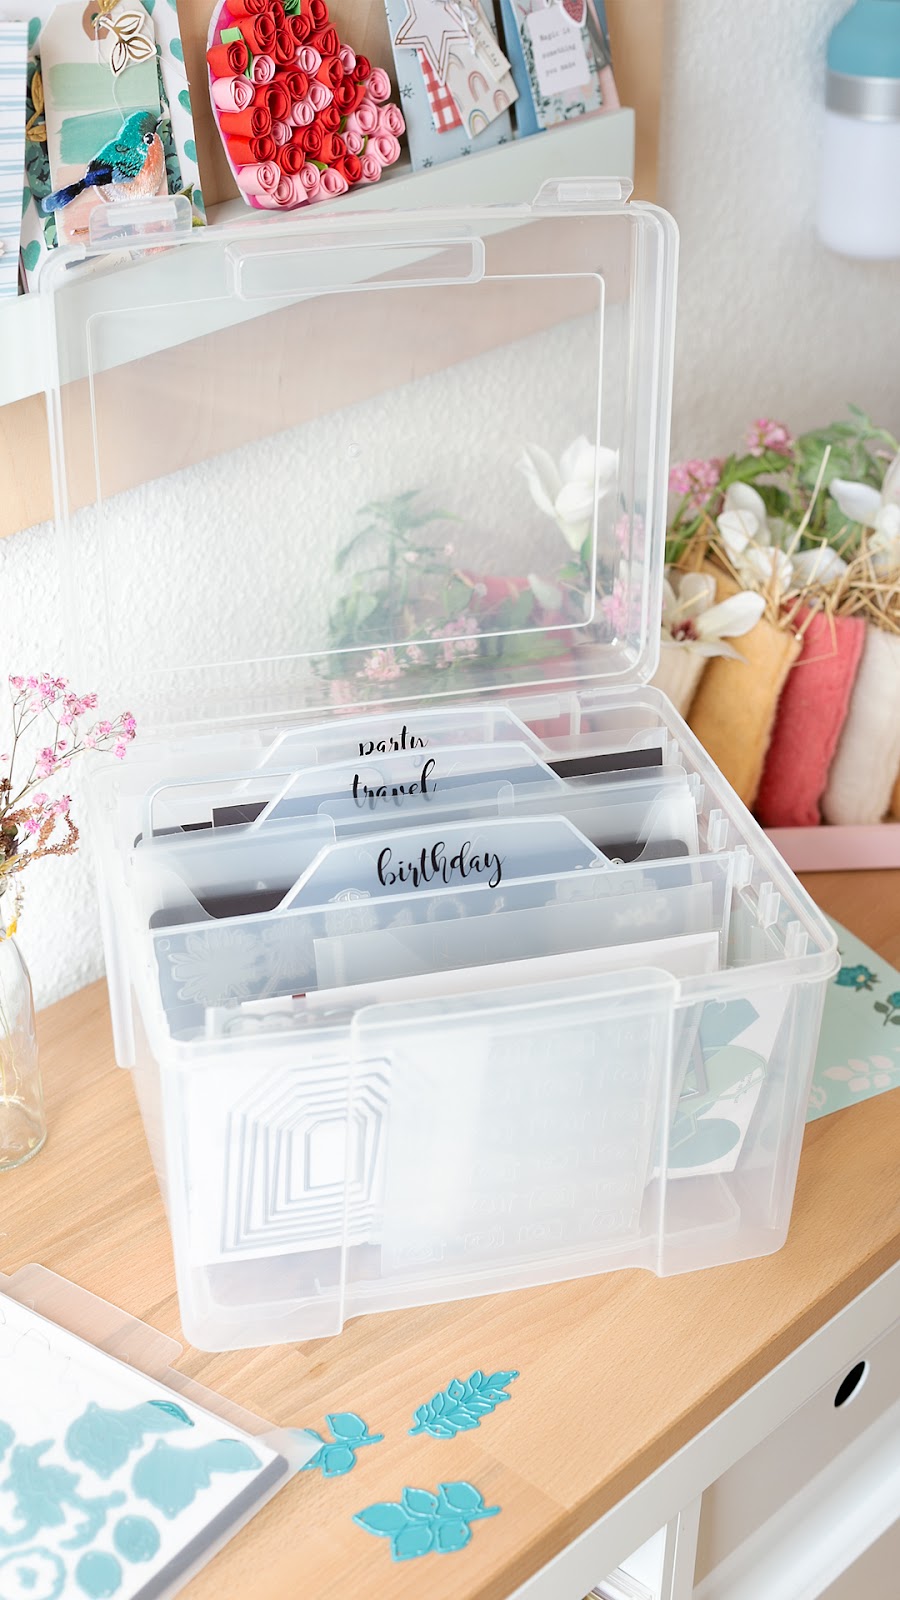
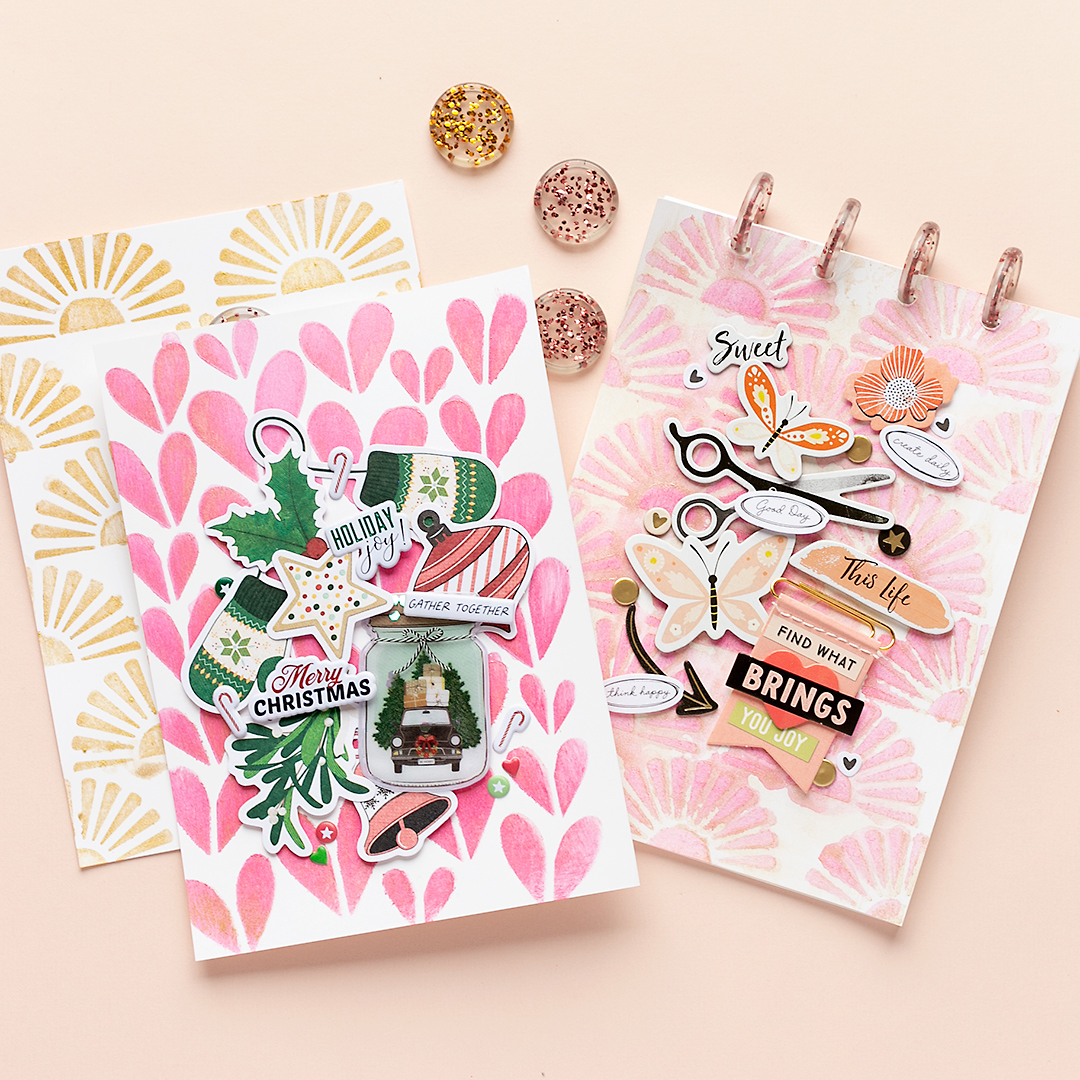
Hello and welcome to the final blog post here on mojosanti in 2022. Today I'm sharing a diy Christmas gift inspiration. Create mini albums with a unique cover. I made the background with stencils and pastes by Vicki Boutin from American Crafts. Let's have a look at the photos:


DIRECTIONS:

  1. Cut a piece of white cardstock to the desired size.
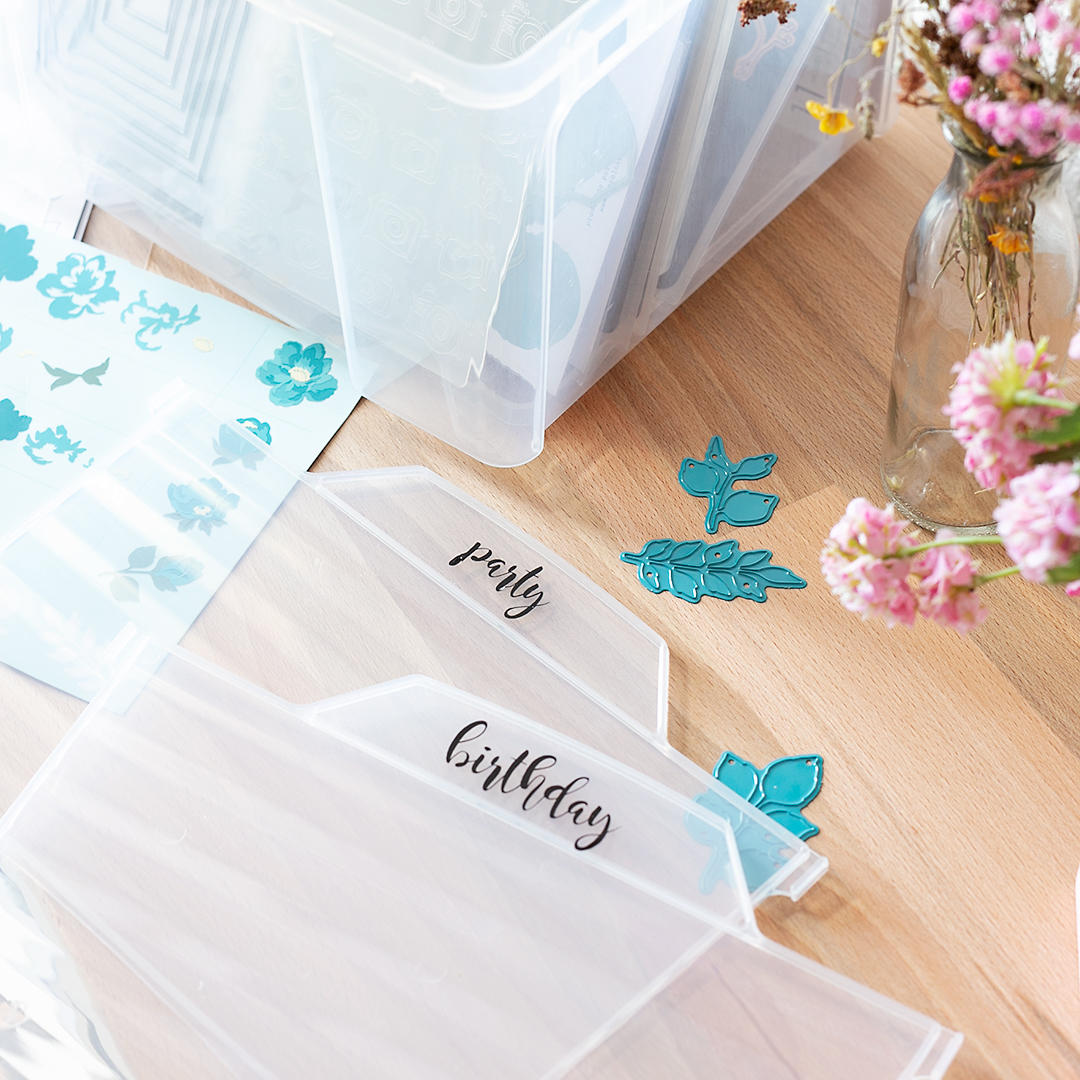
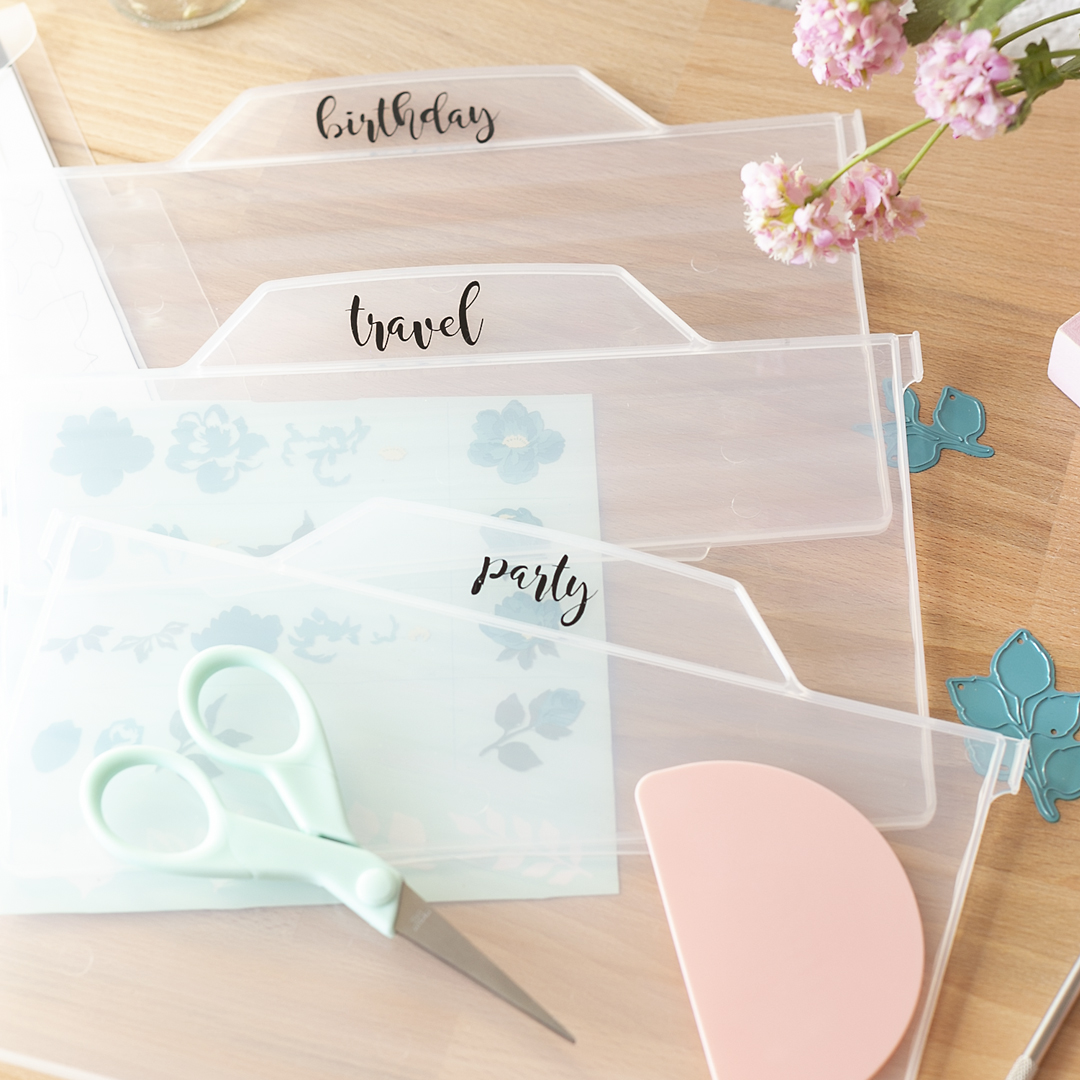
  2. Place the cardstock onto the Silicone Workspace & Stencil Mat.
  3. Use the Vicki Boutin stencil brush, a Print Shop stencil, and the Cosmic Watercolor Set to create a stenciled background. Let your design dry.
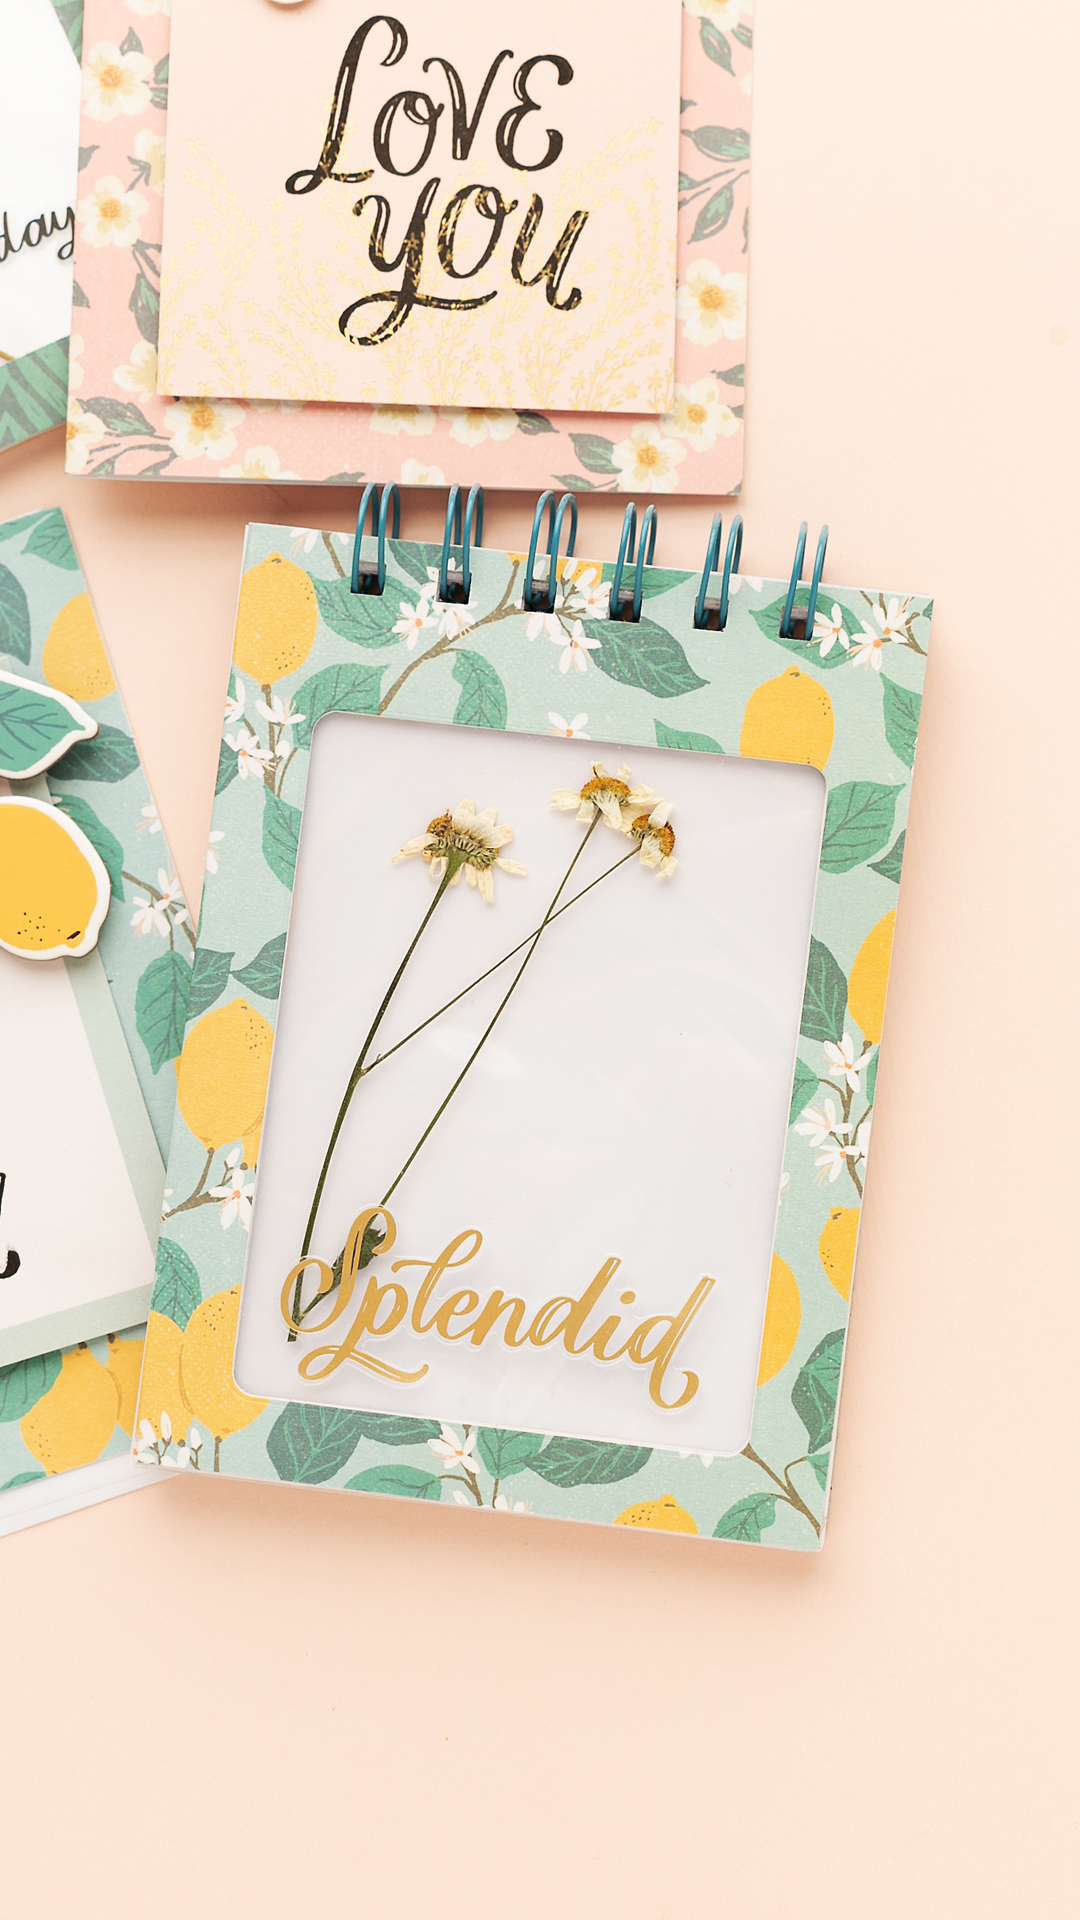
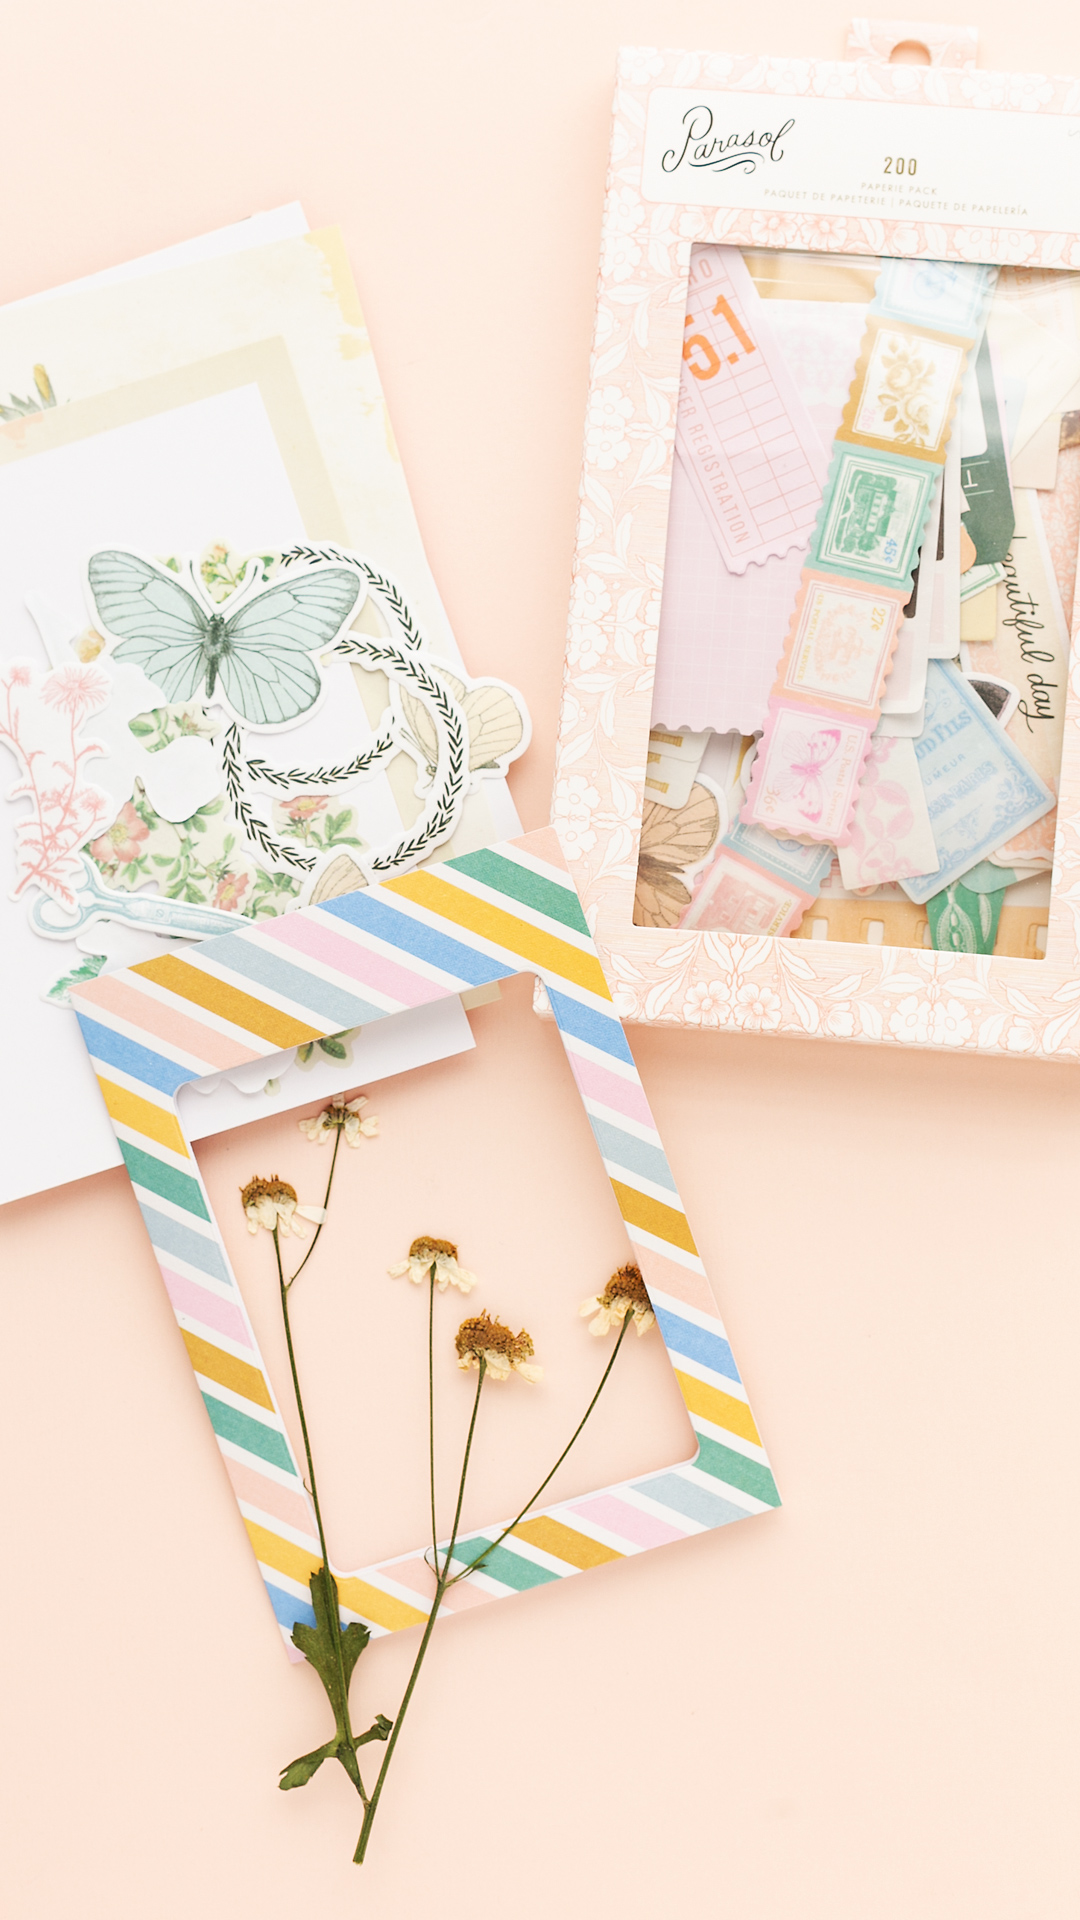
  4. Now, decorate the cardstock with embellishments from Vicki Boutin's Evergreen Collection.
  5. Cut pages for the mini album from white cardstock.
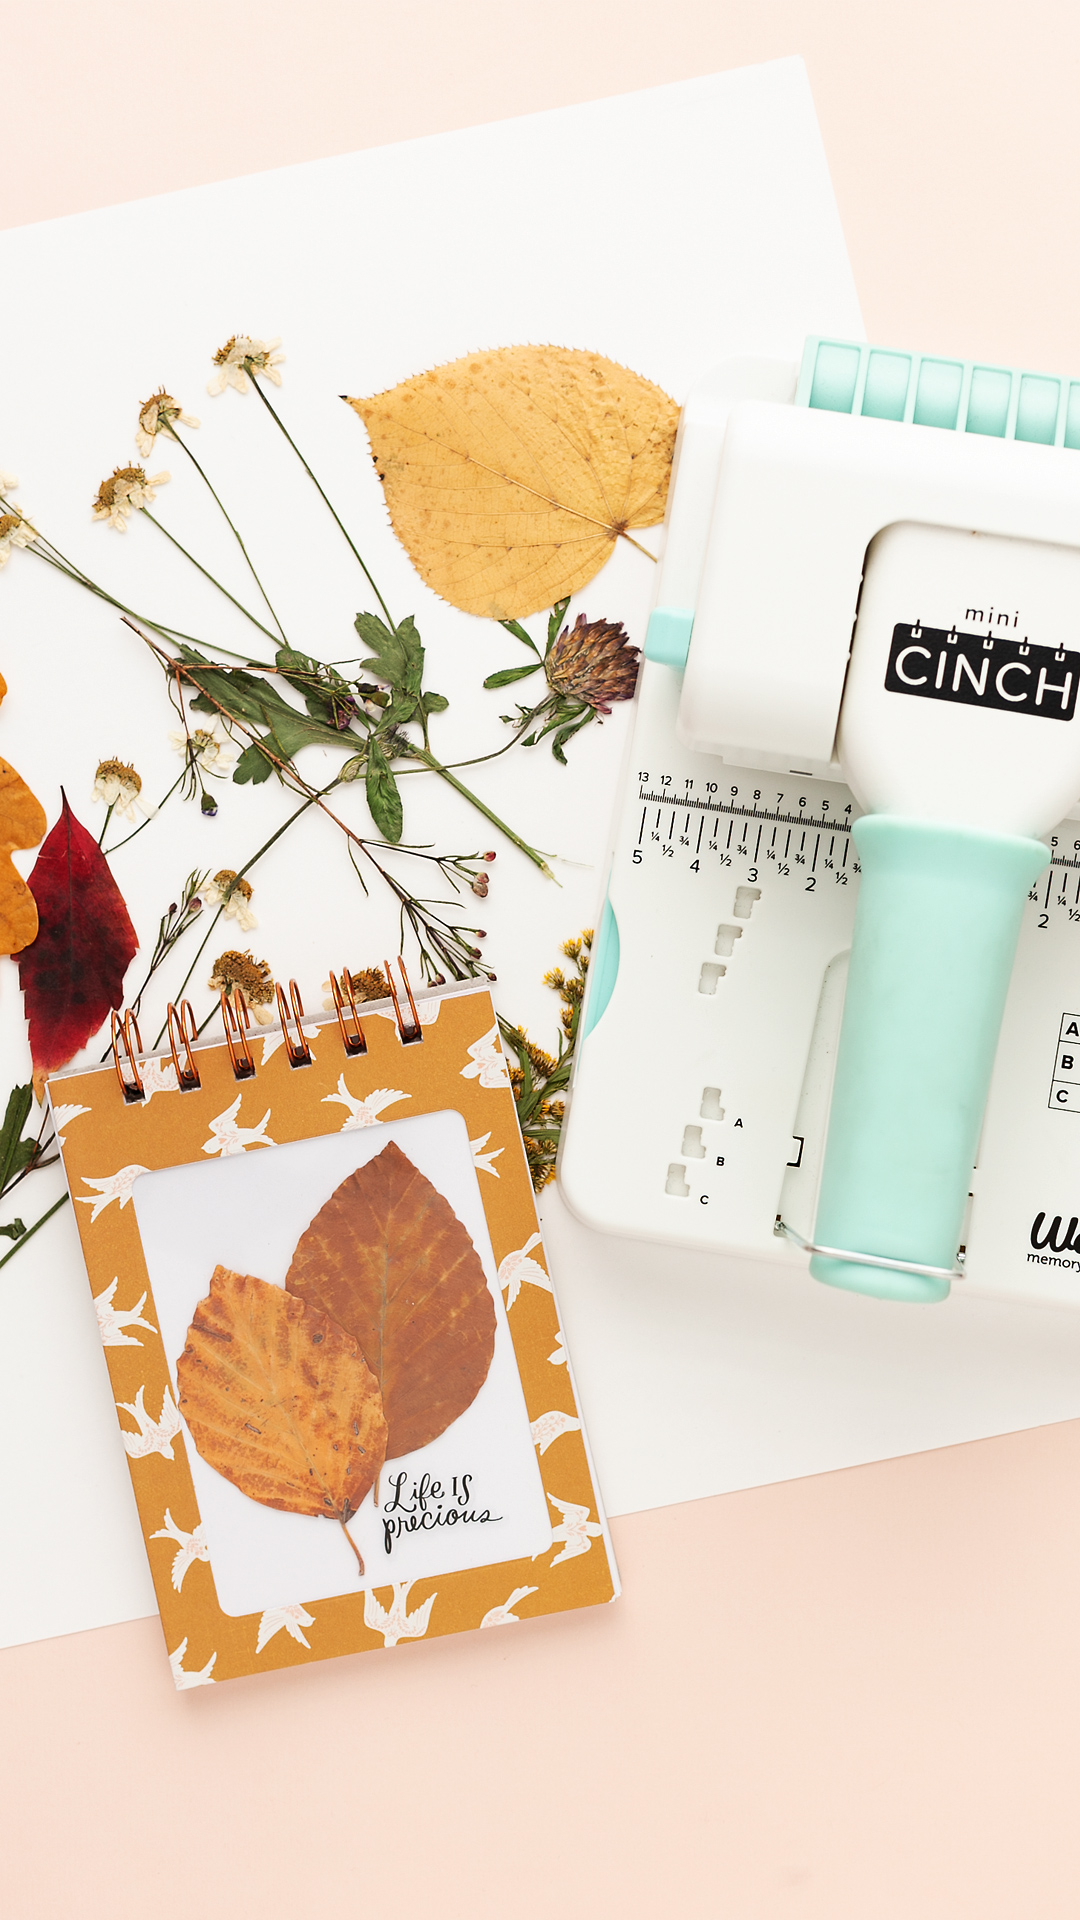
  6. Last but not least, create a disc bound mini album with the Mini Disc Cinch.

TIP: The customized mini albums also make great Christmas gifts.


SUPPLIES & TOOLS:

  • Mini Disc Cinch | WRMK
  • Silicone Workspace & Stencil Mat | WRMK
  • Vicki Boutin Evergreen & Print Shop | American Crafts

Thank you for stopping by. I'm wishing you a wonderful Christmas time. Enjoy the days off with your family and friends. Looking forward to seeing you here on my blog in the future. Best wishes, Sandra :).


American Crafts | Christmas cards in a handmade box


[Ad] American Crafts | Christmas cards in a handmade box

Create modern Christmas cards with the 2022 Xmas Collection from Crate Paper "Mittens and Mistletoe" and the Corner Guides from We R Memory Keepers. The Corner Guides are super handy for holding corners together while adhesives dry. So, creating boxes is a lot easier with this tool. Let's have a look at the photos:


And now, please watch my video on YouTube.


American Crafts | Christmas cards in a handmade box

Thank you for stopping by today. Wishing you a wonderful festive time with your loved ones. See you soon here on my blog. Xoxo, Sandra


WRMK | Reels Video Dried Leaves and Flowers Mini Albums

WRMK | Reels Video Dried Leaves and Flowers Mini Albums


[Ad] WRMK | Reels Video Dried Leaves and Flowers Mini Albums

Fall is about collecting leaves, lighting candles, getting a rest inside, and enjoying the color play of nature. I collected leaves and flowers and dried these inside book pages. It doesn't take long for the leaves and flowers to dry. Once they have dried, you can use them to create all sorts of lovely papercrafting projects. I went for see-through windows with dried leaves and flowers and used them for personalised mini albums. Let's check out the photos:


And now, please watch my video on YouTube:


Thank you for stopping by today. Have you used dried leaves and flowers in your projects? If yes, let me know by dropping a comment. Wishing you a great day, xoxo, Sandra :).


American Crafts | Layered Thanksgiving Cards


[Ad] American Crafts | Layered Thanksgiving Cards
Create some fun and modern Thanksgiving cards with the Stardust Collection by Jen Hadfield and the Envelope Seal Kit by We R Memory Keepers.


DIRECTIONS:

  1. Pick two patterned papers from the 12x12 paper pad. Trim the papers to 6x8 inches.
  2. Score the trimmed papers at 4 inches to create cards in size 4x6 inches.
  3. Pick stickers, ephemera, and thickers and layer these elements to create a well-balanced design.
  4. You can add pre-made tags from the ephemera pack and add a strip of washi tape at the top. Alternatively, you can use baker's twine to add a nice detail to the tags.
  5. Create a special element with the Envelope Seal Kit by WRMK.
  6. Use a non-sticky mat to make the seals.
  7. When the seal has cooled down, attach the seal to the card with an adhesive foam pad sticker. This adds a special extra handmade feel to the cards.

TIPS/ADVICE: Don't be afraid to layer elements. It's okay that some of the elements overlap. In addition, use adhesive foam pads to create dimension.


SUPPLIES & TOOLS:

Stardust Collection by Jen Hadfield

  • 12 x 12 Paper Pad
  • Sticker Book
  • Thickers Phrases
  • Dimensional Stickers
  • 6 x 12 Cardstock Sticker Sheet
  • Layered Stickers
  • Ephemera
  • Washi Tape

WRMK Envelope Seal Kit With Love

Thank you for stopping by today. I hope you like my Layered Thanksgiving Cards. Are you making some too? Are you interested in seeing more cardmaking inspiration? If yes, check out my other cards on mojosanti. See you next time here on mojosanti. Have a great day, yours Sandra ♥.


WRMK | Organise with the Storage Bin Set and the Vinyl Tools Bundle Set with Video

WRMK | Organise with the Storage Bin Set and the Vinyl Tools Bundle Set with Video

[AD] WRMK Organise with the Storage Bin Set and the Vinyl Tools Bundle Set with Video
Organize dies, stamps & embossing plates with the Storage Bin Set by We R Memory Keepers. Add titles to the storage dividers to find what you are looking for in no time. The Vinyl Tools Bundle Set comes with everything to get you started to create individual divider titles.


HOW TO:
  1. Grab the Storage Bin Set and measure the size of the top part of the divider.
  2. Use the measures to create titles with the software of your cutting plotter. Titles could be travel, holidays, birthday, etc.
  3. Attach a vinyl foil from the Vinyl Tools Bundle Set to a self-sticking cutting mat.
  4. Cut your designs with the cutting plotter.
  5. Apply transfer tape to the vinyl design. Peel the transfer tape and vinyl design away from the paper liner. TIP: Use the scraping tool on the transfer tape to make the vinyl design stick to the transfer tape.
  6. Slowly and carefully remove the transfer tape. The design has to stick to the transfer foil.
  7. Use the transfer tape to apply the vinyl design to the divider.
  8. Insert the dividers into the Storage Bin.


And now make sure to watch my video ♥:


SUPPLIES & TOOLS:
  • Storage Bin Set WRMK
  • Vinyl Tools Bundle Set WRMK
  • Cutting Plotter (Silhouette Cameo) Silhouette America

How do you like the personalized storage bin dividers? Is this something you would love to make? Let me know. And thank you for stopping by today. Wishing you an exciting day. Xoxo, Sandra


American Crafts | Day Trip Mini Album with Video Tutorial

American Crafts | Day Trip Mini Album with Video Tutorial

[AD] American Crafts | Day Trip Mini Album with Video Tutorial
Create a fun Day Trip Mini Album with the Pocket Maker Punch Board by We R Memory Keepers. The album sleeve and the album pages were created with this tool! This makes a cute mini album to record a day trip or to collect photos of your favorite flowers. There is a video towards the end of this post. Check it out ♥!


DIRECTIONS:

  1. Cut two pieces of patterned paper to size 6" x 5".
  2. Create two pockets with a notch with these papers (size 6" x 5"). Follow the instructions that come with the Pocket Maker Punch Board (to make a pocket with notch).
  3. Trim off the short flap of the first pocket. And glue the long flaps with double-sided tape.
  4. Glue the long flaps of the second pocket. Next, adhere double-sided tape to the back of the short flap of the second pocket.
  5. Insert the flap of the second pocket into the first pocket to make the album sleeve.
  6. Insert baker's twine into the album sleeve (created from the two pockets). Attach the twine with sticky tape on the inside of the sleeve.
  7. Create 5 to 6 album pages from white cardstock. The pages are approx. size 5" x 2.75".
  8. Cut corners of white cardstock pages with the Pocket Maker Punch Board.
  9. Score to make a flap.
  10. Decorate the album pages with photos, sequins, stamps, and stickers. Use embossing folders to create stunning backgrounds. You can even add shaker elements, florals that are colored with watercolor, and baker's twine to add a special touch. You can keep it simple or add a lot of details - it's up to you, whatever you prefer.
  11. Slip in the decorated pages into the album sleeve. Use double-sided tape to adhere the pages to the sleeve.
  12. Enjoy your mini album :).


And now you're welcome to watch my video:


SUPPLIES & TOOLS:

  • Pocket Maker Punch Board WRMK
  • Revolution Die Cutting Machine WRMK
  • Papers, stamps, and stickers from Garden Party (Maggie Holmes) Stickers and stamps from All Heart (Crate Paper)
  • Revolution Label Die
  • Revolution Embossing Folder Stitches (Paige Evans)
  • Embossing Folder Camera (Amy Tangerine)
  • Watercolor Set Brights (Vicki Boutin / Fernwood Collection)
  • white cardstock, baker's twine, sequins, double-sided tape

Thank you for stopping by. I hope you like today's mini album. Have you tried using embossed paper to create a fancy background? Wishing you a great day! Xoxo, Sandra

WRMK | Love Shaker Cards

WRMK | Love Shaker Cards


[AD] WRMK Love Shaker Cards
Shake it BABY! Join me for a fun tutorial how to make LOVE SHAKER CARDS with tools from We R Memory Keepers. LOVE is one of the main topics of songs AND cards :). Don't you agree? Why not create fancy love shaker cards? Bold letters saying XOXO are the star of today's cards. And the letters are backed with a cool acetate shaker pocket. I'm sharing a video here on my blog / YouTube. Are you going to check it out?! Would love for you to see it ♥.


HOW TO:
  1. Pick a patterned paper from the Peaceful Heart Collection by Jen Hadfield. Cut a slim card with the Slim Line Punch Board. Follow the instructions that come with the punch board.
  2. Next, cut a coordinating envelope with the Slime Line Punch Board.
  3. Trim white cardstock to fit the slim card. Make it a bit smaller so that the patterned paper can still be seen.
  4. Die cut letters from the white cardstock with the Revolution Die Cutting Machine and the Revolution Alphabet Dies.
  5. Grab a sheet of acetate and trim it to the size of the slim card. Fold the acetate and add sequins. Create an acetate pocket by glueing the acetate with double-sided tape.
  6. Attach the white cardstock with the cut-out letters onto the acetate pocket. Glue the shaker element onto the slim card.
  7. Add embellishments to your liking. You can add a bow, dried flowers, or stickers.
  8. As a nice detail, stamp a sentiment onto the round shape of the letter 'O'.


And now I invite you to watch my video ♥:


SUPPLIES & TOOLS:
  • Slim Line Punch Board from We R Memory Keepers
  • Revolution Die Cutting Machine & Revolution Alphabet Dies from We R Memory Keepers
  • Peaceful Heart Paper Collection by Jen Hadfield / American Crafts

Thank you for stopping by today. I hope you like my LOVE SHAKER CARDS. Are you going to make your own? If you are looking for more card inspiration, please check out my cardmaking posts on my blog mojosanti. Wishing you a lovely day. Xoxo, Sandra