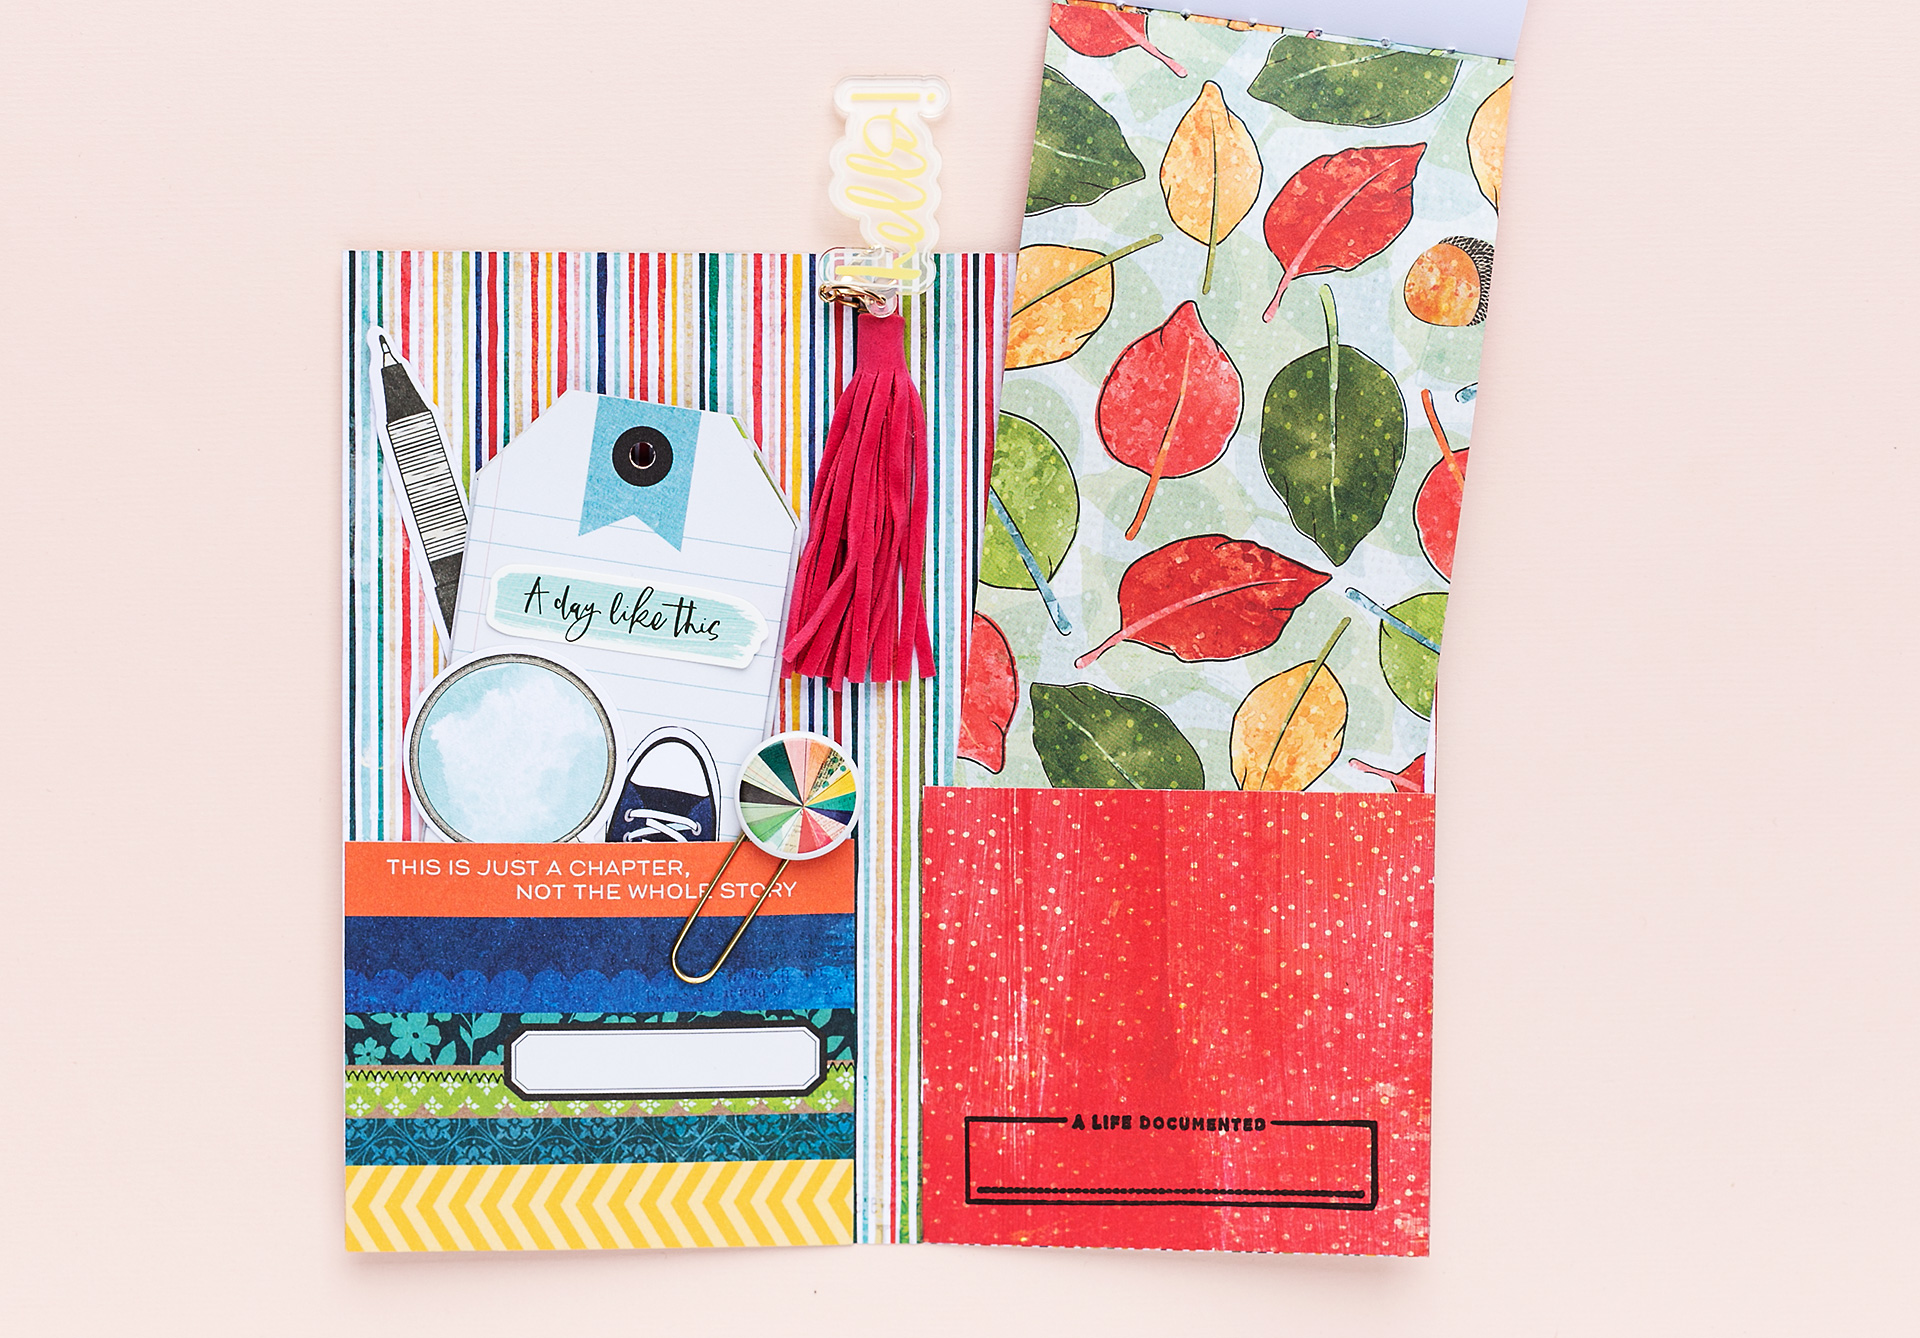
Welcome to my blog and a handmade planner DIY. The design of the planner is simple. And it's not very difficult to make this project yourself. The planner consists of a cover with a spine (size 0.5"). The inside has two slip-in pockets to hold a handmade journaling booklet and also a cute accordion fold album. With this wonderful handmade planner, you are ready to document your memories.
I'm sharing a link to my YouTube video for this planner further down. Make sure to watch the video ♥.

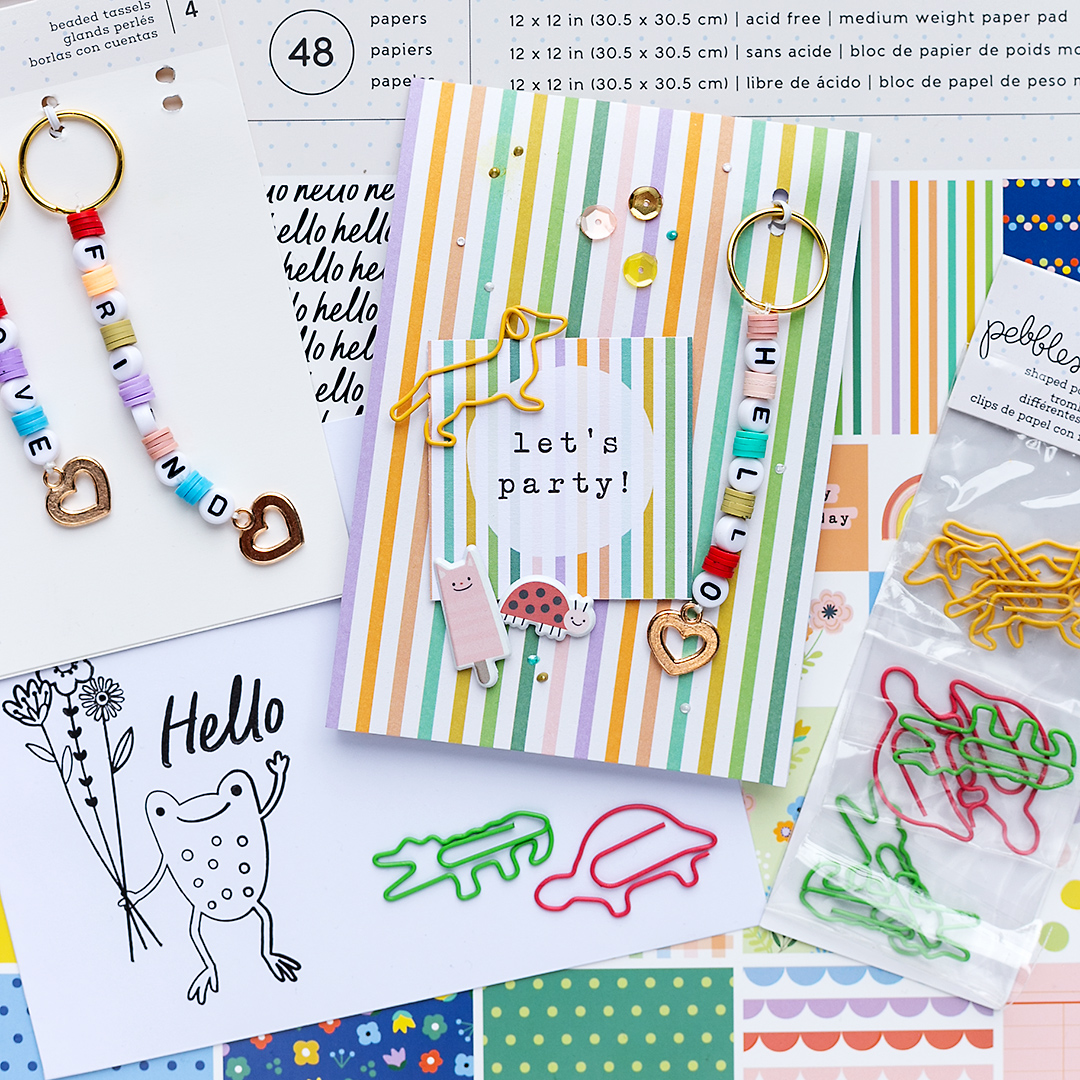
To make the handmade planner, I recommend to use the All-in-One-Tool and the Bookbinding Guide by We R Memory Keepers. In addition, I used the Fernwood Paper Collection by Vicki Boutin for American Crafts.

How to:
1. Cut a piece of patterned paper to size 8 1/4" x 7 1/2".
2. Score the paper at 3 7/8 from the left and the right side. Fold the paper along the scoring lines. This will give you the planner cover with a spine measuring 1/2".
3. Make a journaling booklet by cutting two pieces of paper. Cut the front cover to size 3 1/2" x 7 1/2". Then cut the back to size 3 1/2" x 7".
4. Score the front cover at the top - at 1/2". Now attach the back cover onto this fold (1/2") of the front cover.
5. Cut blank pieces of paper for the journaling pages. The pages need to be 3 1/2" in width. The length can vary, depending on the size of the blank paper you have at hand.

6. Place the blank journaling pages inside the cover, pierce holes with the Bookbinding Guide and sew the journaling booklet with a needle and threat.

7. Open the cover of the planner. On the right side, create a slip-in pocket and slip in the journaling booklet.
8. Create a second slip-in pocket on the left side.
9. Decorate the cover and the inside.
8. Create a second slip-in pocket on the left side.
9. Decorate the cover and the inside.
Supplies:
WRMK The Works All in One Tool
WRMK Bookbinding Guide
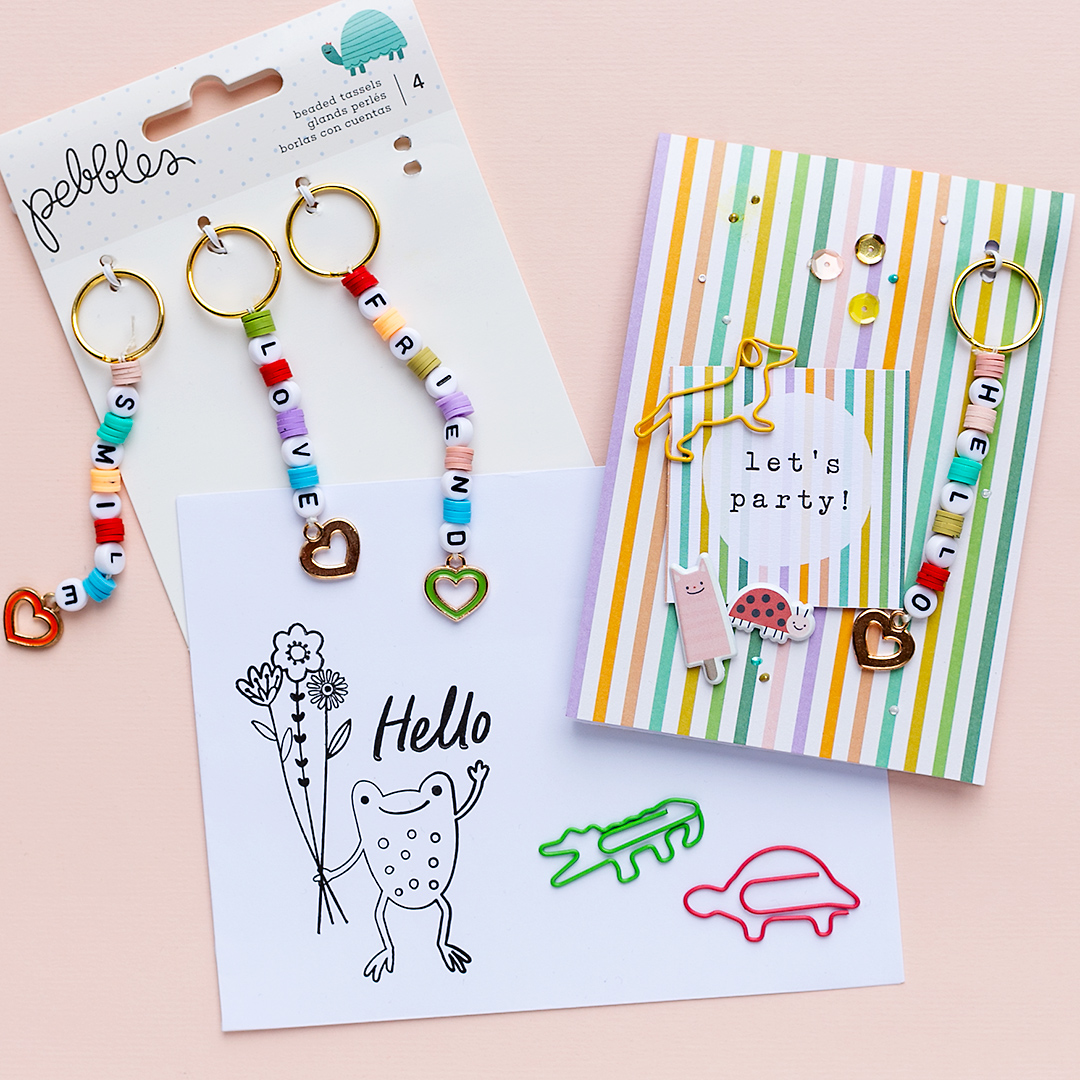
Vicky Boutin Fernwood Collection: Simple Pleasure Paper, Open Air Paper, Fernwood Tags Paper, Tassels with Acrylic Charms, Epoxy Paper Clips, Clear Acrylic Stamps - Documented, Sticker Book - Gold Foil Accents, 6 x 12 Sticker Sheet
WRMK The Works All in One Tool
WRMK Bookbinding Guide
Vicky Boutin Fernwood Collection: Simple Pleasure Paper, Open Air Paper, Fernwood Tags Paper, Tassels with Acrylic Charms, Epoxy Paper Clips, Clear Acrylic Stamps - Documented, Sticker Book - Gold Foil Accents, 6 x 12 Sticker Sheet
And now make sure to watch my video:
Thank you for stopping by today. You might want to check out my other tutorials with the Bookbinding Guide: Grateful Mini Album, Tips for your Traveling Journal, and Goals 2022 Mini Album. Wishing you a lovely day, yours Sandra ♥