Posts mit dem Label #wermemorykeepers werden angezeigt. Alle Posts anzeigen

We R Makers | Clean Summer Journal Cover with the Revolution Die-Cutting Machine

We R Makers | Clean Summer Journal Cover with the Revolution Die-Cutting Machine

[AD] We R Makers | Clean Summer Journal Cover with the Revolution Die-Cutting Machine

Today I'm sharing a very simple and easy-to-make project. Use the Revolution Die-Cutting Machine by We R Makers to personalize mini books and journals. I die-cut the title SUMMER from patterned paper and attached the letters to the cover. Very easy! Very simple! And very minimalistic. Please watch my video to see how to make the summer journal cover. Find the link further down!


And now, please watch my video ♥


Thank you for stopping by today. Do you have any plans for the summer? Please share them in the comments. Wishing you a wonderful day! Xoxo, Sandra


We R Makers | Travel Journal with the Slim Line Punch Board with video

We R Makers | Travel Journal with the Slim Line Punch Board

[AD] We R Makers | Travel Journal with the Slim Line Punch Board

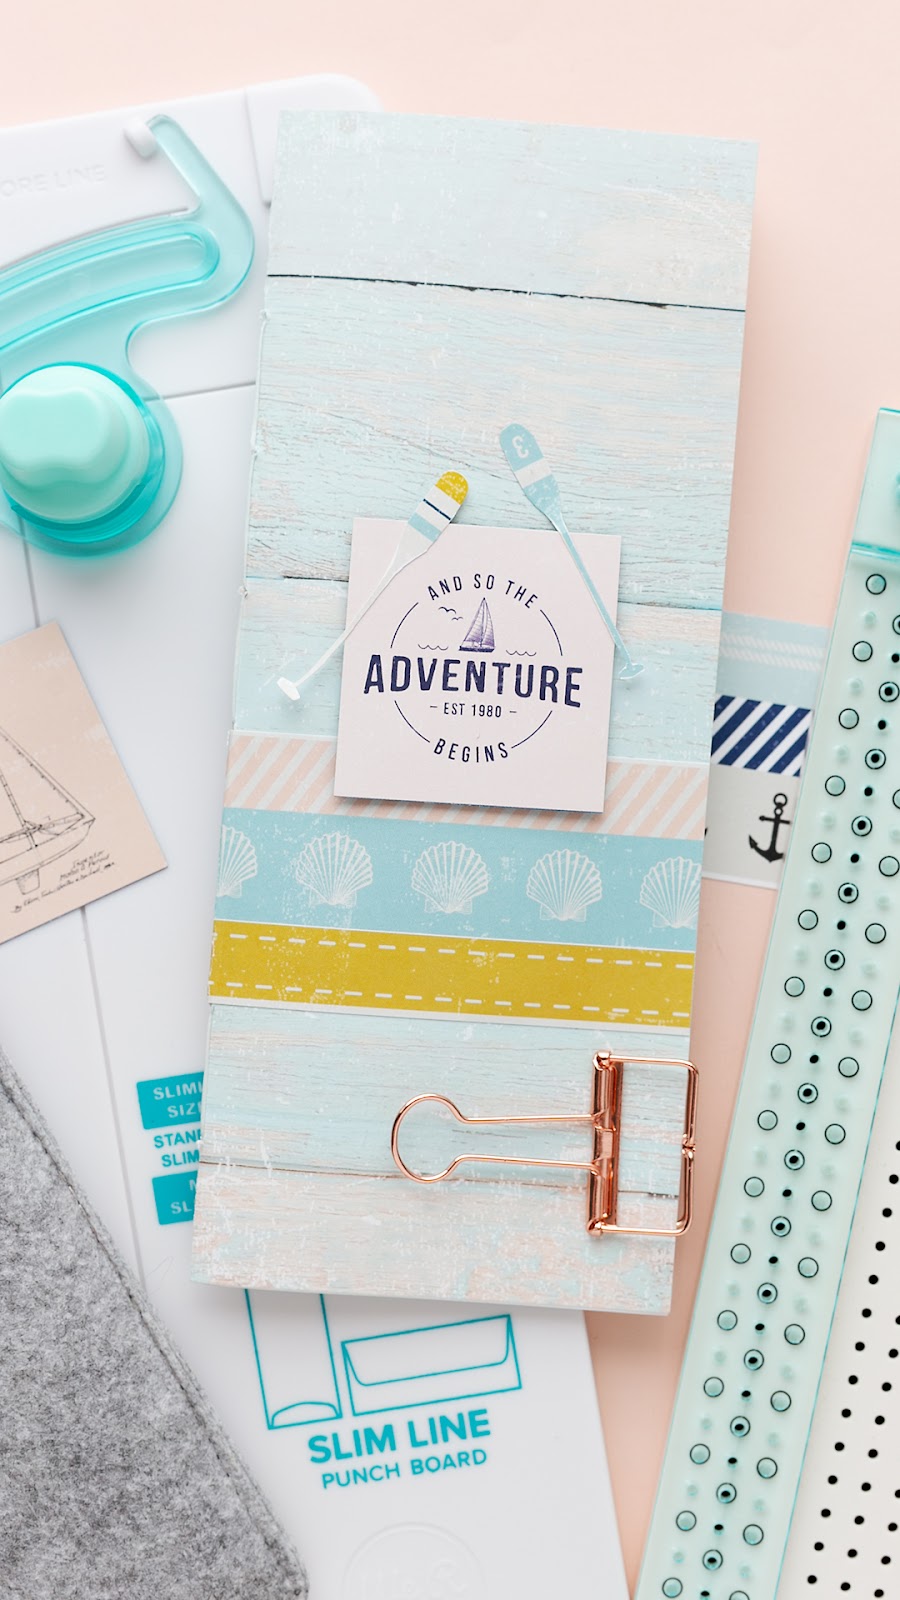
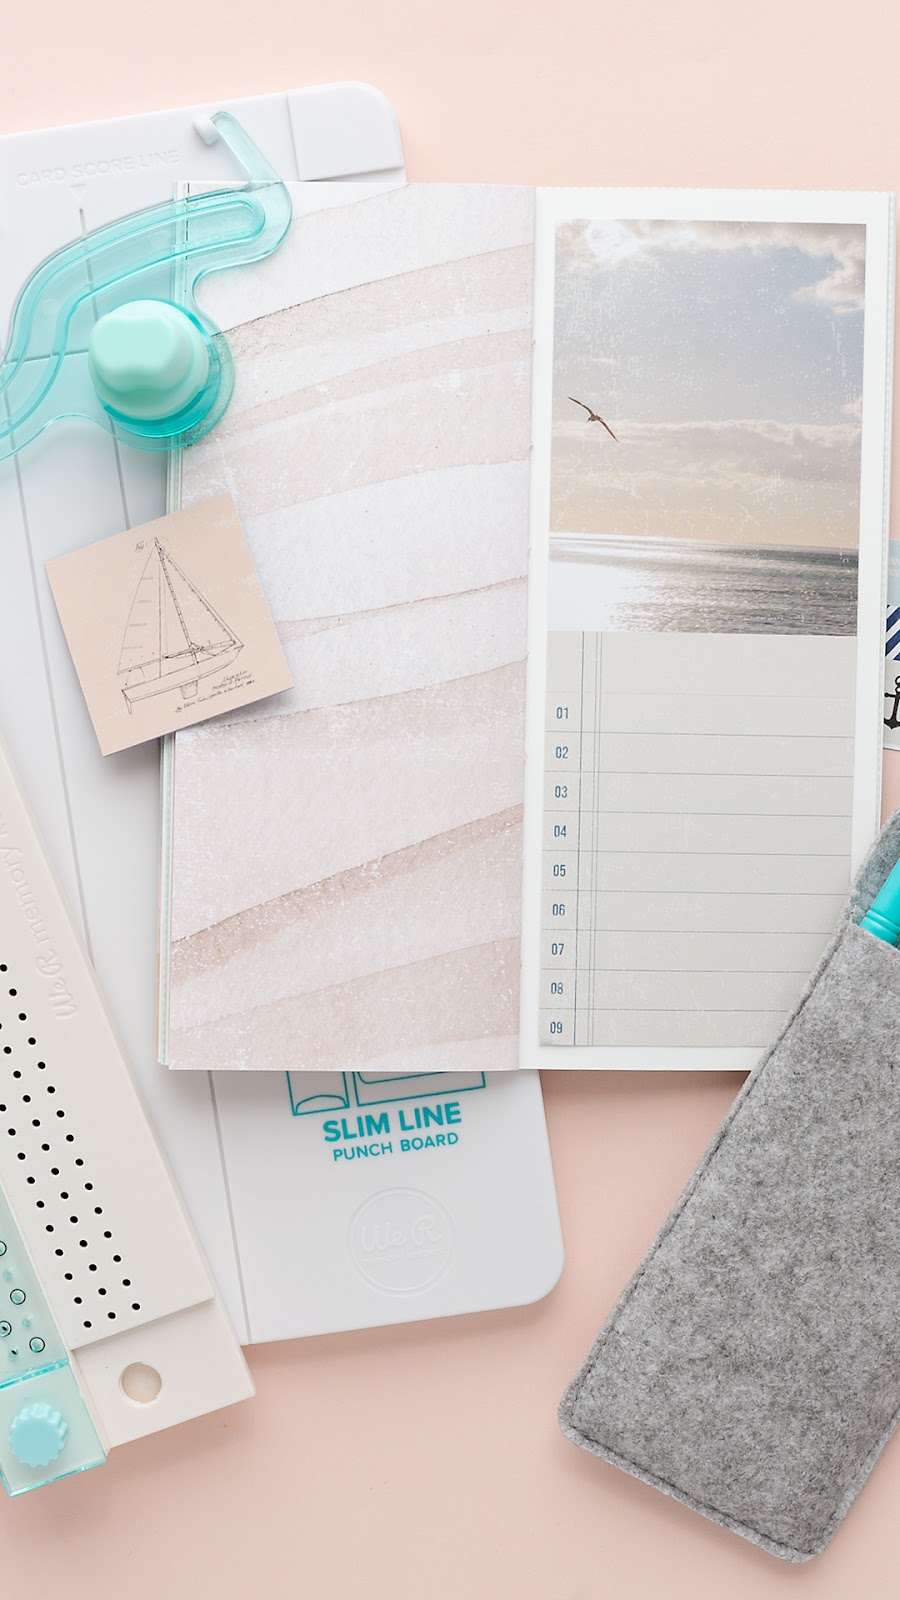
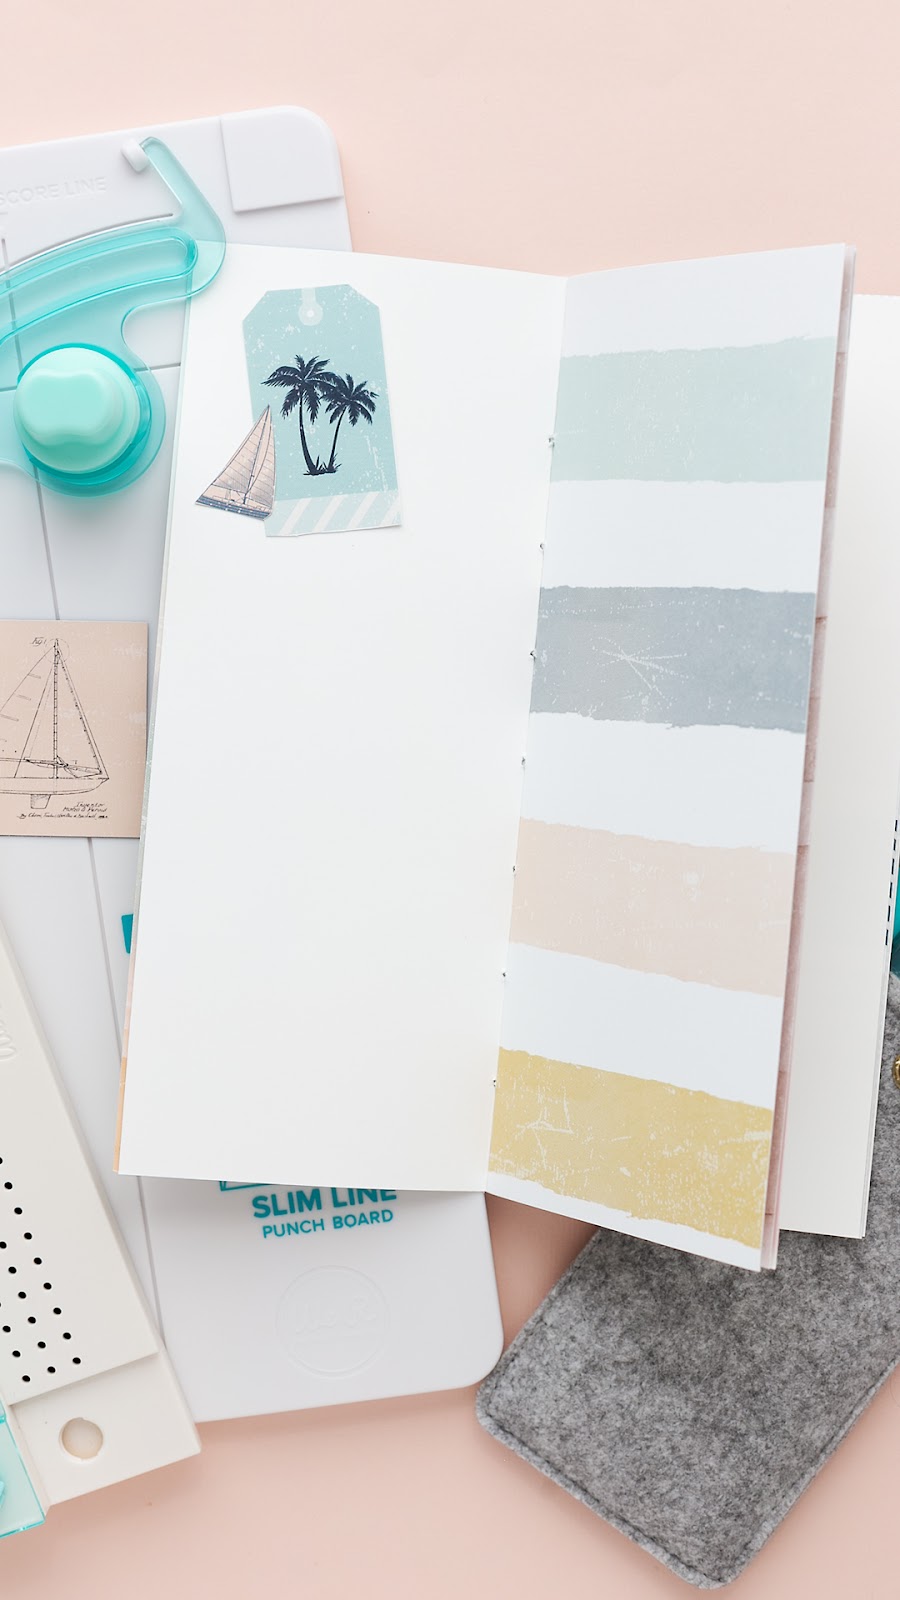
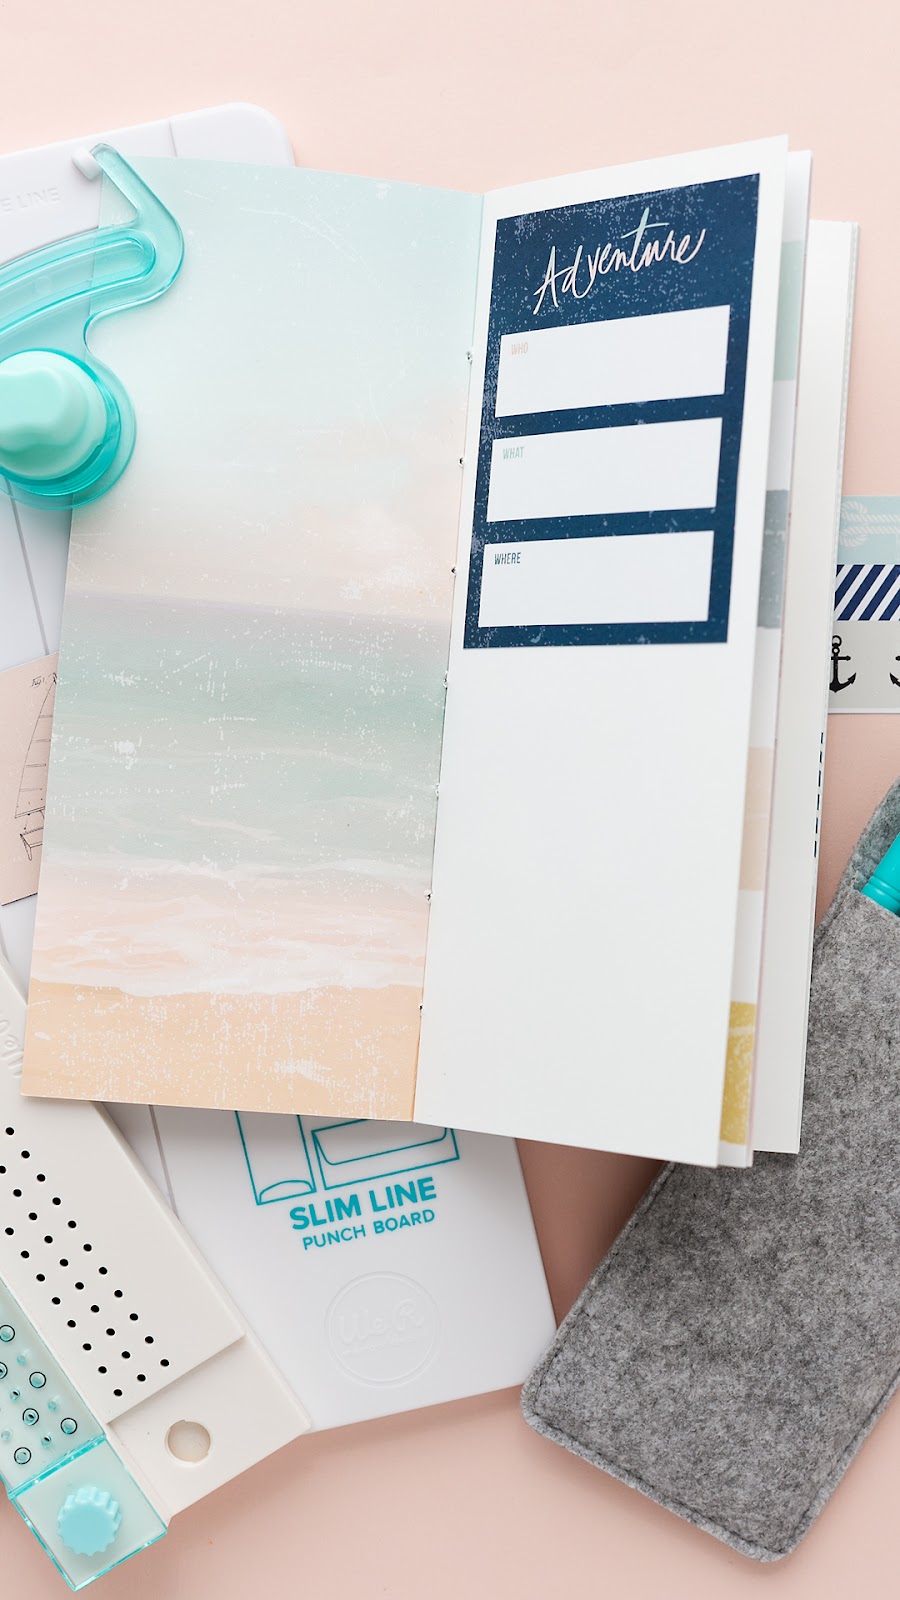
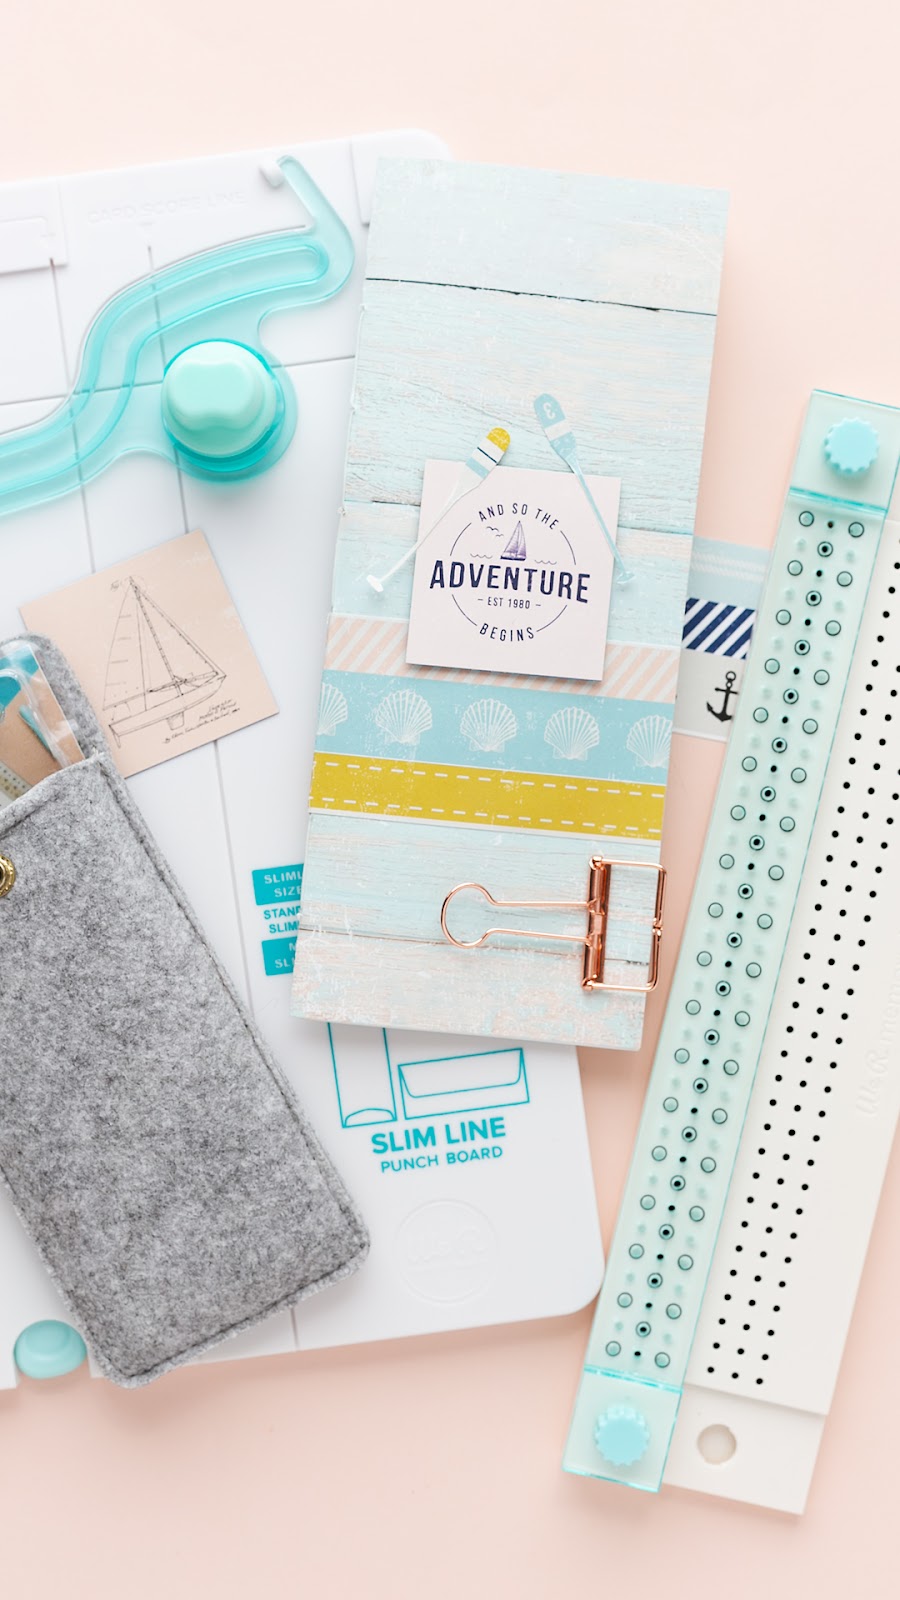
Summer is near and it's time to start preparing ways to document our travel adventures. I went for a slim travel journal with a few embellishments and a lot of room for photos and journaling. To make the journal, I used the Slim Line Punch Board and the Bookbinding Guide - both from We R Makers.

The Slim Line Punch Board let's you not only create cards with coordinating envelopes, it's also great for journals. Follow the instructions that come with the punch board to cut and score patterned papers. I used some of the wonderful and pretty papers from Heidi Swapp's Set Sail Collection. The patterned papers are perfect for any summer papercrafting projects. I really like the designs and colors. The embellishments are great too. By the way, the collection also comes with pretty blank notebooks - giving you enough room for journaling and taking notes. But now onto today's travel journal. I recorded a video to show you how I created the mini book. Enjoy watching - you can find the link further down.


And now please watch my video:


Thank you for stopping by today. Are you going to make a travel journal this year? See you next time here on mojosanti. Xoxo, Sandra

We R Makers | Scrapbook Layout with the Rotating Cutting Mat

We R Makers | Scrapbook Layout with the Rotating Cutting Mat

[Ad] We R Makers | Scrapbook Layout with the Rotating Cutting Mat

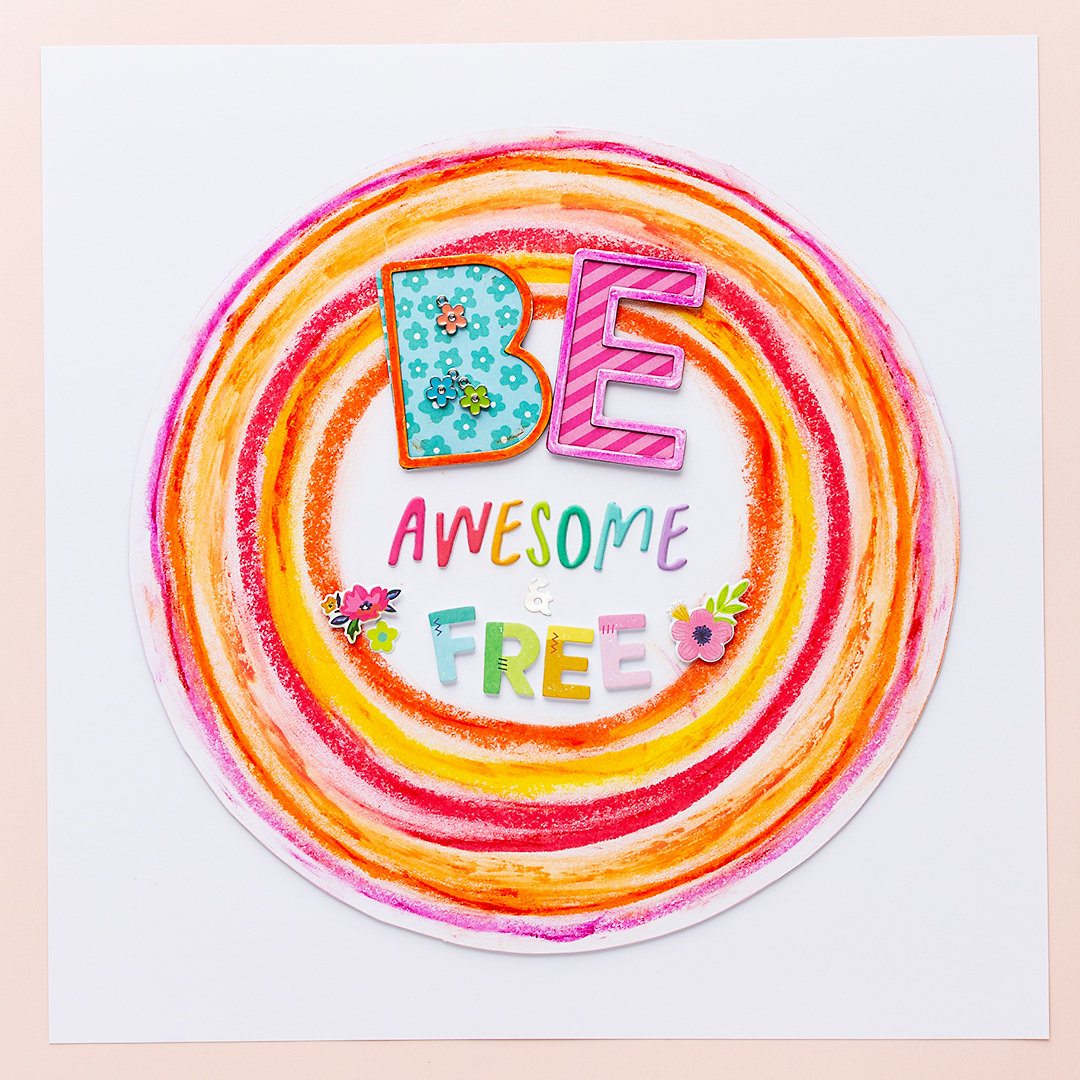
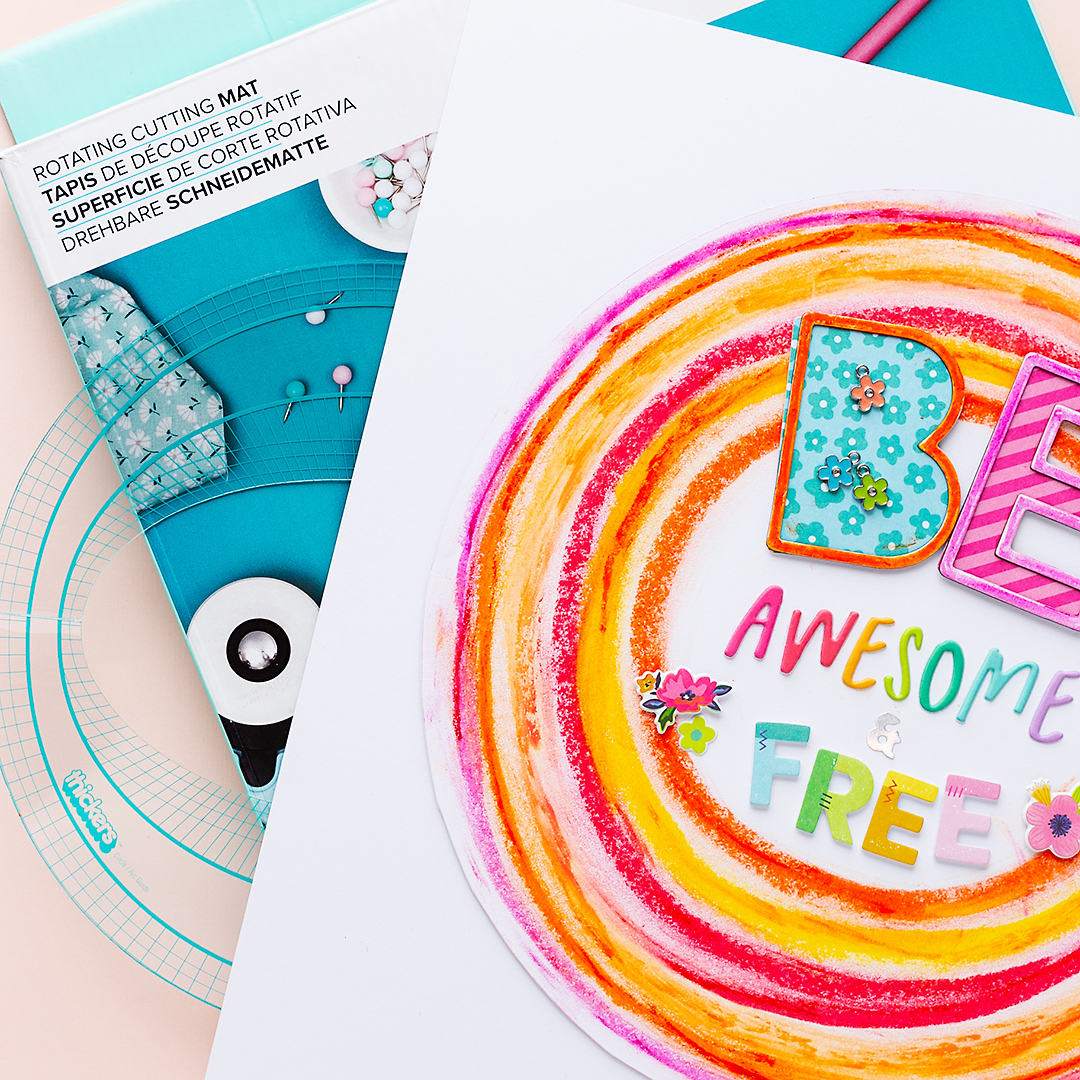
Today I'm sharing a colorful motivational scrapbook layout inspiration along with directions and some tips for creating today's layout. The Rotating Cutting Mat is not only perfect to cut paper. It's also a very helpful tool to draw circles with crayons! Let's check out the project:


DIRECTIONS:

  1. Cut a circle from white cardstock. It should fit onto the rotating cutting mat.
  2. Place the paper on the mat, grab an art crayon and gently press it down to the paper. Then rotate the cutting mat. This will help you draw nice round circles.
  3. Decorate the layout with the die-cuts alpha stickers.


TIPS:

  • Fixate the back of the round paper to the cutting mat with non-permanent tape. This will keep the paper in place while you rotate the cutting mat.
  • Use a kitchen roll, place it gently onto the crayon lines and then rotate the cutting mat. This will blur the lines and smooth out the colors.


SUPPLIES & TOOLS:

  • We R Makers Rotating Cutting Mat
  • American Crafts Blooming Wild Paige Evans Die-Cuts Alpha Shapes
  • American Crafts Vicki Boutin Art Crayons

Thank you for stopping by today. Have you used the Rotating Cutting Mat yet? Please check out my other scrapbook layouts here on my blog. Have a wonderful day! Xoxo, Sandra ♥


We R Makers | Cardmaking with the 1-2-3 Punch Board with short video

We R Makers | Cardmaking with the 1-2-3 Punch Board


[AD] We R Makers | Cardmaking with the 1-2-3 Punch Board and the Gingham Garden Collection | Video

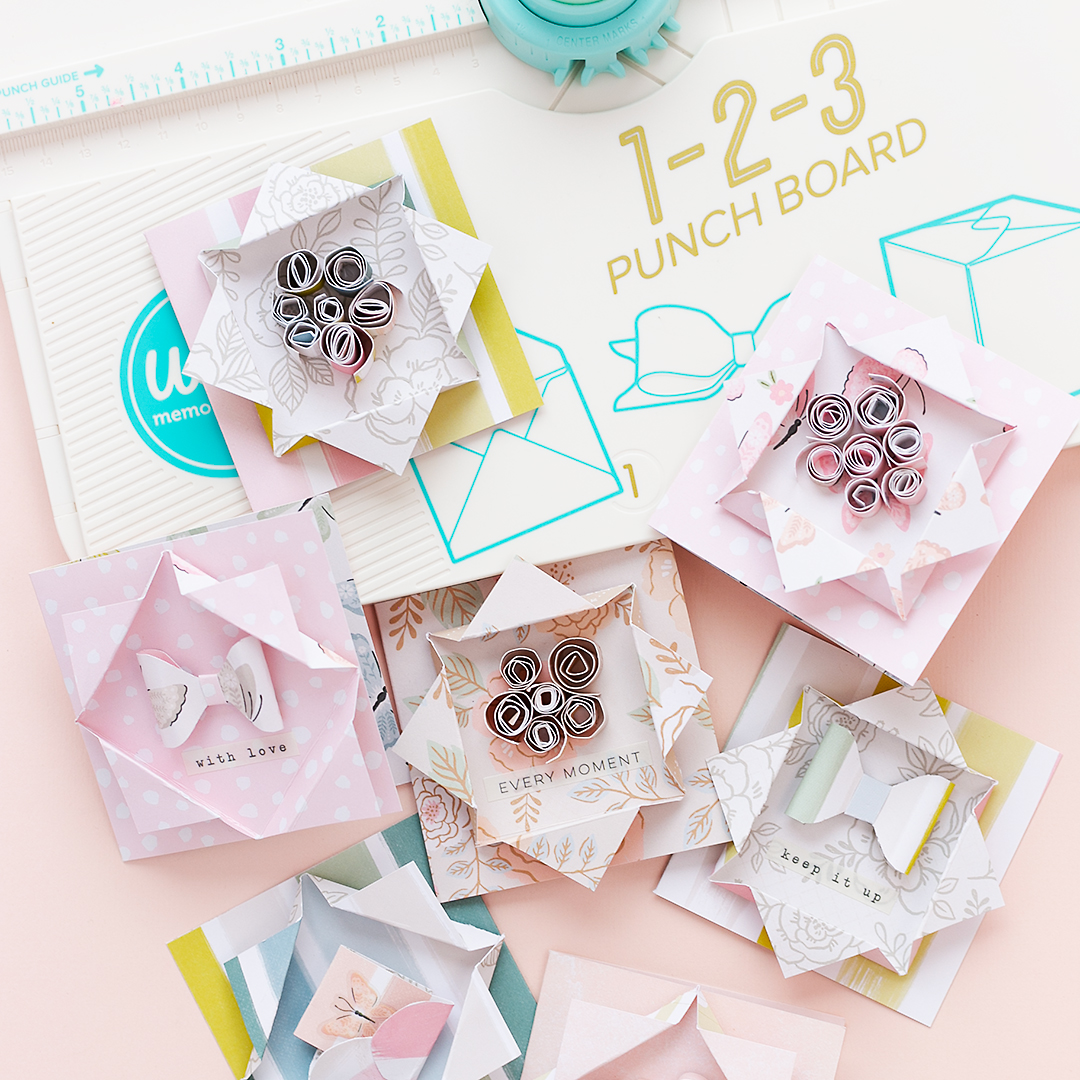
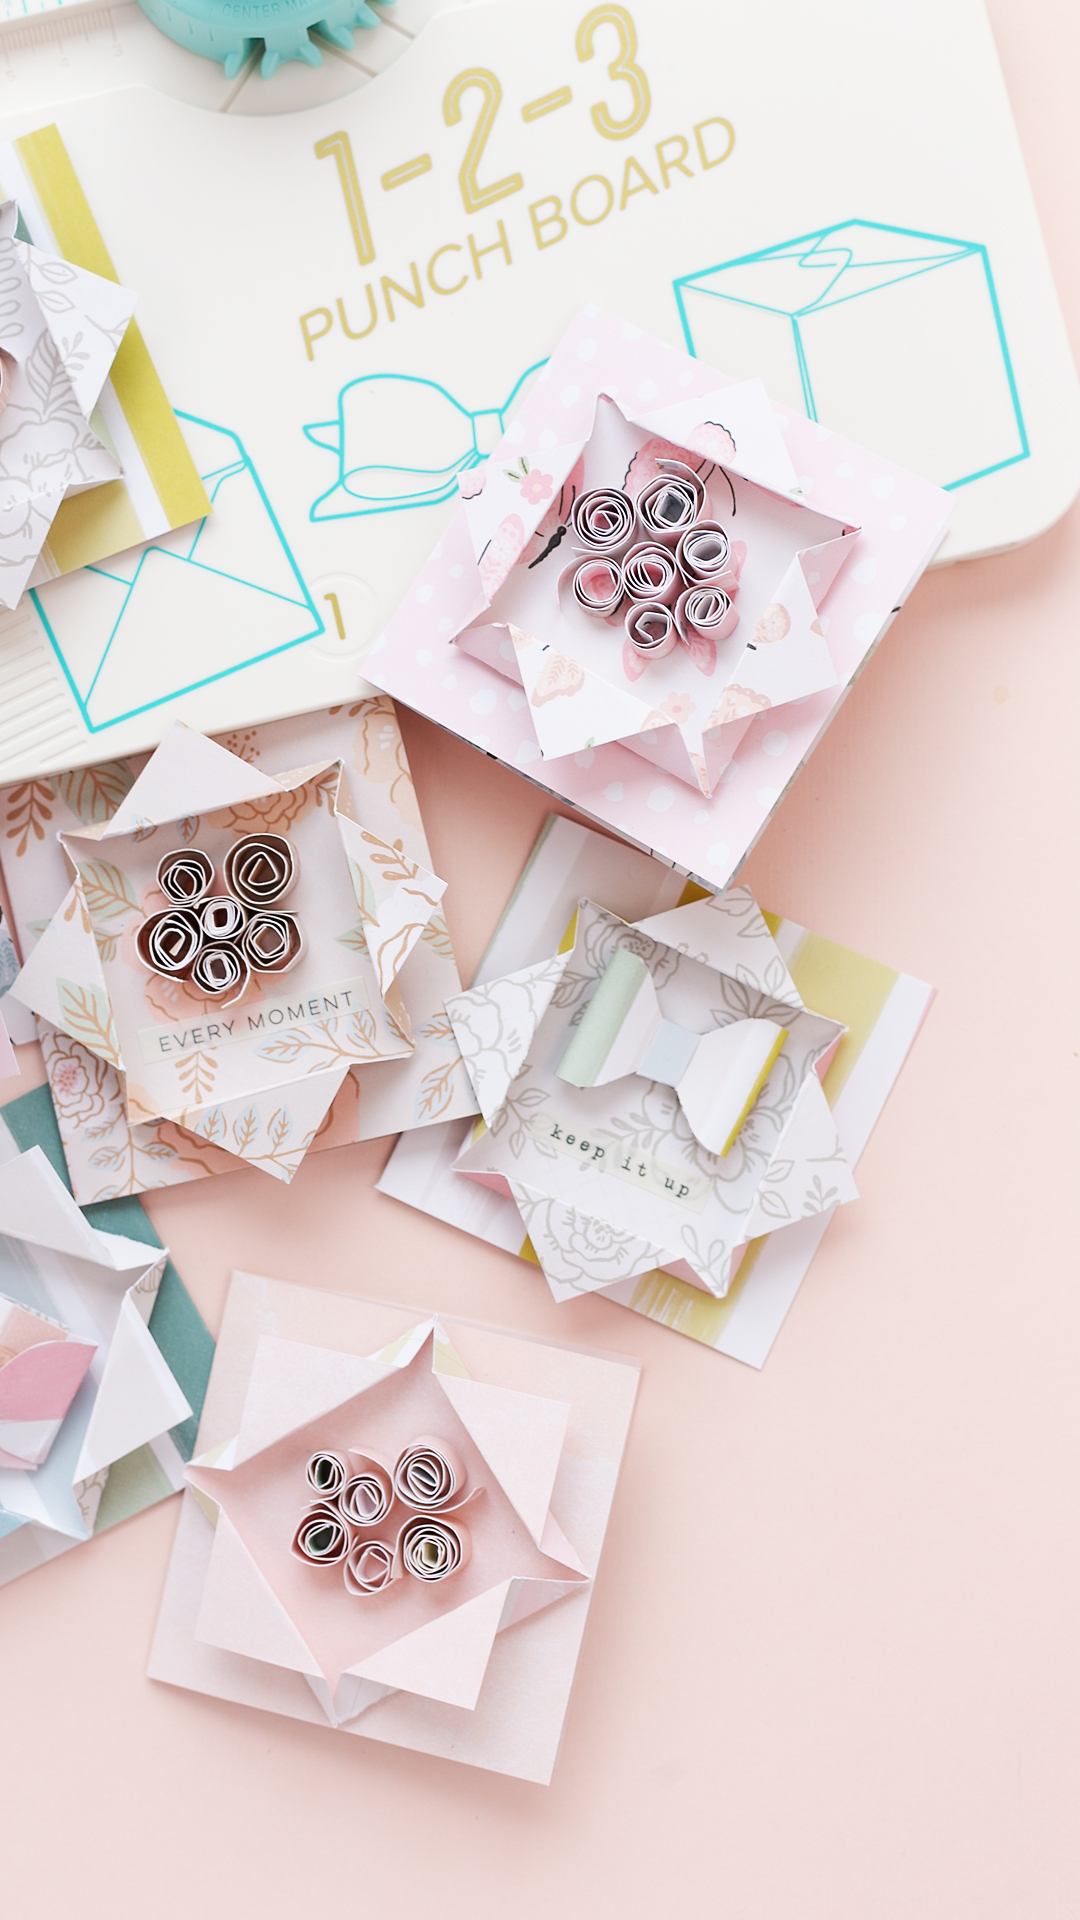
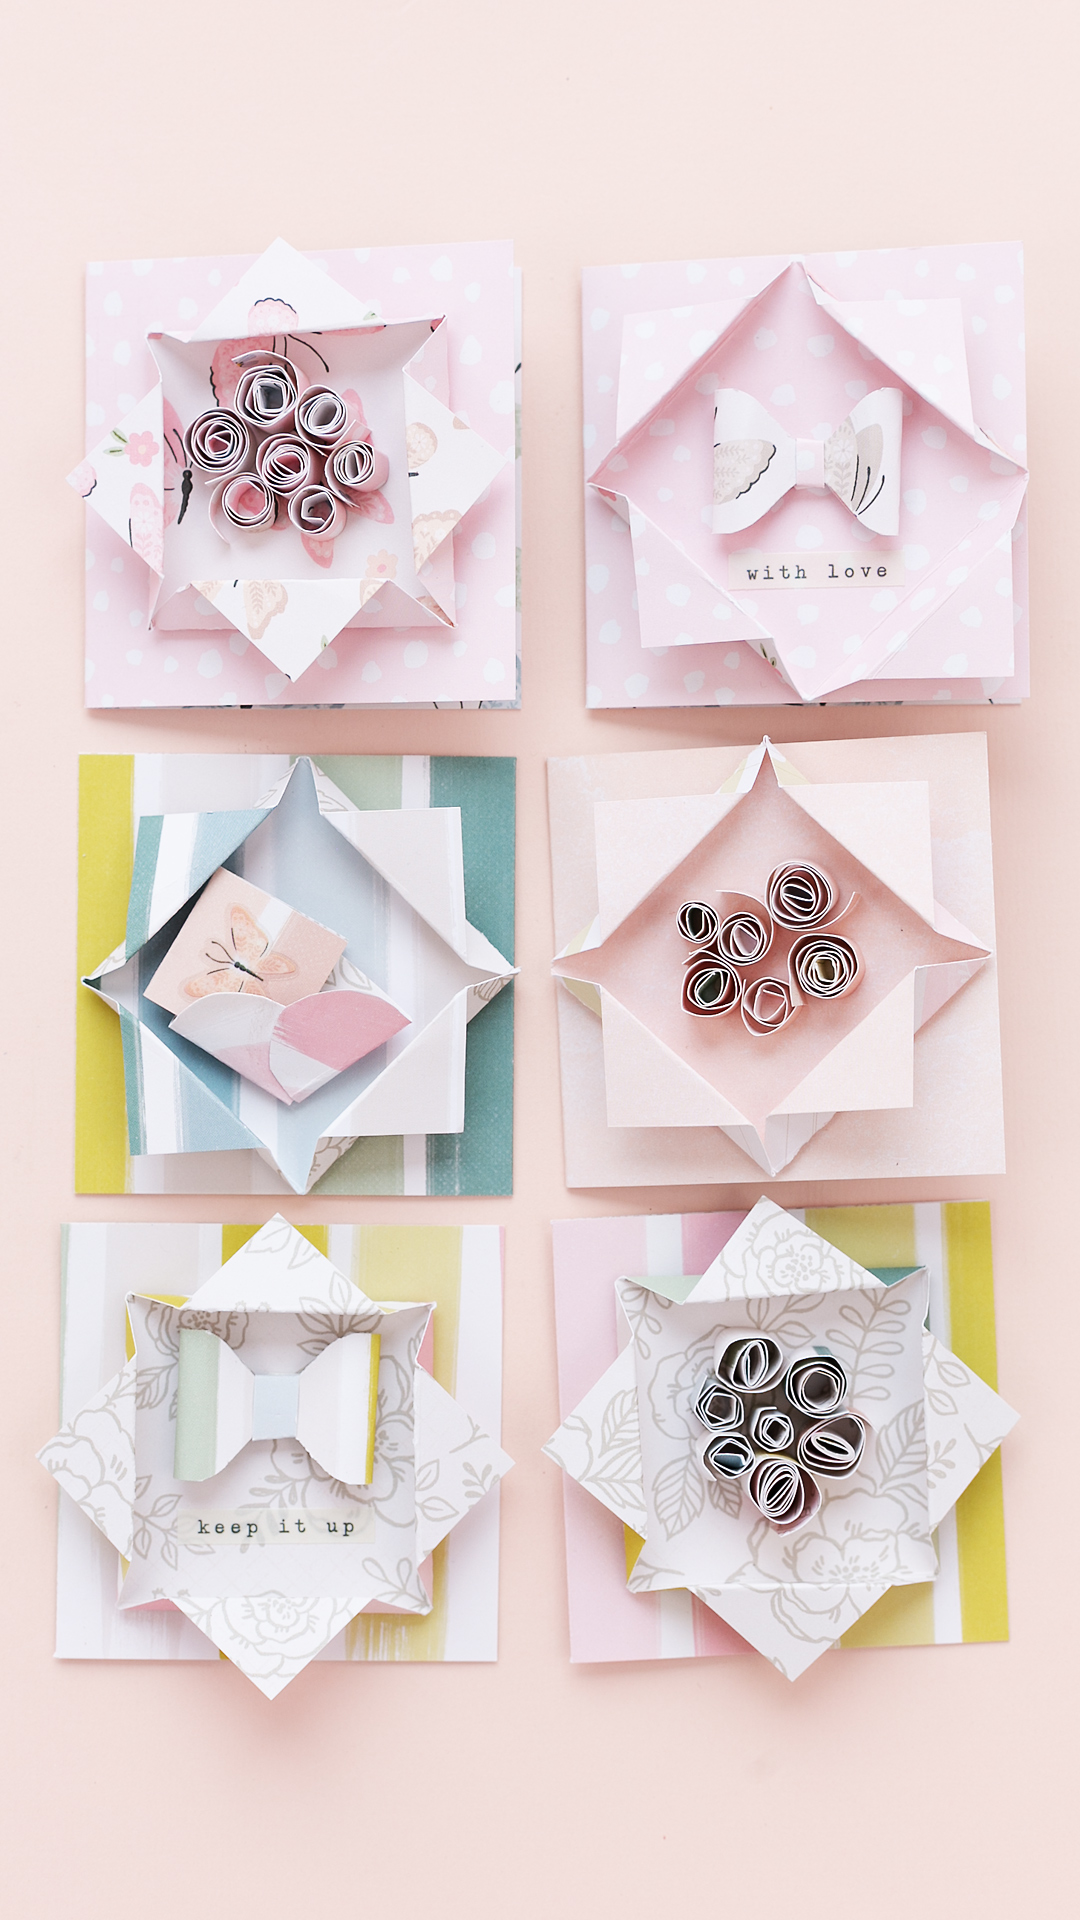
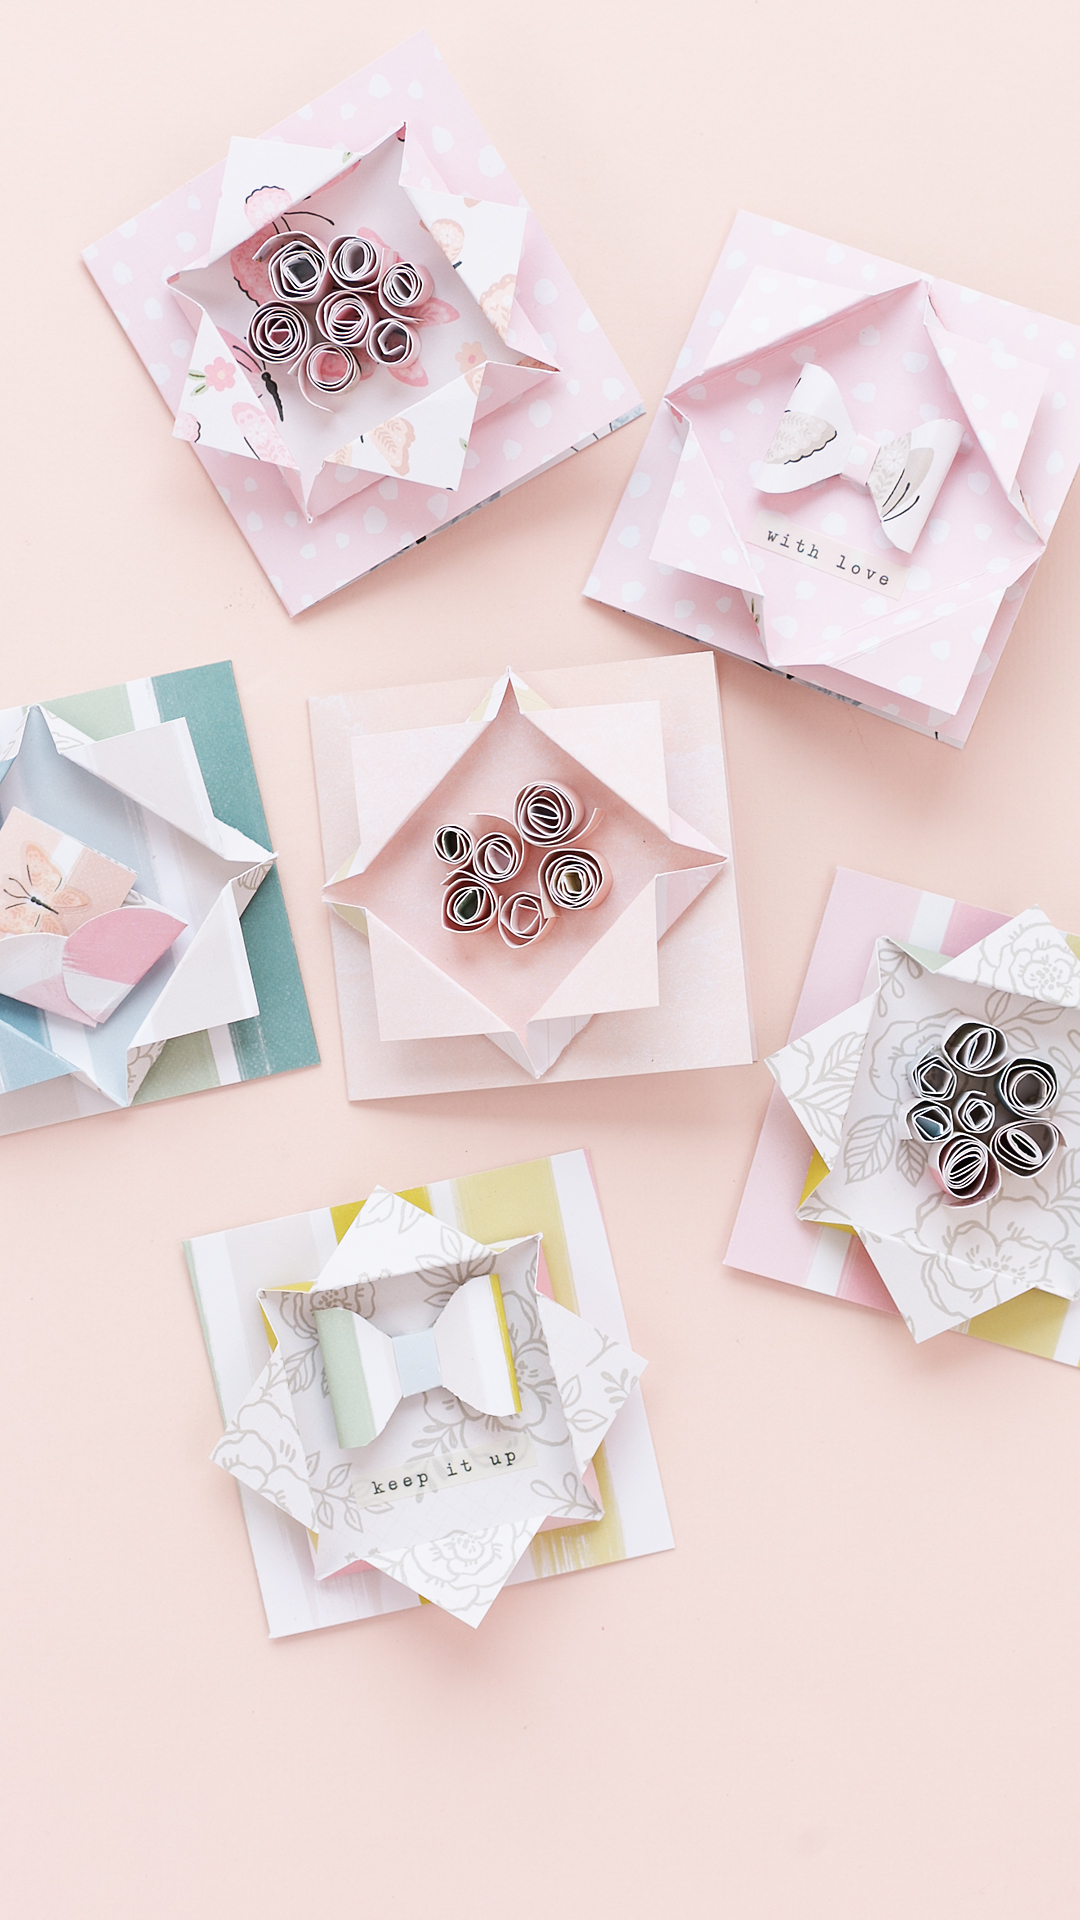
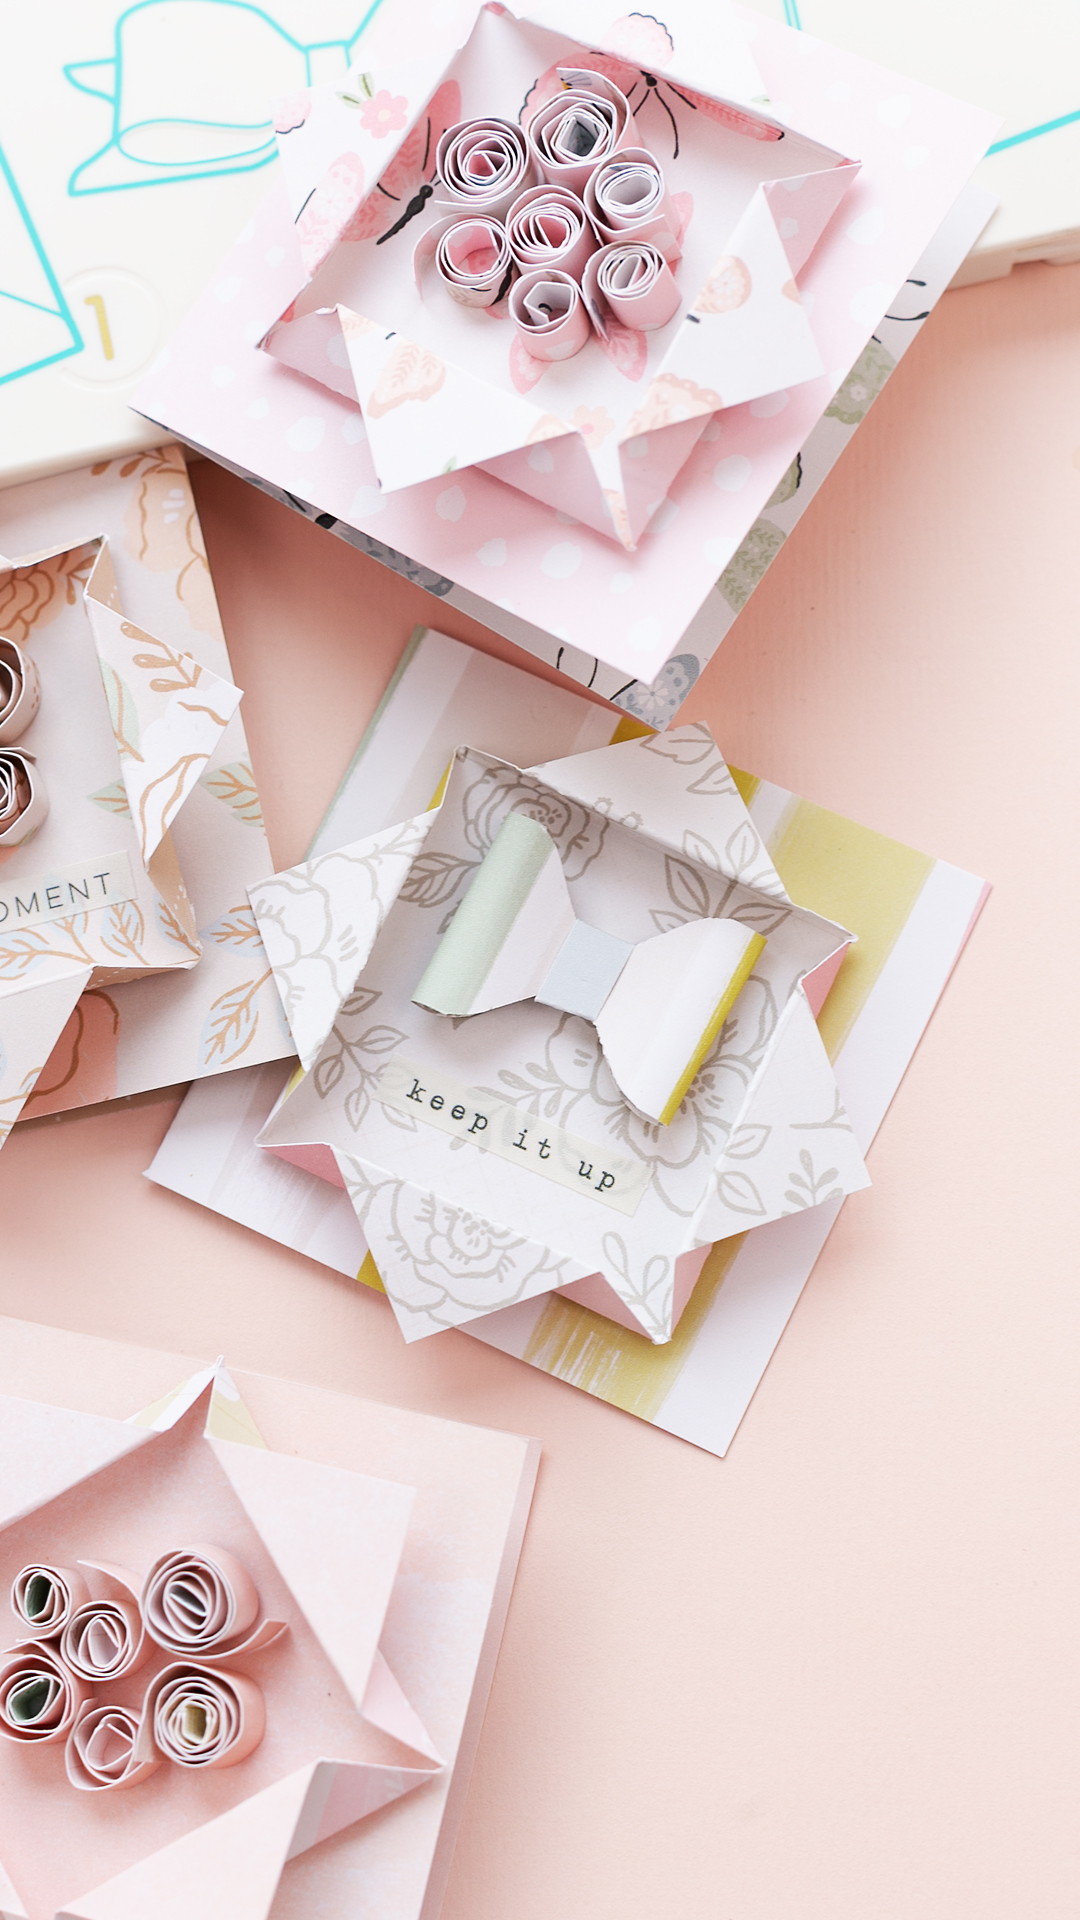
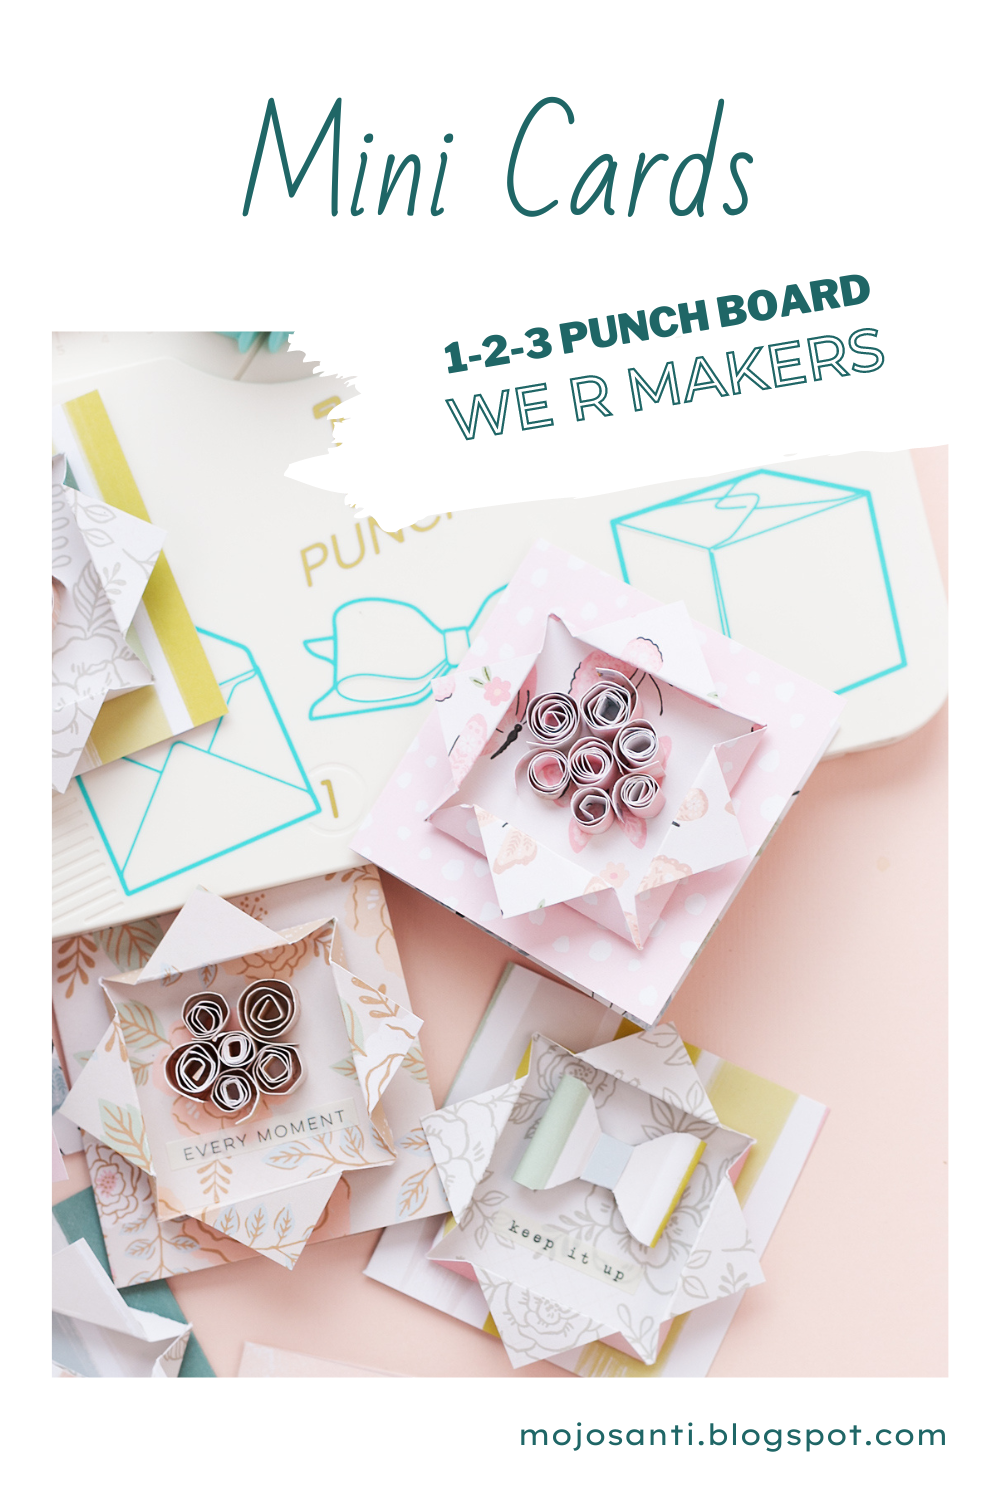
Create cute mini cards with the 1-2-3 punchboard by We R Makers and the Gingham Garden Collection by American Crafts. Please watch the video (the link will be provided further down) and see how to:

  • Cut and fold patterned paper to get a square base card.
  • Score and fold a decorative element with the punchboard.
  • Roll strips of paper to make the most simple flowers and create cute bow embellishments with the punchboard too.

This will help you create cute mini cards with that special something ♥.


And here is the video. Enjoy watching it:


Want to see some more of the cards that I created in the past?! Check out my other cardmaking ideas. Have a wonderful day! See you next time here on mojosanti. Xoxo, Sandra ♥


We R Makers | Cards with the All-in-One Magnetic Platform

We R Makers | Cards with the All-in-One Magnetic Platform


[AD] We R Makers | Cards with the All-in-One Magnetic Platform

Today I'm sharing two handmade cards that I made with the Magnetic Platform by We R Makers. It has an easy to clean 12"x12" creme platform on one side, and a black cutting mat on the other. Both have a grid pattern to help you align paper easily. Please watch my demo video. You will find the link towards the end of this post.

The tool is perfect for cutting, embossing, and stenciling. I created cards with a stencil from Vicki Boutin's Color Study Collection. It's called Bubbles. And I also used the watercolor set by Vicki Boutin (from the Print Shop Collection - it's called Rainbow).


DIRECTIONS:
  1. Cut a piece of white cardstock to size 4“ x 6“.
  2. Place the cardstock onto the All-In-One Magnetic Platform and fasten with the magnets.
  3. Apply watercolors from the Vicki Boutin Print Shop Cosmic Watercolor Set with a brush. TIP: You can apply two or more colors.
  4. Attach thickers or alpha stickers for the title.


And now watch the video:


SUPPLIES & TOOLS:
  • All-In-One Magnetic Platform
  • Vicki Boutin Print Shop Cosmic Watercolor Set: Rainbow
  • Vicki Boutin Color Study Collection Stencils: Bubbles

Thank you for stopping by. Have you used the All-in-One Magnetic Platform? How do you like it? Wishing you a lovely day, yours Sandra.


American Crafts | Mini Album with Parasol and the Book Cover Guide by We R Makers

American-Crafts-Mini-Album-Parasol-Book-Cover-Guide- WRMK


[AD] American Crafts | Mini Album with Parasol and the Book Cover Guide by We R Makers

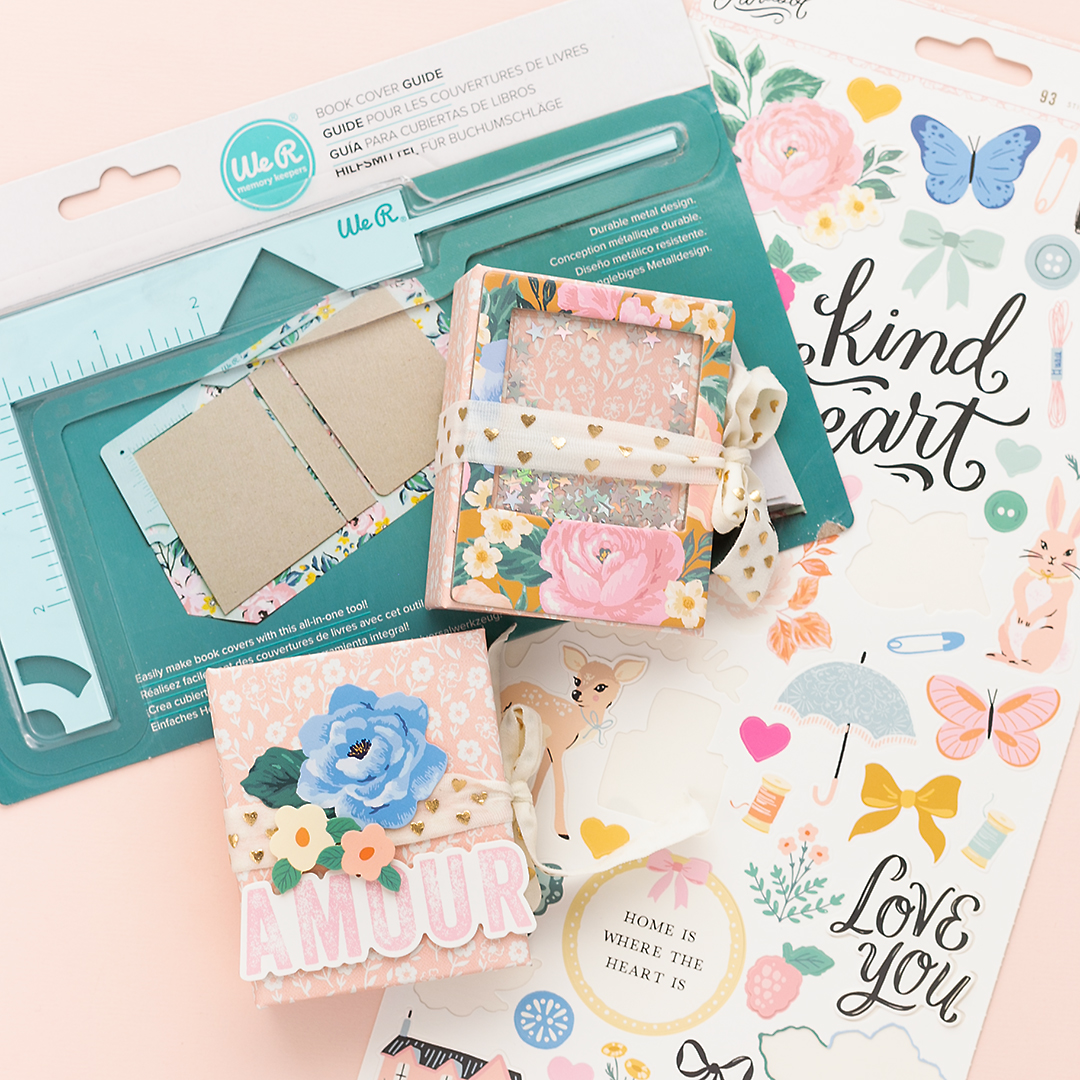
Welcome to a new post here on mojosanti. Today I'm sharing a cute handmade mini album. I used greyboard, bookbinder's glue, the Parasol Collection by Maggie Holmes/American Crafts and the Book Cover Guide by We R Makers. NOTE: We R Memory Keepers changed their brand name to We R Makers in January 2023!

The Book Cover Guide is a very helpful tool for bookbinding. It's a 5-in-one-tool made of metal. And it will help you to:

  • place greyboard perfectly onto the paper (the paper you want to use to cover the greyboard)
  • make consistent gaps (between the pieces of greyboard you are using for your bookbinding project)
  • trim corners at the proper angles
  • make perfect round corners (if you want to have round corners)
  • mark spots (if you want to use elastic closure)
 
I'm sharing a video on how to use it. Please find the link towards the end of this post. And now, let's have a look at the finished project:


And here is the video for you:


TIP: The accordion fold pages measure 3" x 12" and I scored the cardstock at 1" and then from this first score line all other score lines at 2 1/4" each (the second score is at 3 1/4") all the way through to the end of the paper strip.


Thank you for stopping by today. Have you used the Book Cover Guide? How do you like it. Wishing you a good day! Love, Sandra


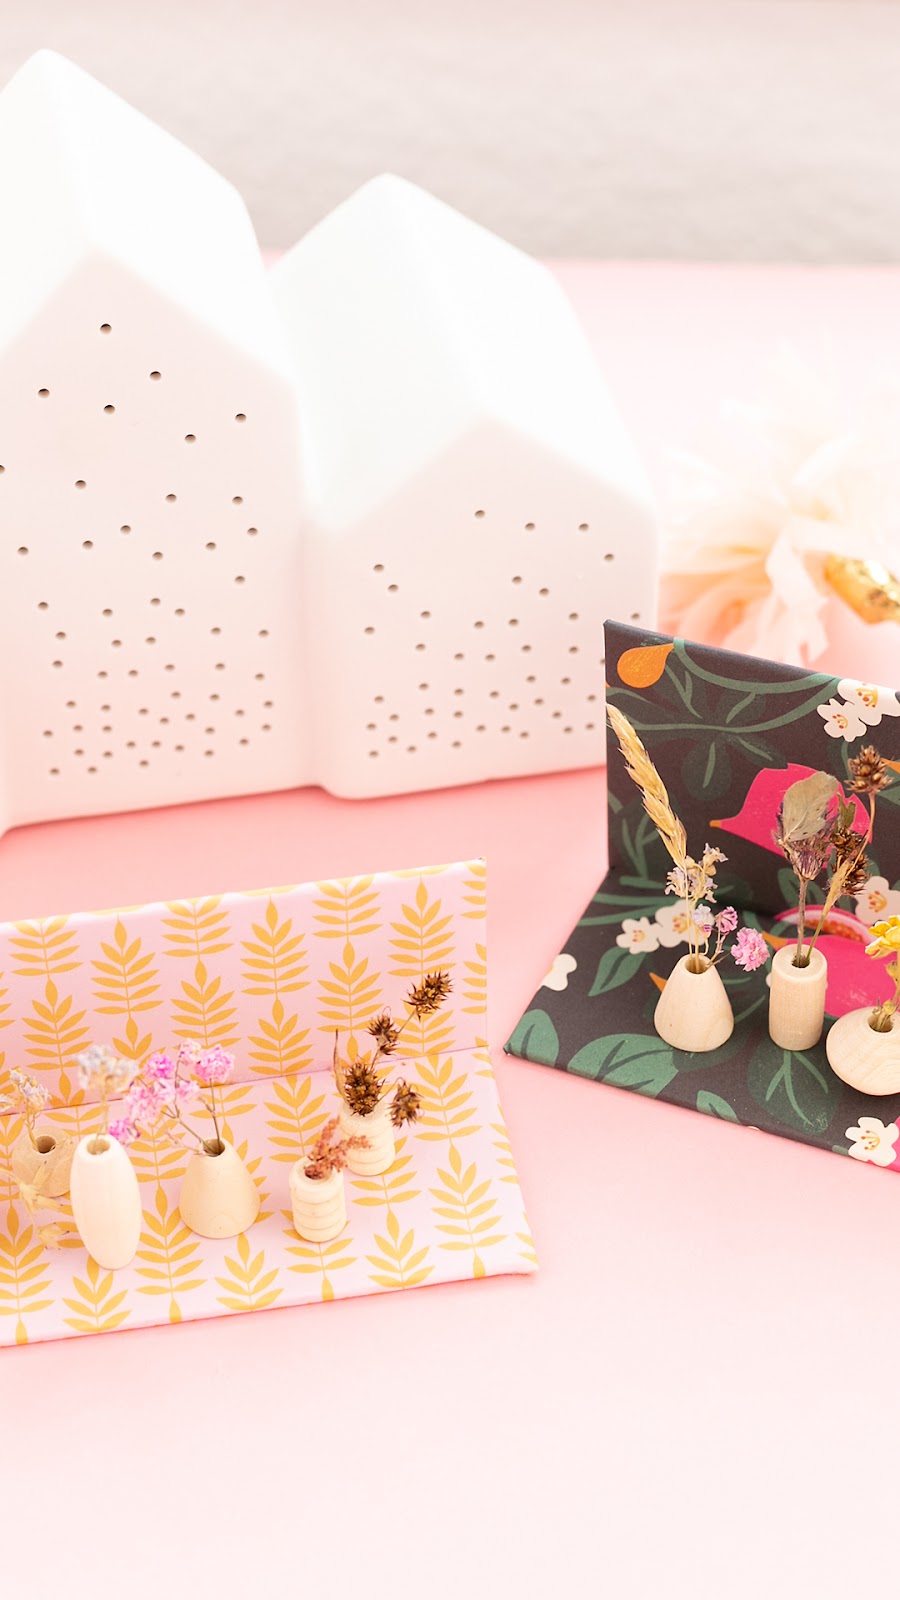
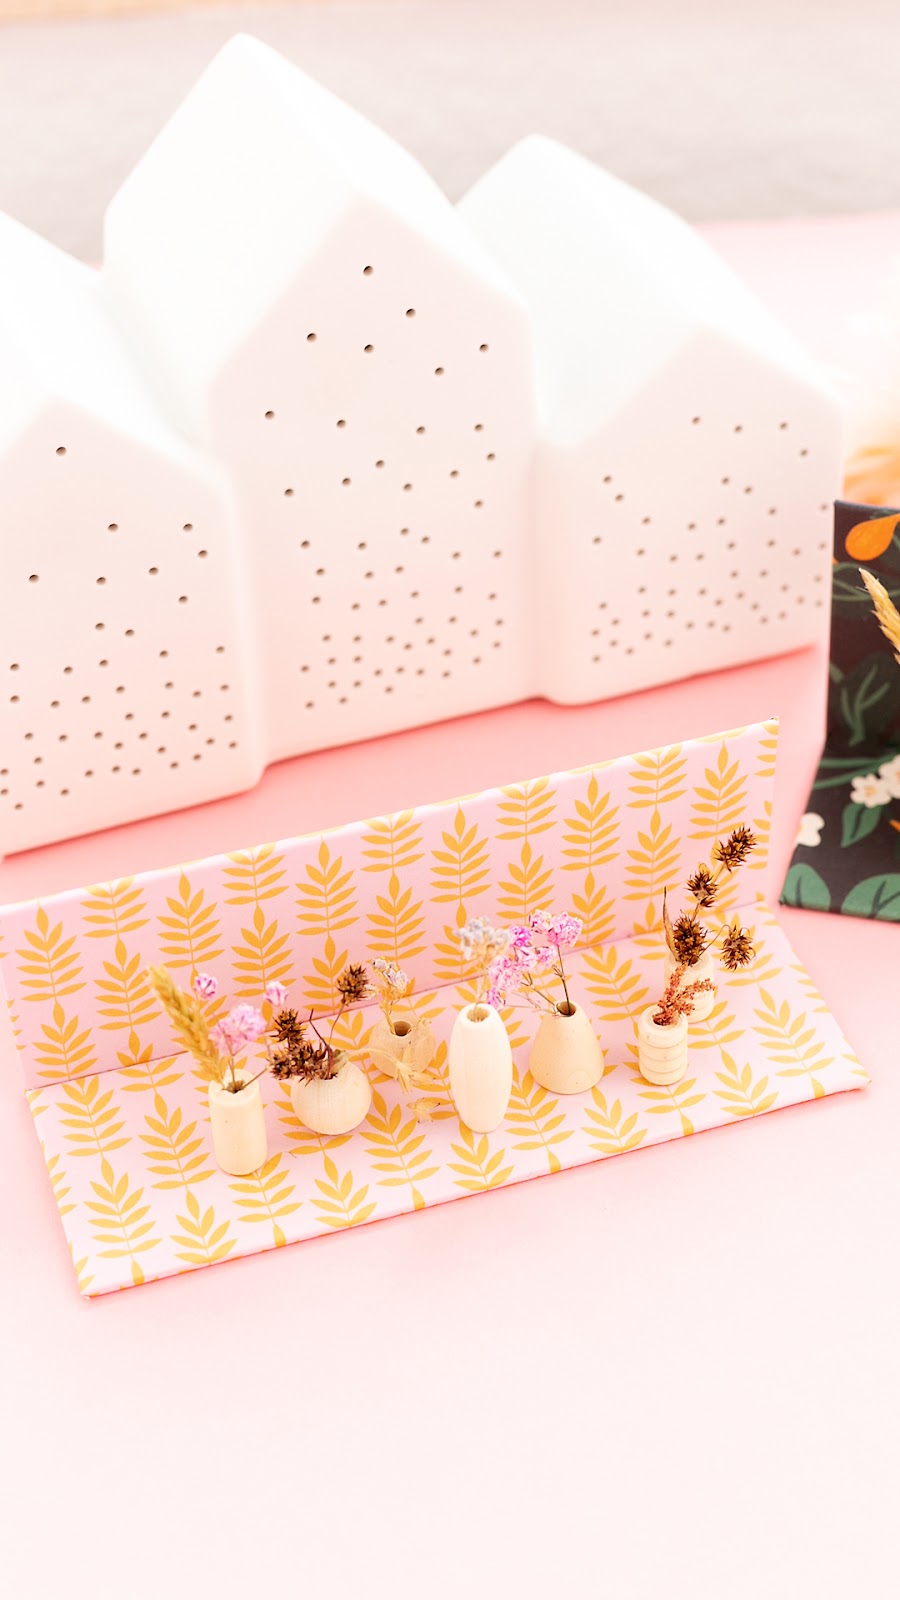
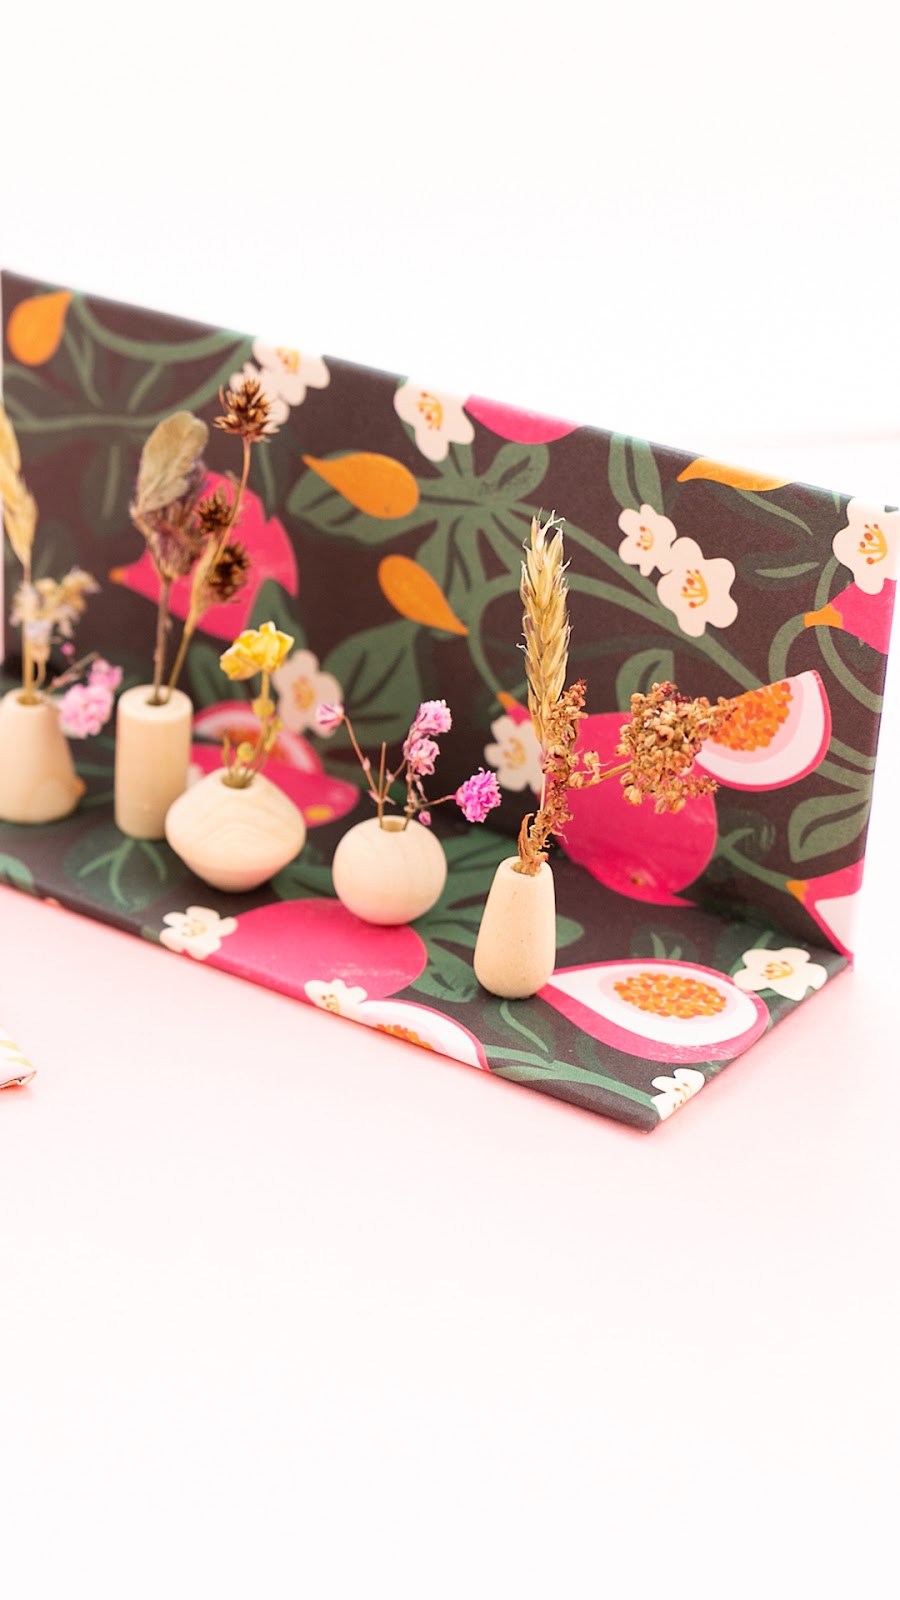
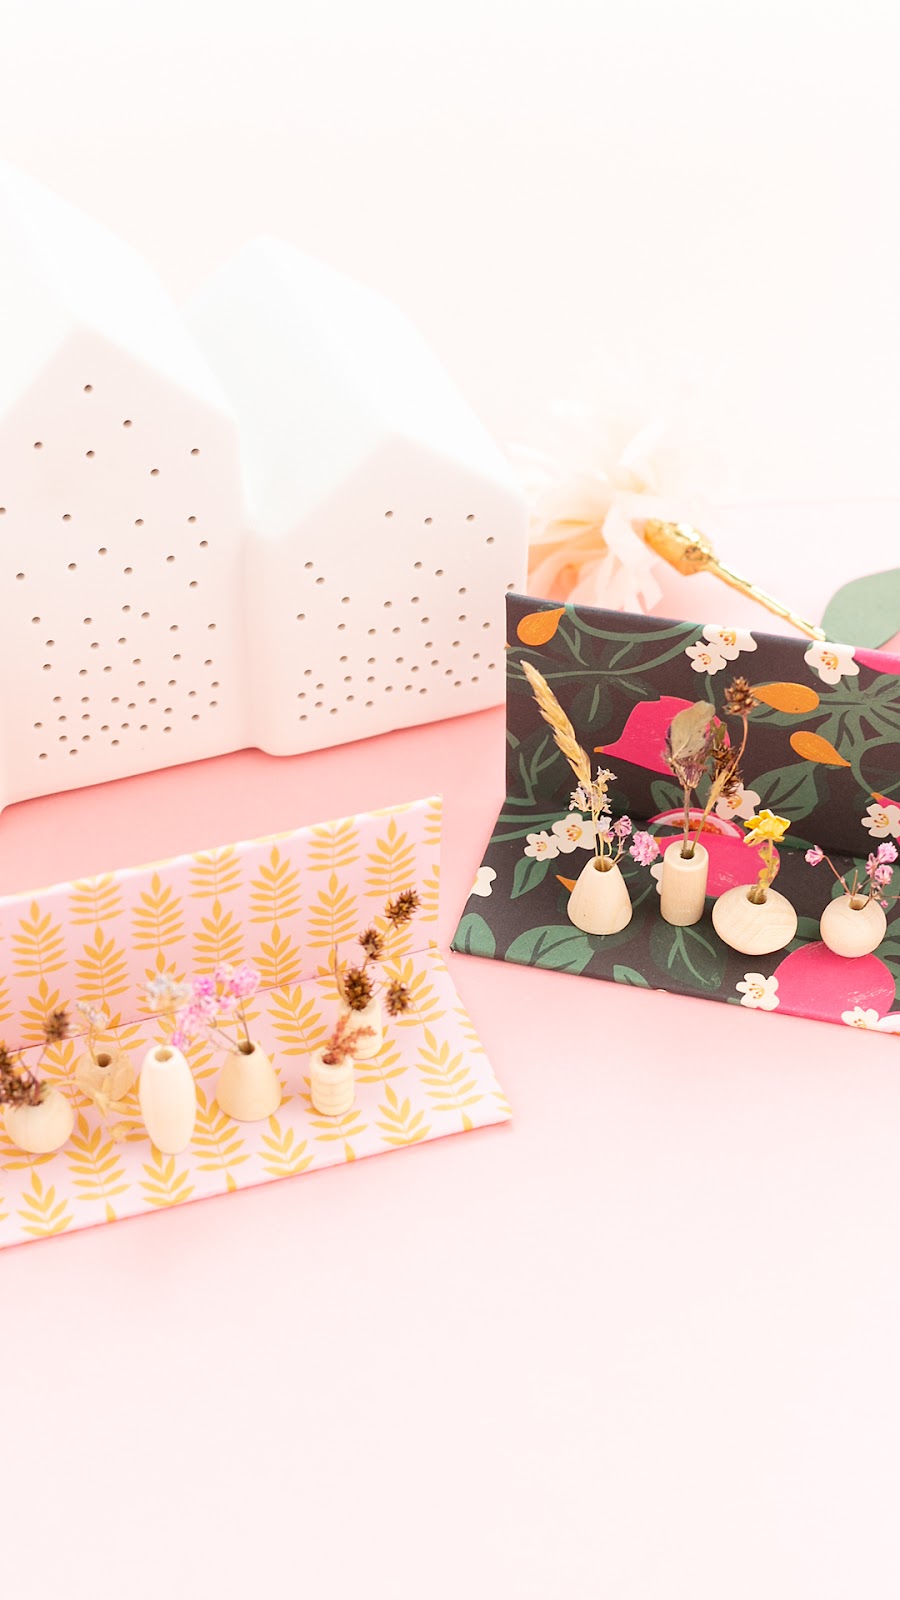
WRMK | Miniature Floral Wall Decor | Video


WRMK | Miniature Floral Wall Decor

Today I'm sharing a new fun project: Create a cute Mini Floral Wall Decor with the Corner Guides from We R Memory Keepers. In addition, you will need:

  • patterned paper
  • wooden beads in different shapes
  • dried flowers
  • bookbinder's glue

I'm also sharing a video on my YouTube channel. Please, find the link further down. Let's look at the photos of the finished projects:


And here is the video:


Thank you for stopping by today. I hope you like my Floral Wall Decor ♥. See you next time here on my blog. Xoxo, Sandra.


WRMK | Christmas Album Gifts with the Mini Cinch

WRMK | Christmas Album Gifts with the Mini Cinch


[Ad] WRMK | Christmas Album Gifts with the Mini Cinch

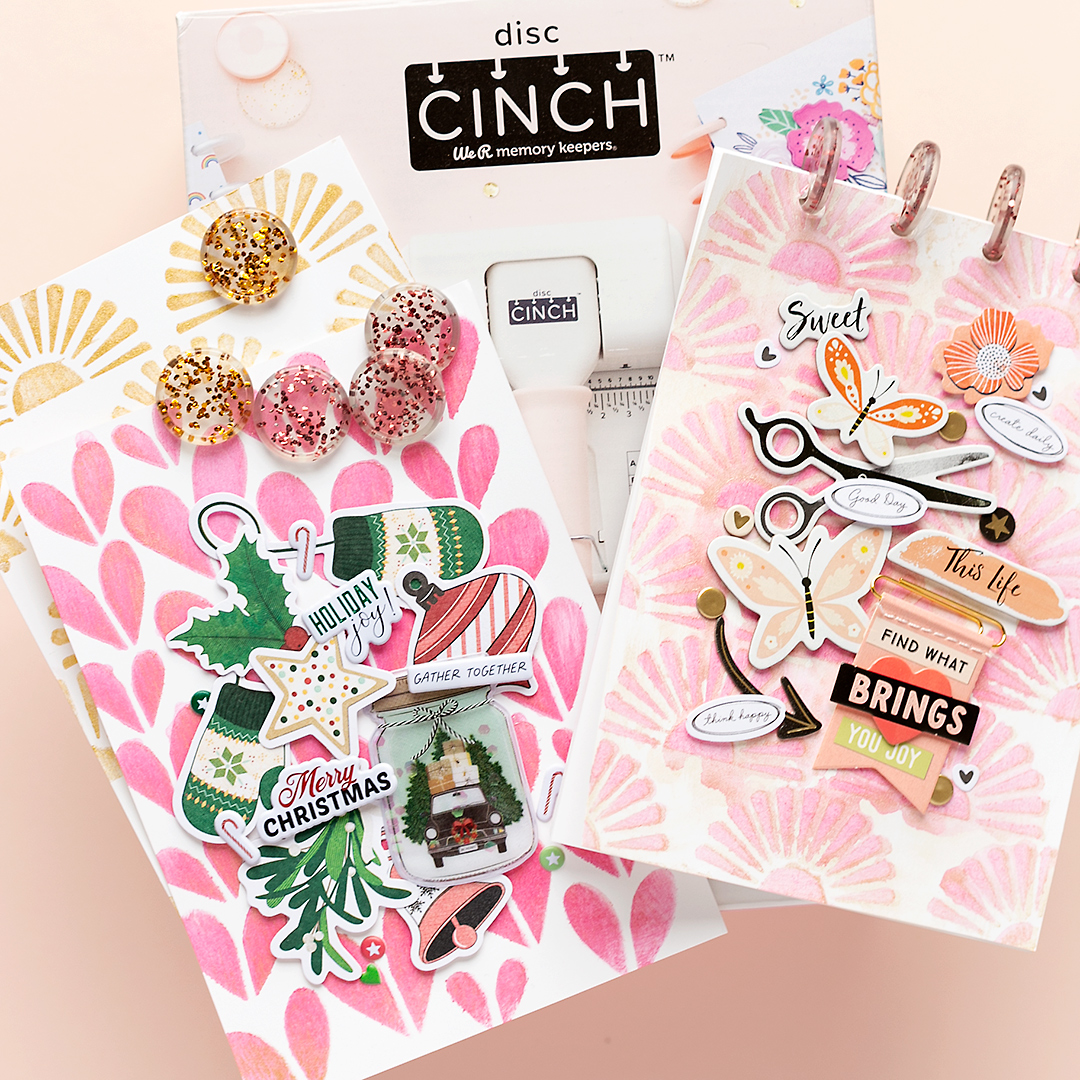
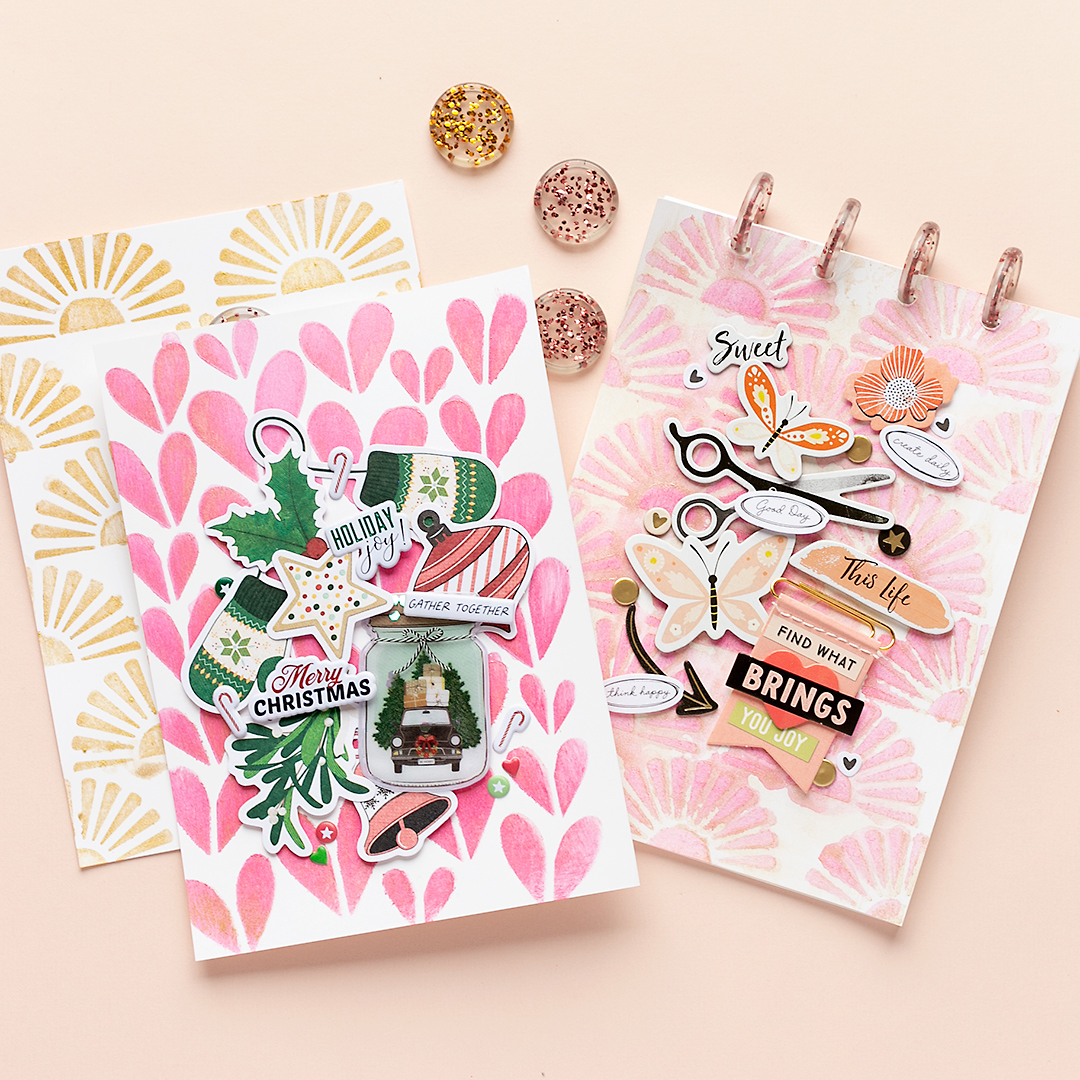
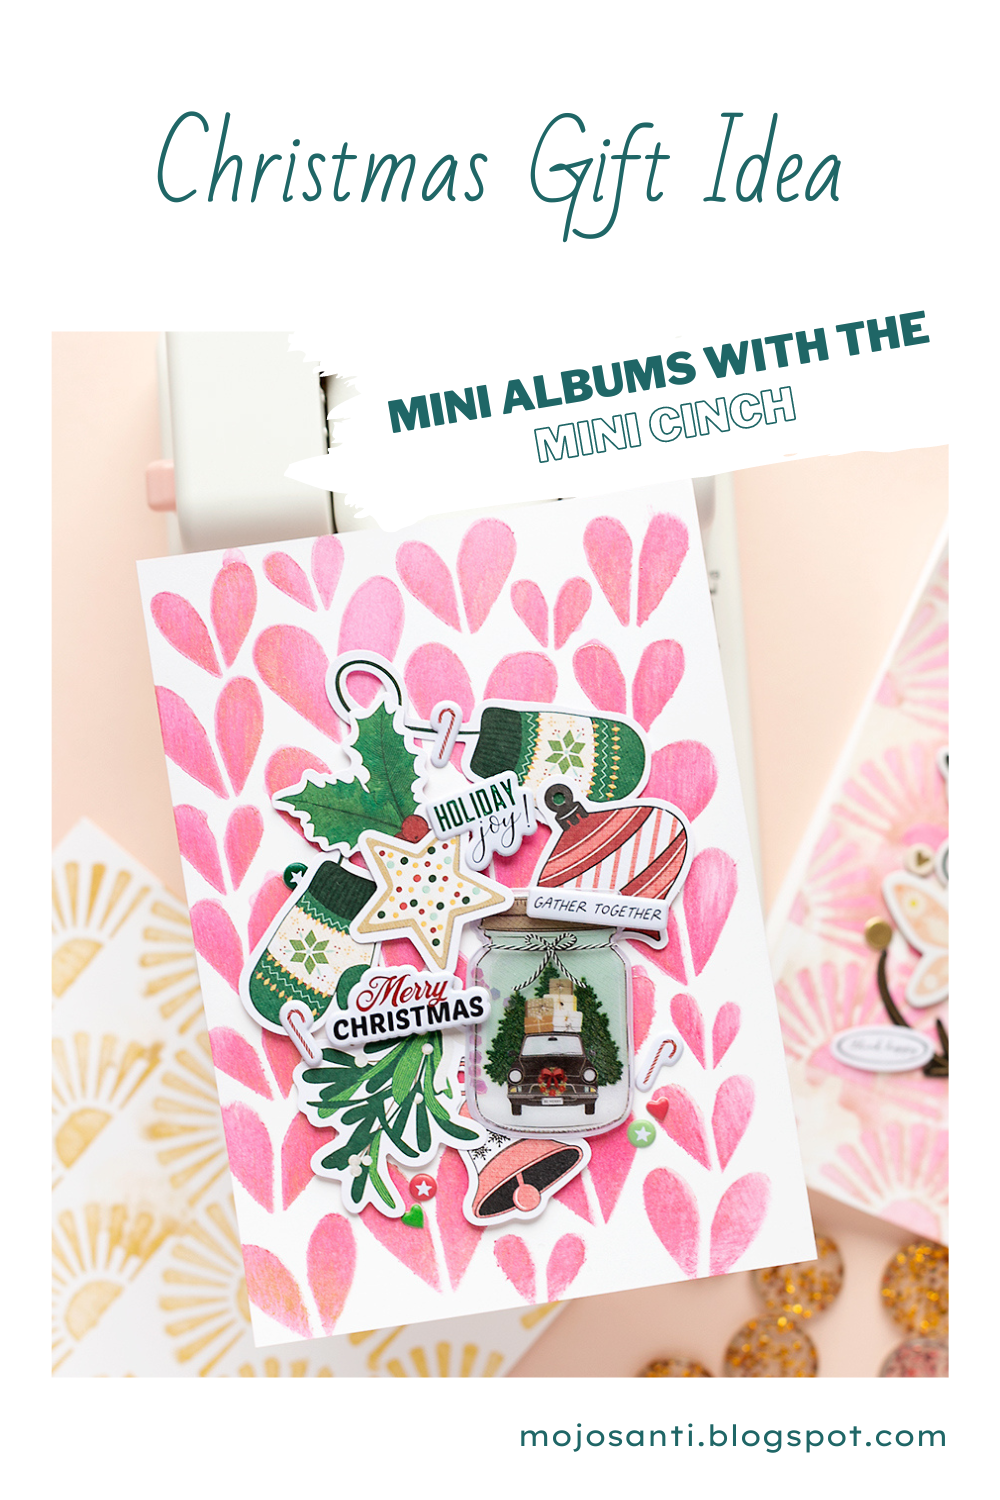
Hello and welcome to the final blog post here on mojosanti in 2022. Today I'm sharing a diy Christmas gift inspiration. Create mini albums with a unique cover. I made the background with stencils and pastes by Vicki Boutin from American Crafts. Let's have a look at the photos:


DIRECTIONS:

  1. Cut a piece of white cardstock to the desired size.
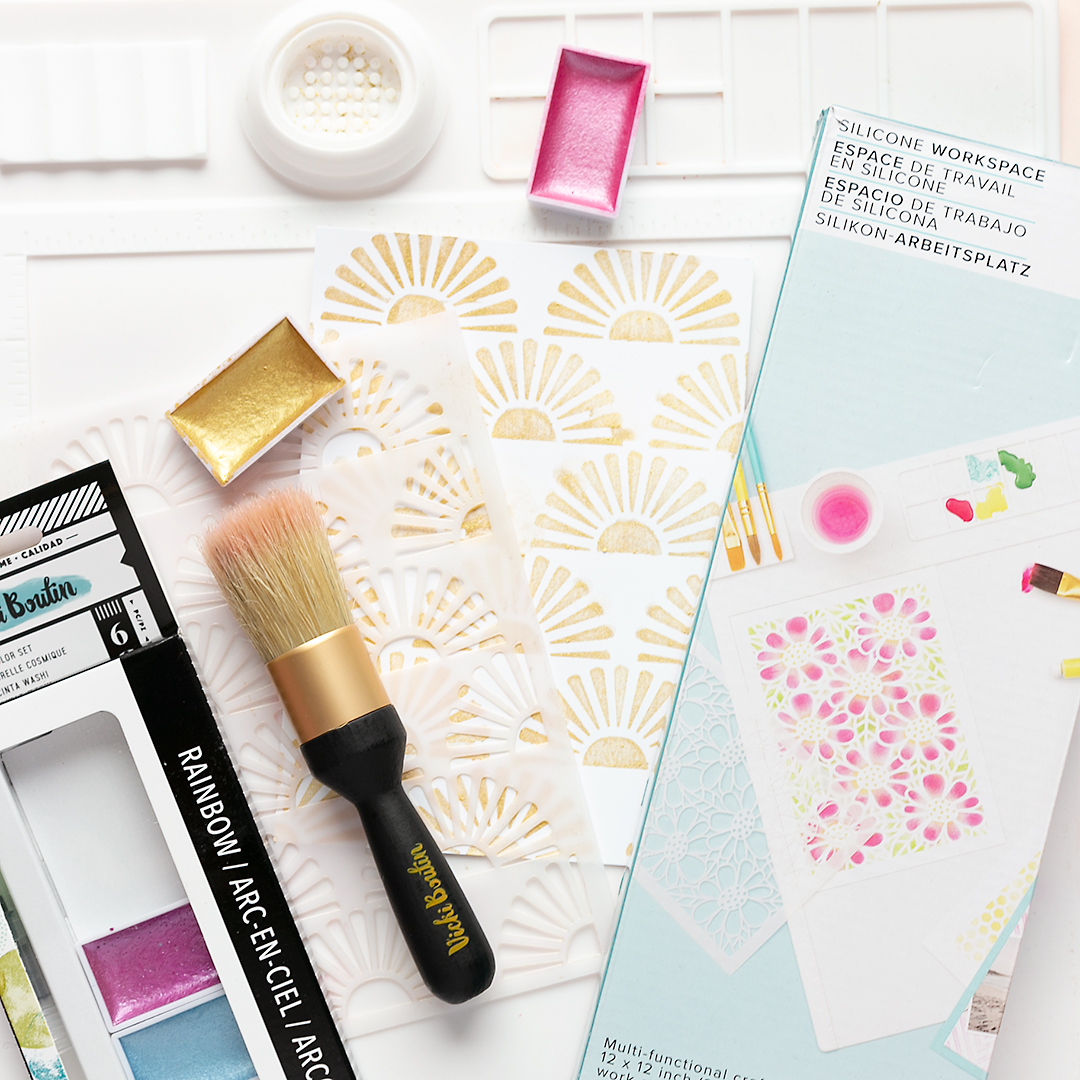
  2. Place the cardstock onto the Silicone Workspace & Stencil Mat.
  3. Use the Vicki Boutin stencil brush, a Print Shop stencil, and the Cosmic Watercolor Set to create a stenciled background. Let your design dry.
  4. Now, decorate the cardstock with embellishments from Vicki Boutin's Evergreen Collection.
  5. Cut pages for the mini album from white cardstock.
  6. Last but not least, create a disc bound mini album with the Mini Disc Cinch.

TIP: The customized mini albums also make great Christmas gifts.


SUPPLIES & TOOLS:

  • Mini Disc Cinch | WRMK
  • Silicone Workspace & Stencil Mat | WRMK
  • Vicki Boutin Evergreen & Print Shop | American Crafts

Thank you for stopping by. I'm wishing you a wonderful Christmas time. Enjoy the days off with your family and friends. Looking forward to seeing you here on my blog in the future. Best wishes, Sandra :).