WRMK | Organise with the Storage Bin Set and the Vinyl Tools Bundle Set with Video

WRMK | Organise with the Storage Bin Set and the Vinyl Tools Bundle Set with Video

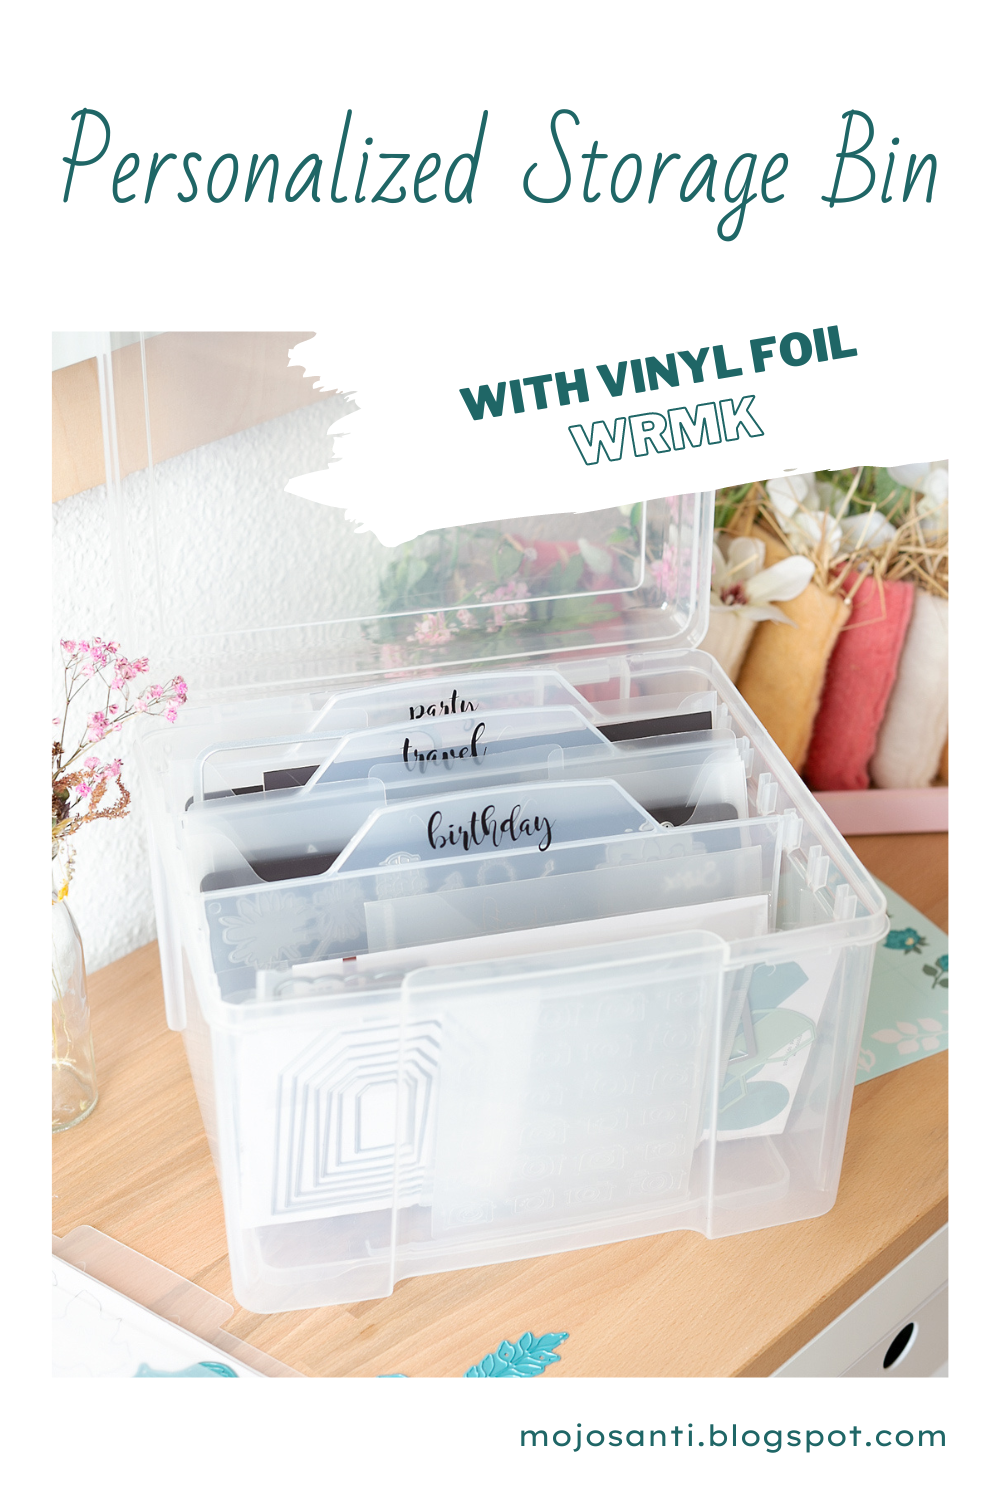
[AD] WRMK Organise with the Storage Bin Set and the Vinyl Tools Bundle Set with Video
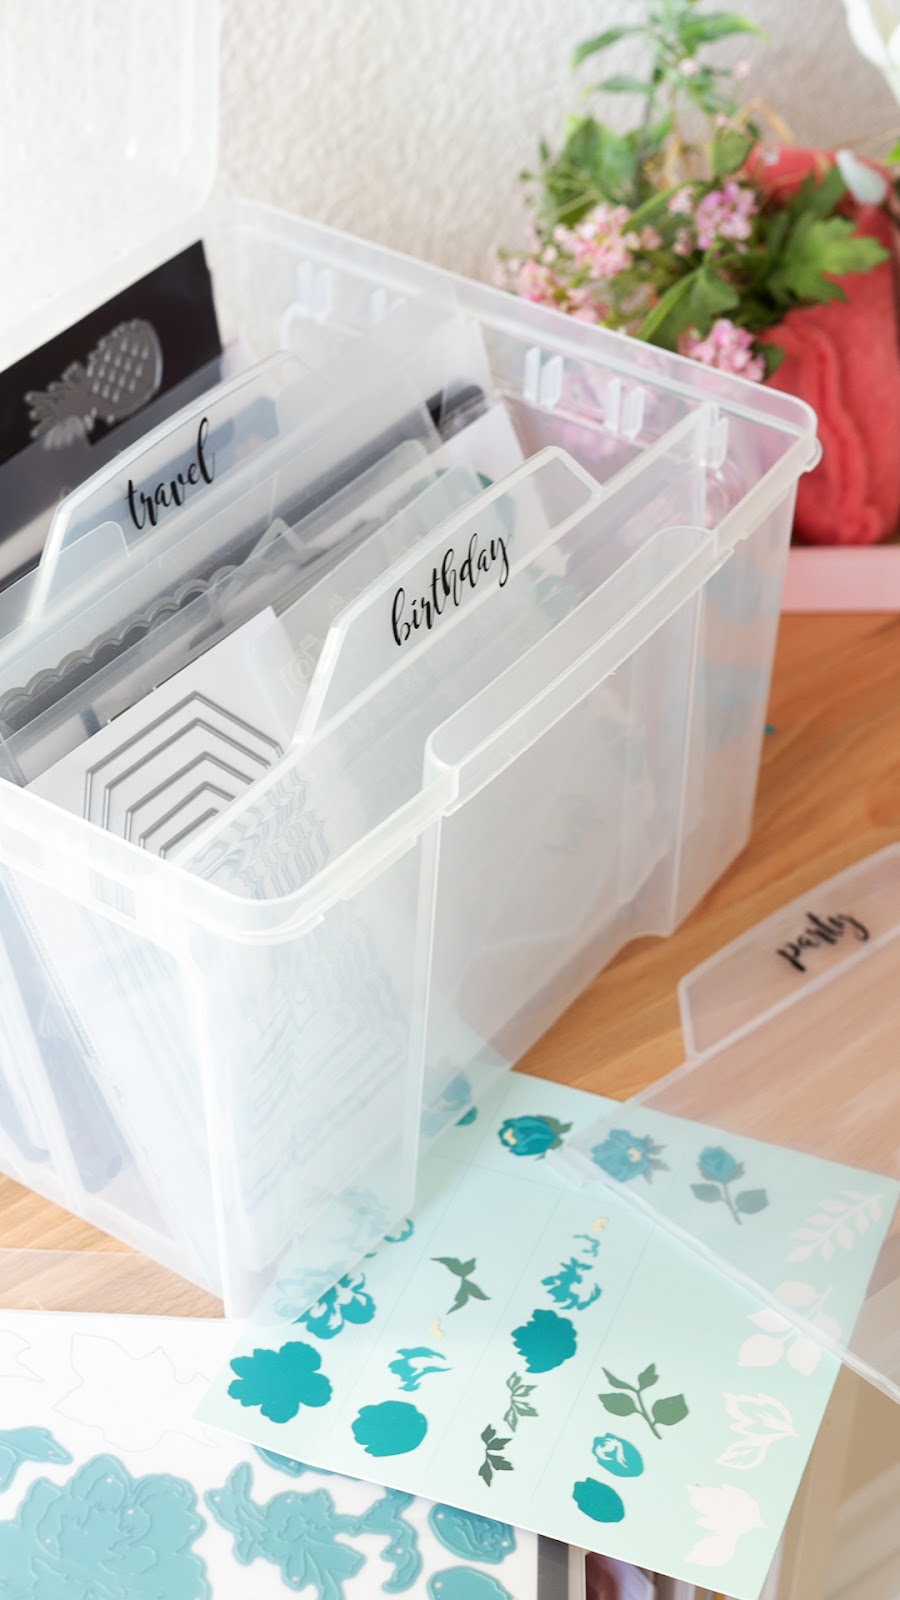
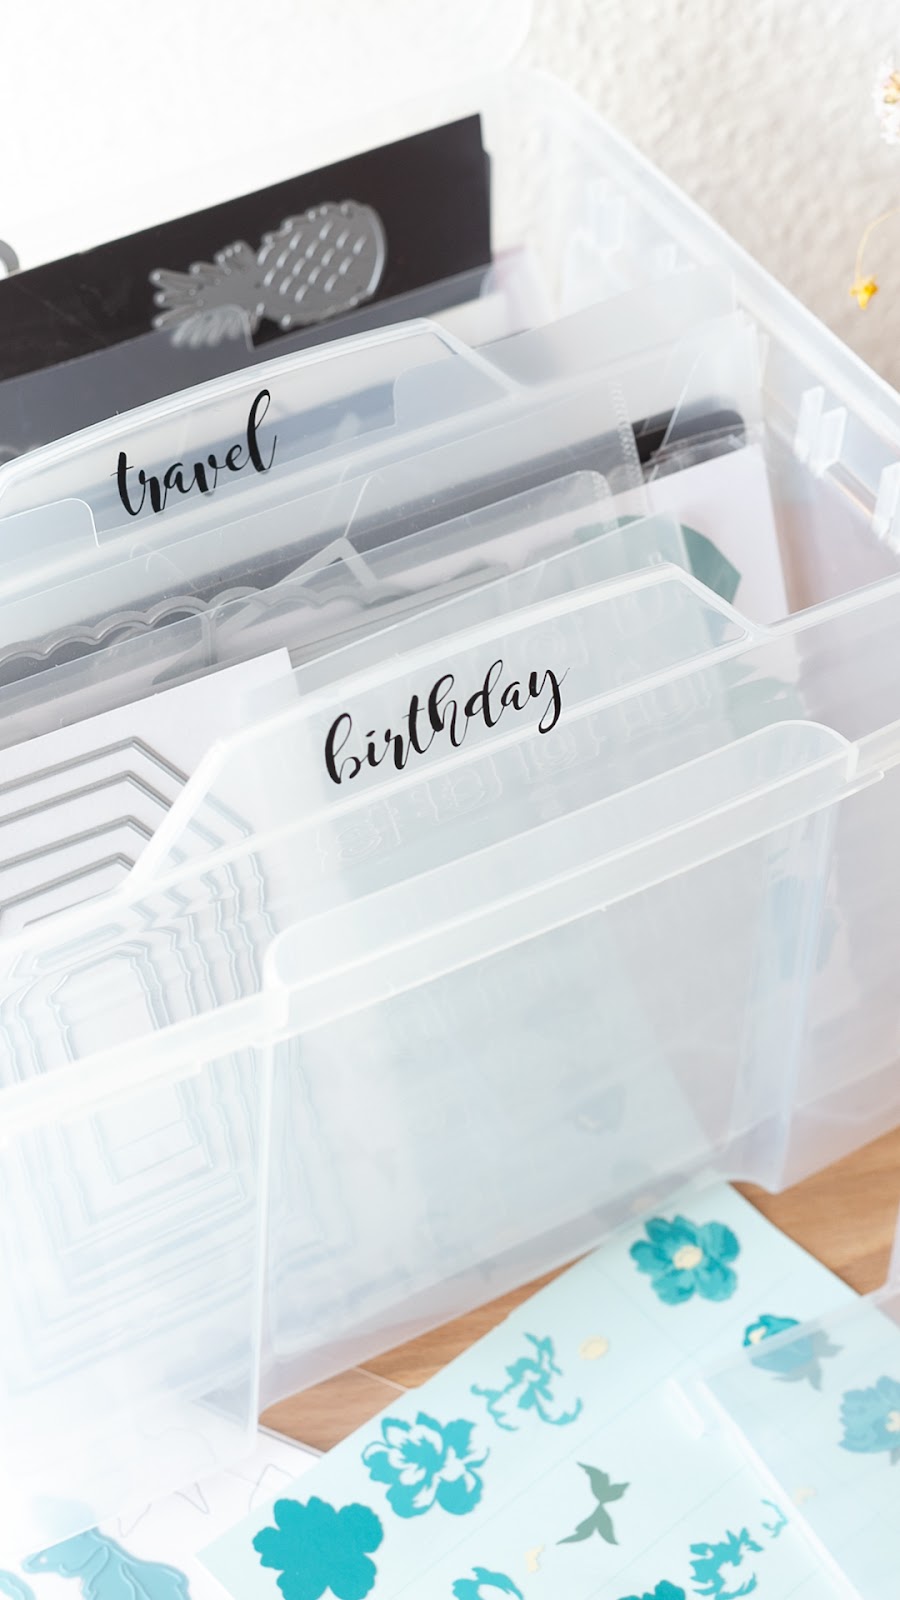
Organize dies, stamps & embossing plates with the Storage Bin Set by We R Memory Keepers. Add titles to the storage dividers to find what you are looking for in no time. The Vinyl Tools Bundle Set comes with everything to get you started to create individual divider titles.


HOW TO:
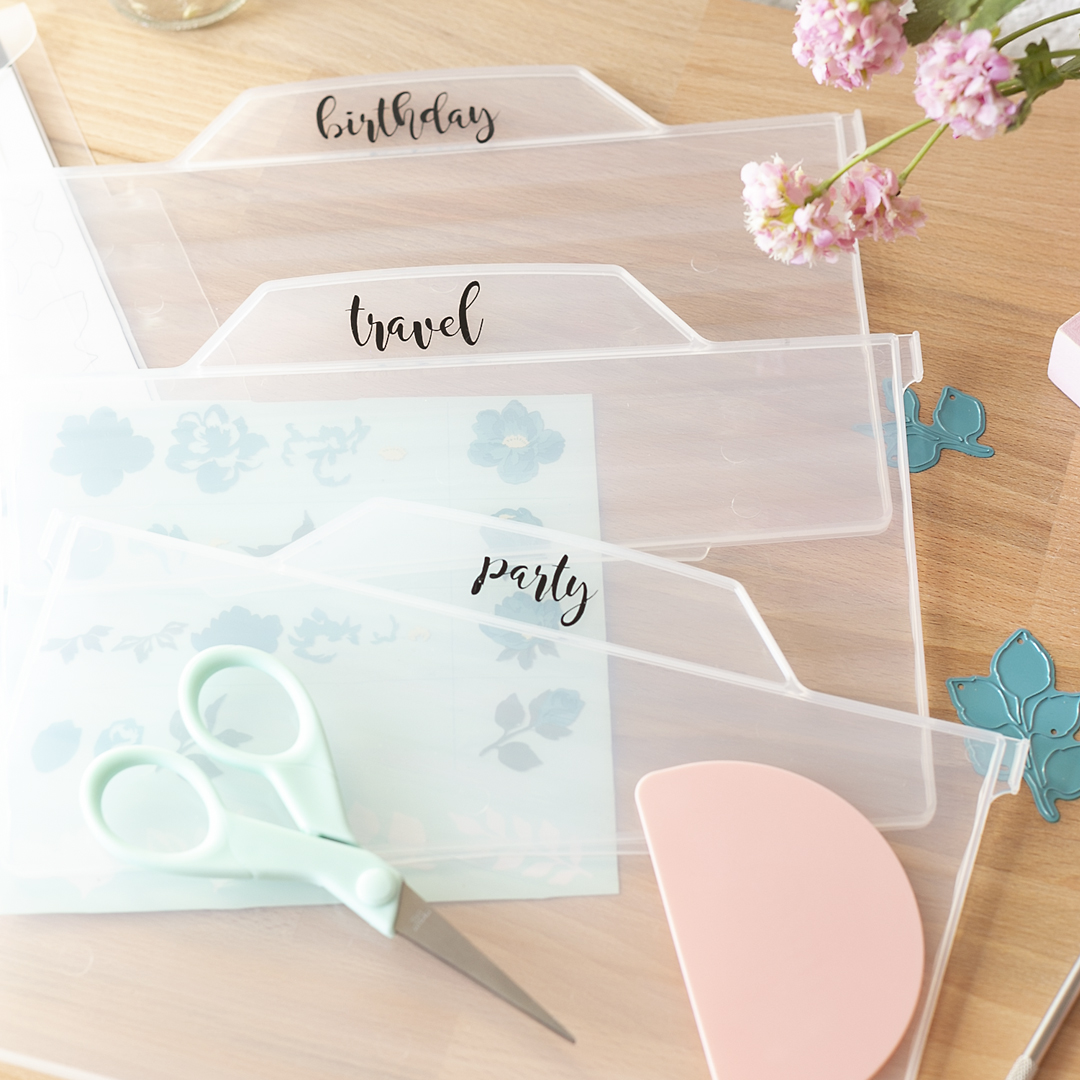
  1. Grab the Storage Bin Set and measure the size of the top part of the divider.
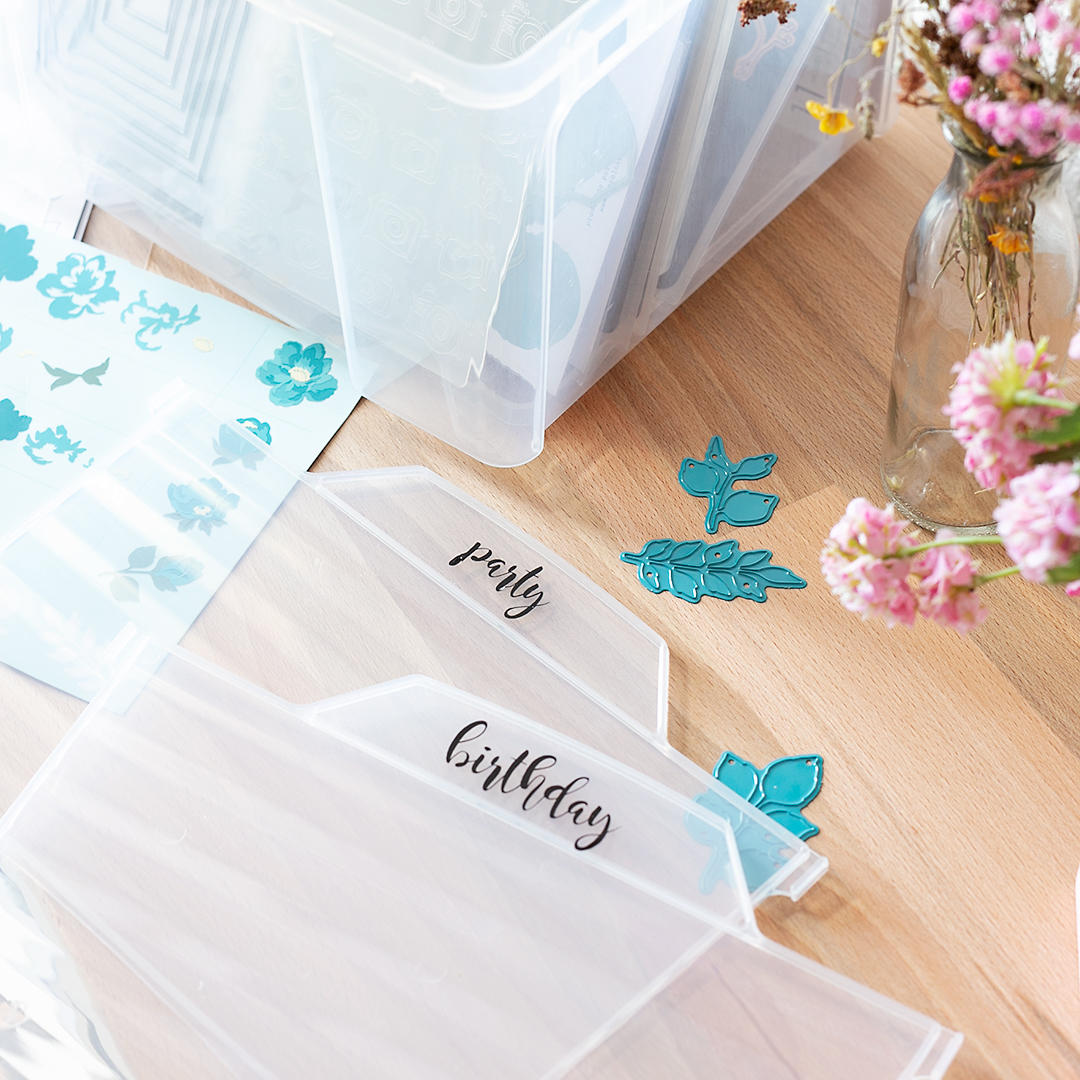
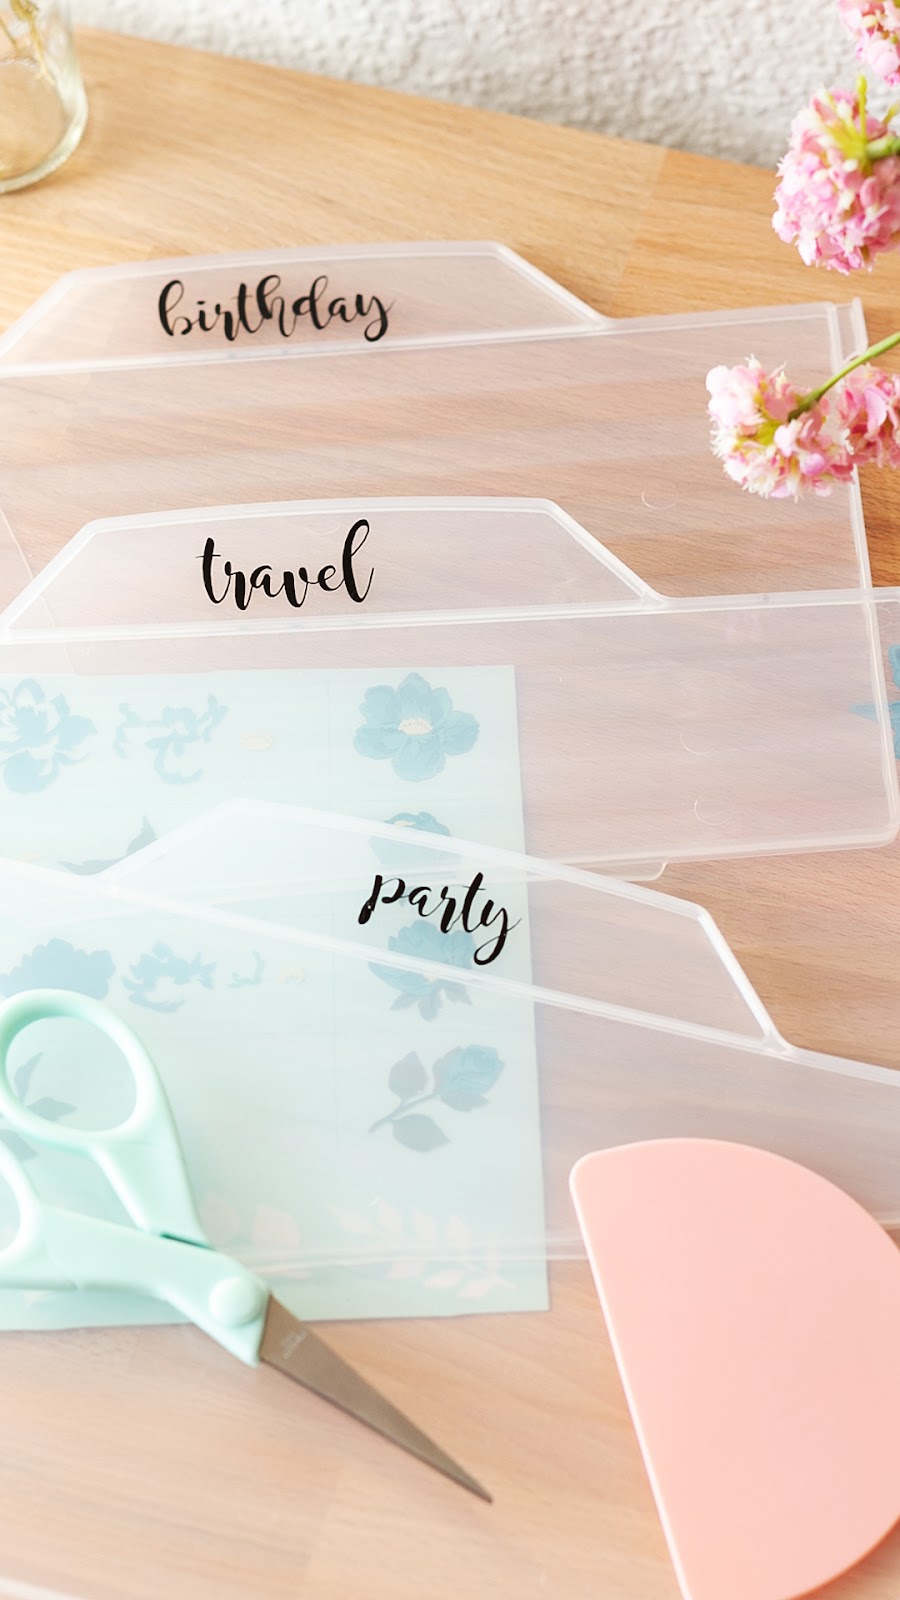
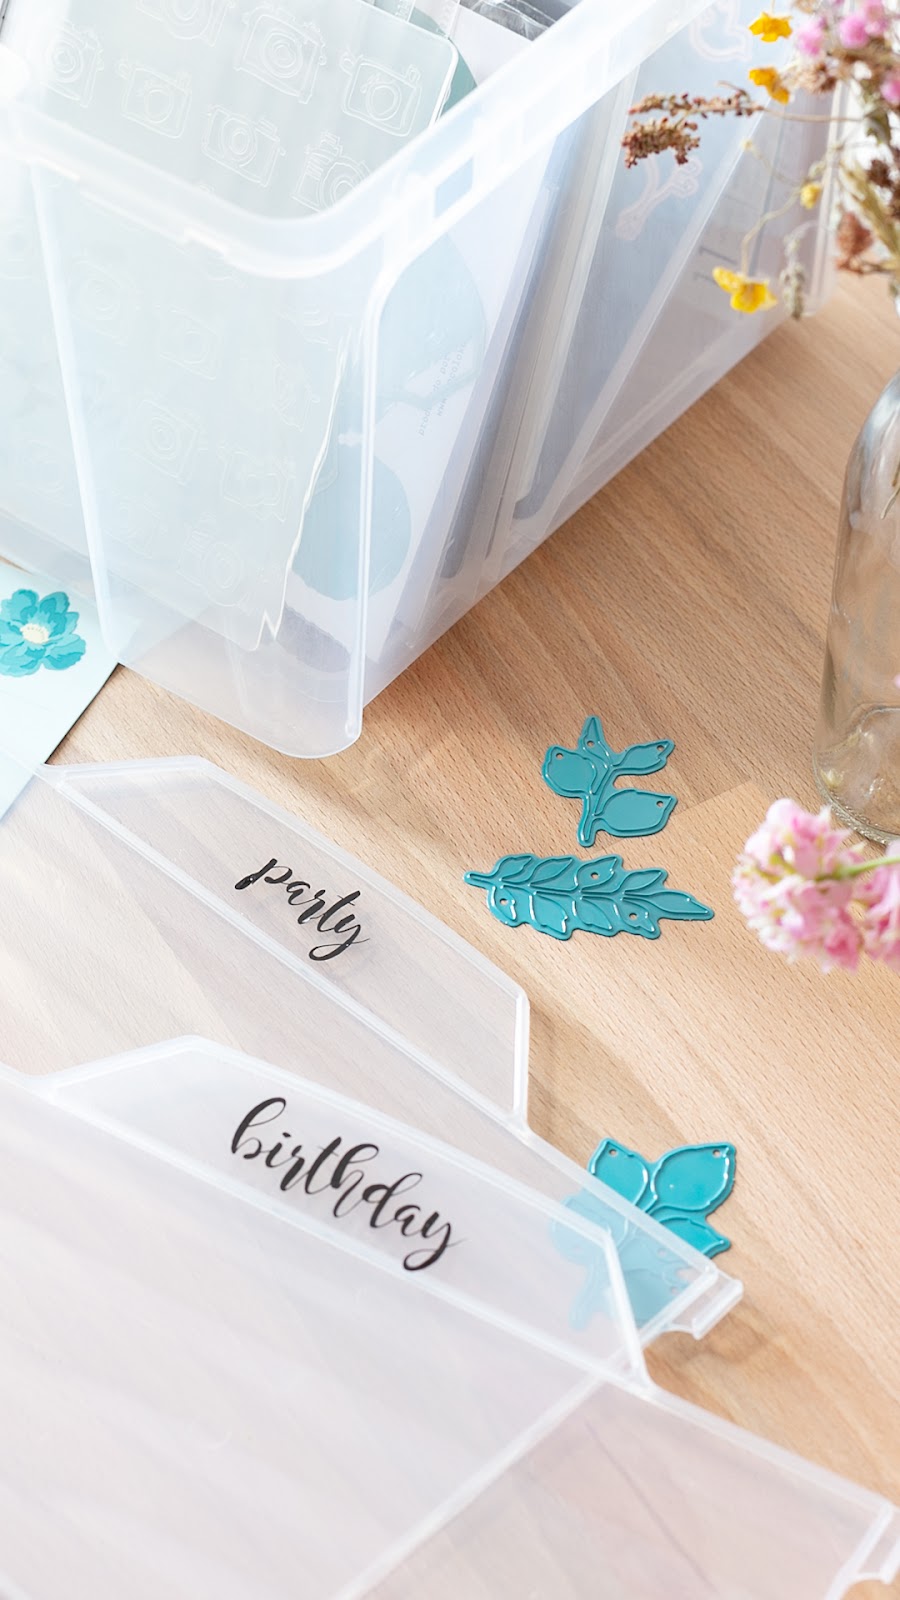
  2. Use the measures to create titles with the software of your cutting plotter. Titles could be travel, holidays, birthday, etc.
  3. Attach a vinyl foil from the Vinyl Tools Bundle Set to a self-sticking cutting mat.
  4. Cut your designs with the cutting plotter.
  5. Apply transfer tape to the vinyl design. Peel the transfer tape and vinyl design away from the paper liner. TIP: Use the scraping tool on the transfer tape to make the vinyl design stick to the transfer tape.
  6. Slowly and carefully remove the transfer tape. The design has to stick to the transfer foil.
  7. Use the transfer tape to apply the vinyl design to the divider.
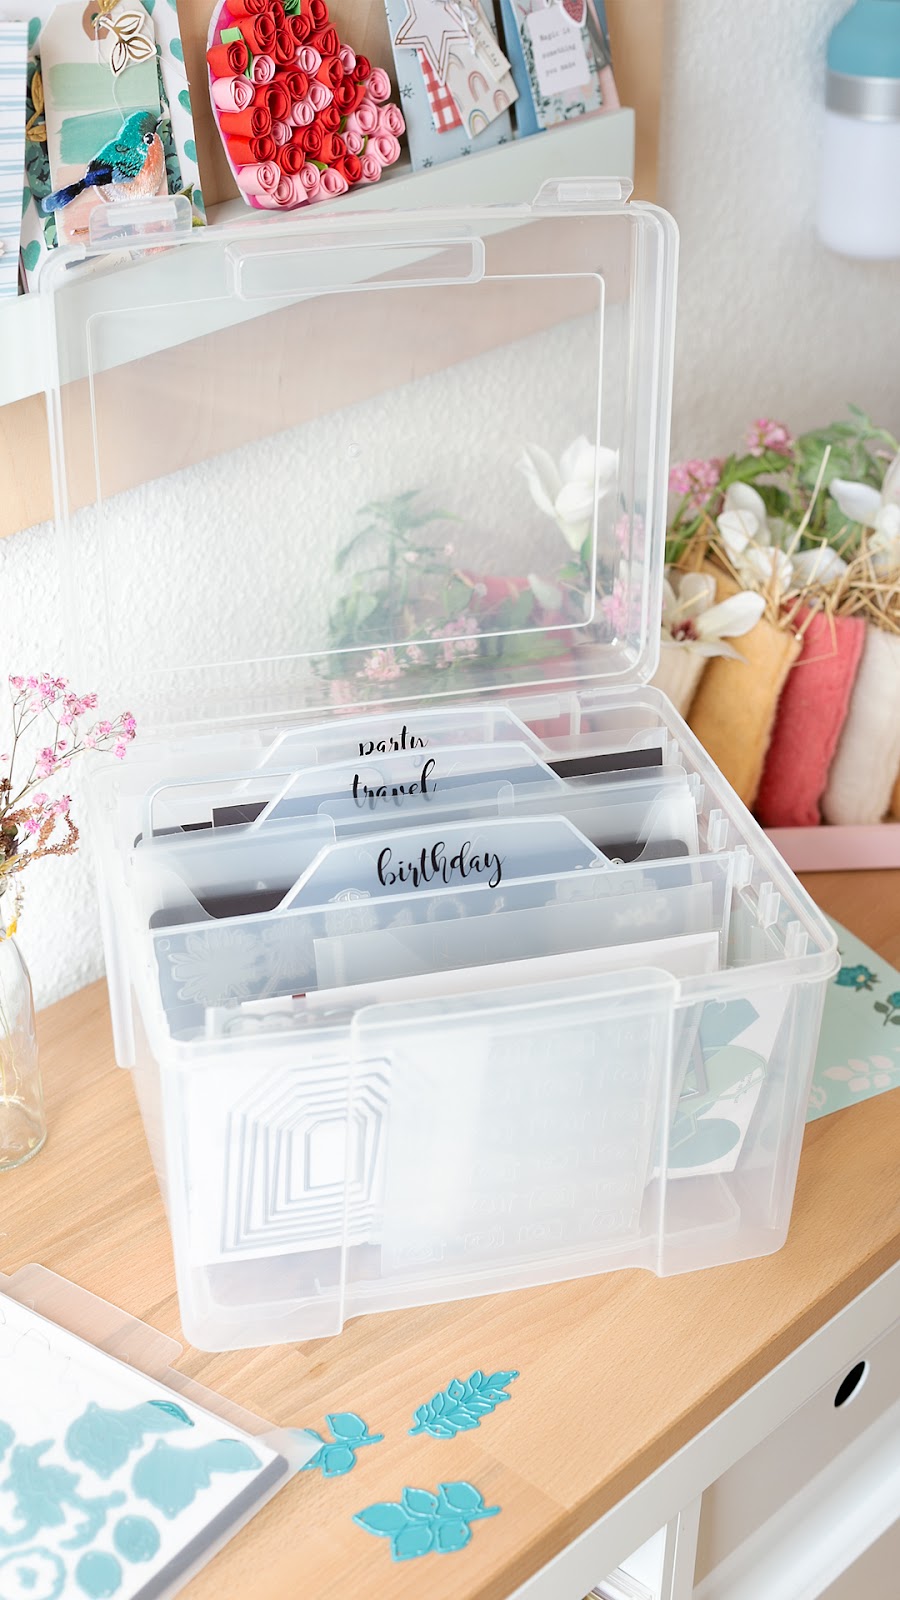
  8. Insert the dividers into the Storage Bin.


And now make sure to watch my video ♥:


SUPPLIES & TOOLS:
  • Storage Bin Set WRMK
  • Vinyl Tools Bundle Set WRMK
  • Cutting Plotter (Silhouette Cameo) Silhouette America

How do you like the personalized storage bin dividers? Is this something you would love to make? Let me know. And thank you for stopping by today. Wishing you an exciting day. Xoxo, Sandra


American Crafts | Day Trip Mini Album with Video Tutorial

American Crafts | Day Trip Mini Album with Video Tutorial

[AD] American Crafts | Day Trip Mini Album with Video Tutorial
Create a fun Day Trip Mini Album with the Pocket Maker Punch Board by We R Memory Keepers. The album sleeve and the album pages were created with this tool! This makes a cute mini album to record a day trip or to collect photos of your favorite flowers. There is a video towards the end of this post. Check it out ♥!


DIRECTIONS:

  1. Cut two pieces of patterned paper to size 6" x 5".
  2. Create two pockets with a notch with these papers (size 6" x 5"). Follow the instructions that come with the Pocket Maker Punch Board (to make a pocket with notch).
  3. Trim off the short flap of the first pocket. And glue the long flaps with double-sided tape.
  4. Glue the long flaps of the second pocket. Next, adhere double-sided tape to the back of the short flap of the second pocket.
  5. Insert the flap of the second pocket into the first pocket to make the album sleeve.
  6. Insert baker's twine into the album sleeve (created from the two pockets). Attach the twine with sticky tape on the inside of the sleeve.
  7. Create 5 to 6 album pages from white cardstock. The pages are approx. size 5" x 2.75".
  8. Cut corners of white cardstock pages with the Pocket Maker Punch Board.
  9. Score to make a flap.
  10. Decorate the album pages with photos, sequins, stamps, and stickers. Use embossing folders to create stunning backgrounds. You can even add shaker elements, florals that are colored with watercolor, and baker's twine to add a special touch. You can keep it simple or add a lot of details - it's up to you, whatever you prefer.
  11. Slip in the decorated pages into the album sleeve. Use double-sided tape to adhere the pages to the sleeve.
  12. Enjoy your mini album :).


And now you're welcome to watch my video:


SUPPLIES & TOOLS:

  • Pocket Maker Punch Board WRMK
  • Revolution Die Cutting Machine WRMK
  • Papers, stamps, and stickers from Garden Party (Maggie Holmes) Stickers and stamps from All Heart (Crate Paper)
  • Revolution Label Die
  • Revolution Embossing Folder Stitches (Paige Evans)
  • Embossing Folder Camera (Amy Tangerine)
  • Watercolor Set Brights (Vicki Boutin / Fernwood Collection)
  • white cardstock, baker's twine, sequins, double-sided tape

Thank you for stopping by. I hope you like today's mini album. Have you tried using embossed paper to create a fancy background? Wishing you a great day! Xoxo, Sandra