WRMK | Clipboard Travel Mini Album | Round Trip Maggie Holmes + Video


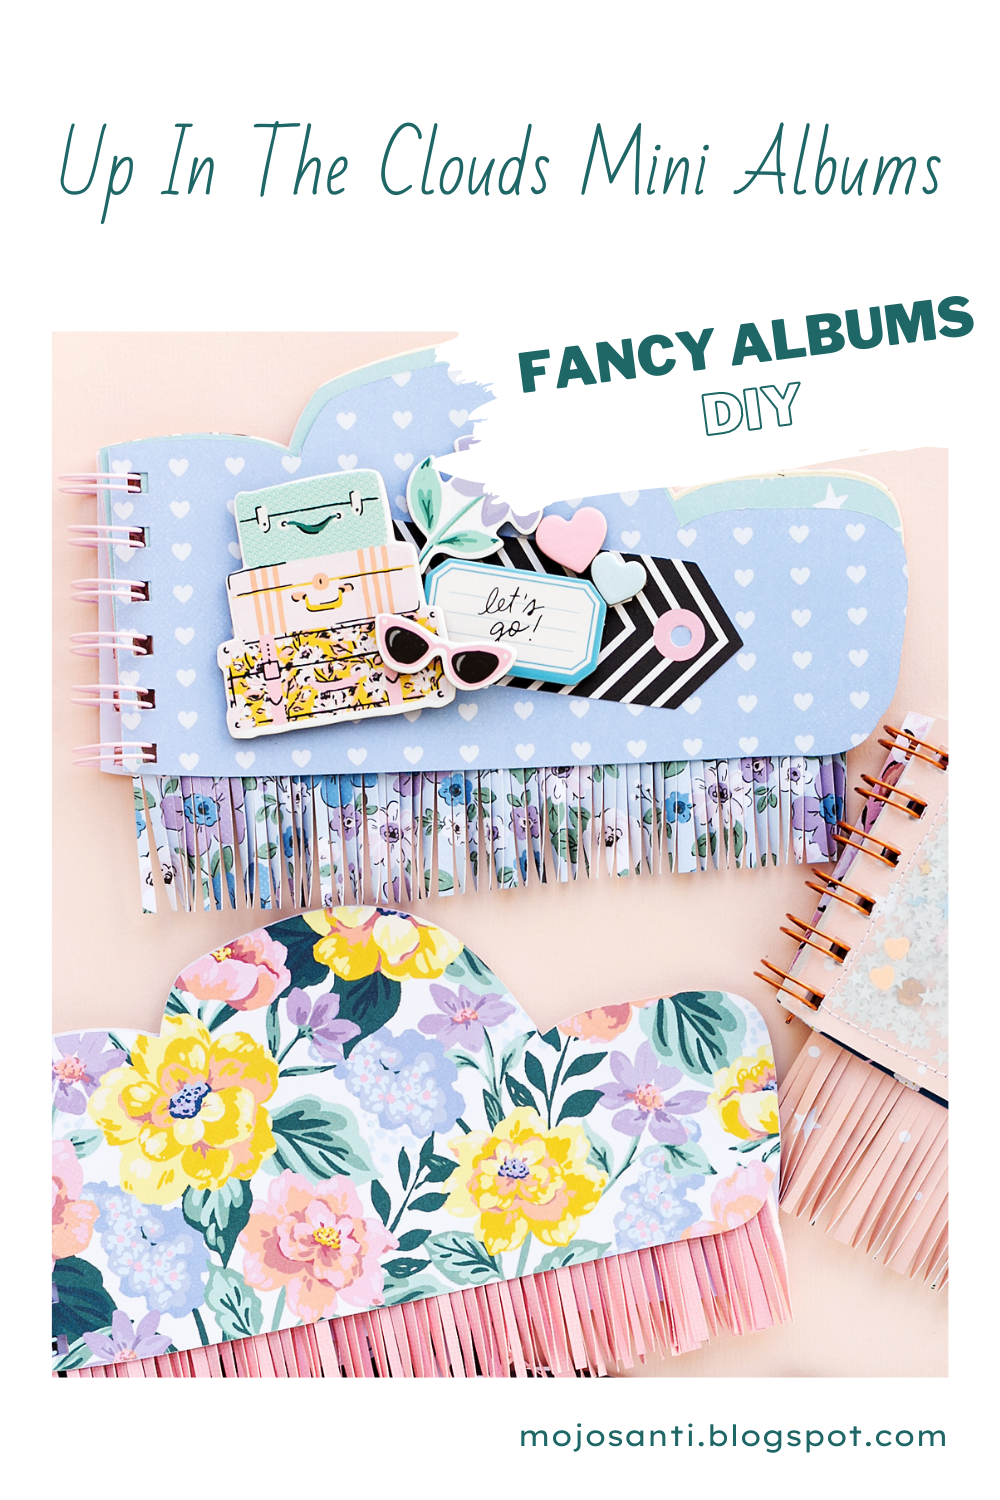
Hello and welcome to a fun Clipboard Travel Album inspiration here on my blog mojosanti. Are you looking for a fancy way to document your travel adventures? A clipboard is highly flexible. Because you can add as many pages as you like. I used the new Round Trip Collection by Maggie Holmes for American Crafts, the pink Crop-A-Dile by We R Memory Keepers with two eyelets, and the Trim and Score Board to create today's travel album. There is a video on my YouTube channel. You are very welcome to watch the video. You can find the link further down in this post.


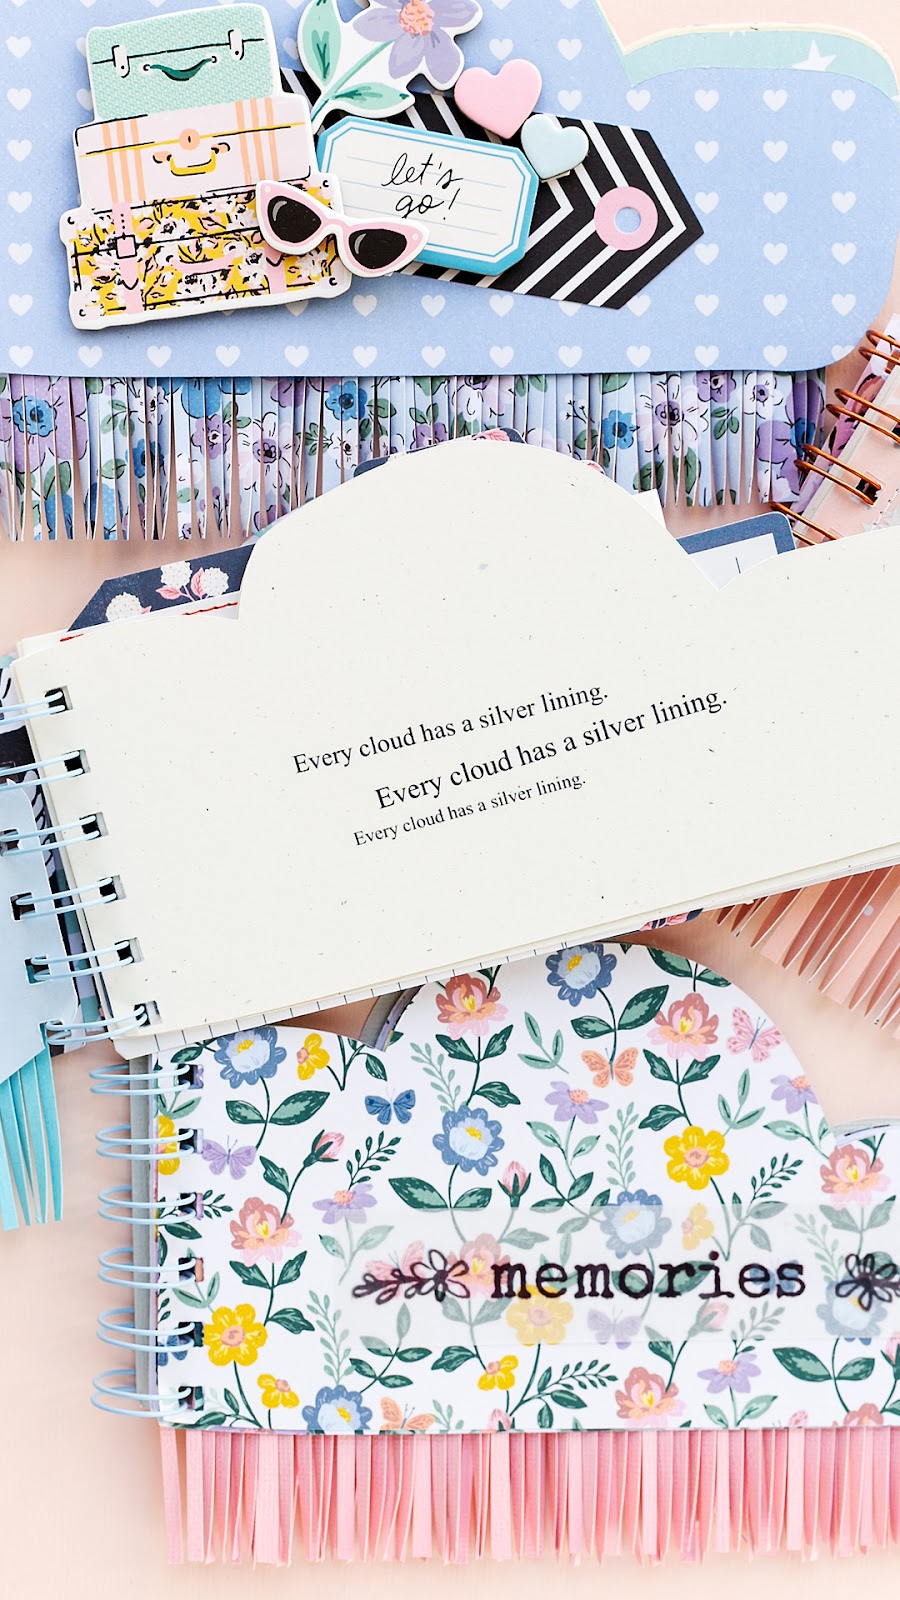
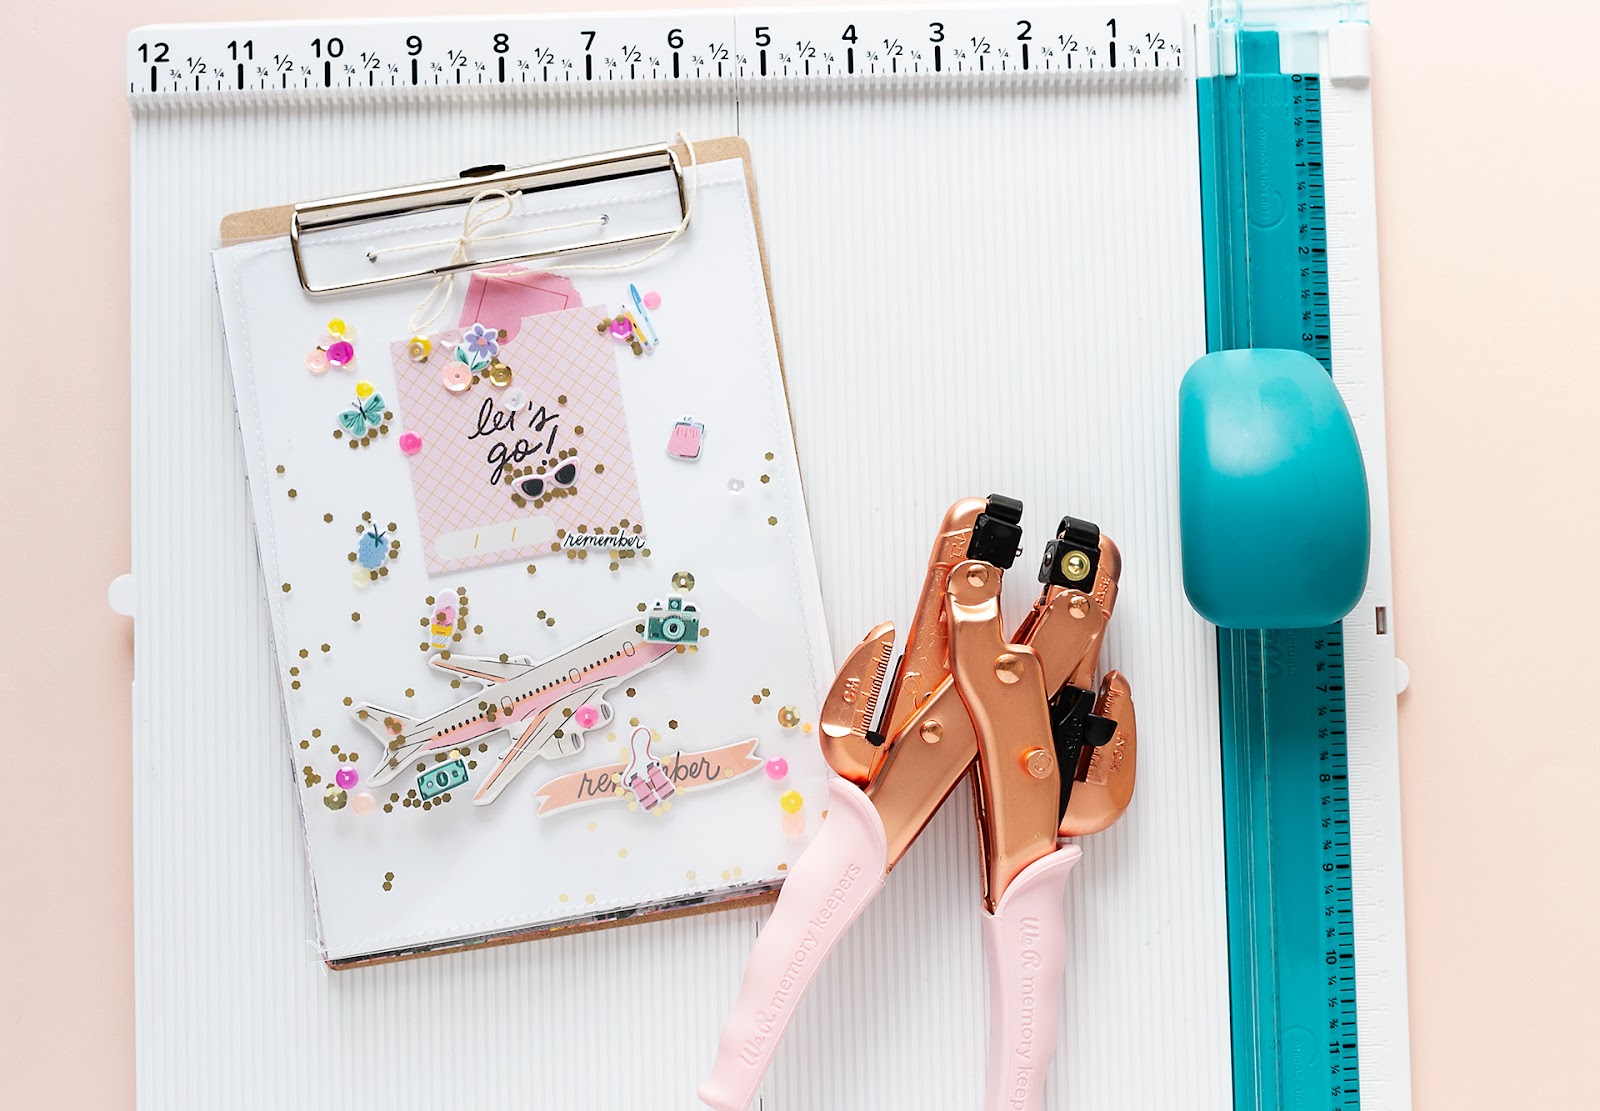
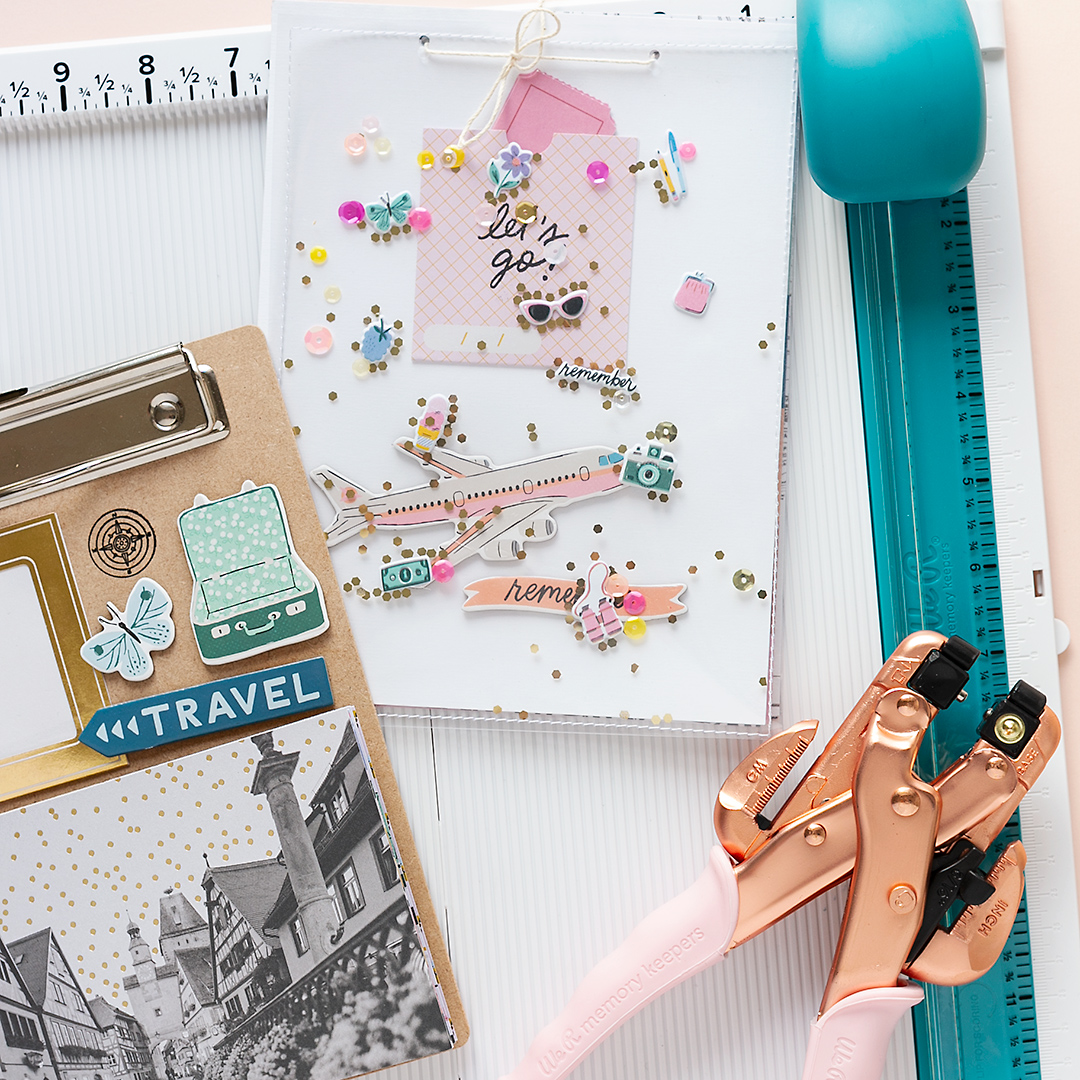
You will need a clipboard, a Crop-A-Dile, the Trim and Score Board + two eyelets as well as papers and embellishments from the Round Trip Papercrafting Collection by Maggie Holmes. The Postcard Booklet from Round Trip is so pretty. And it's also perfect for this travel album project.


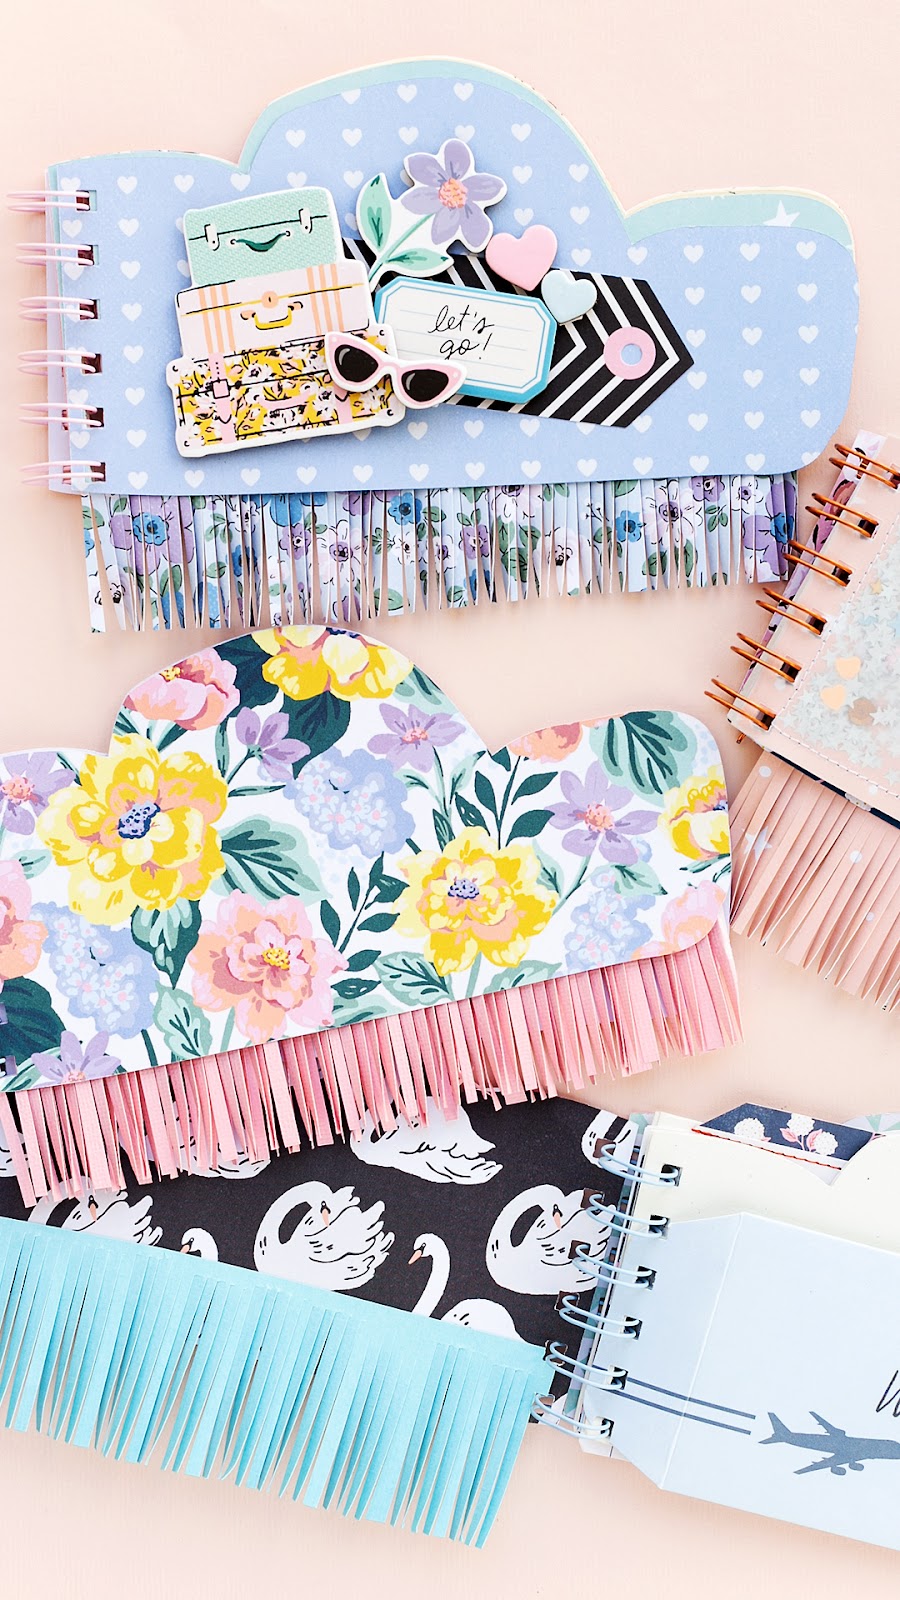
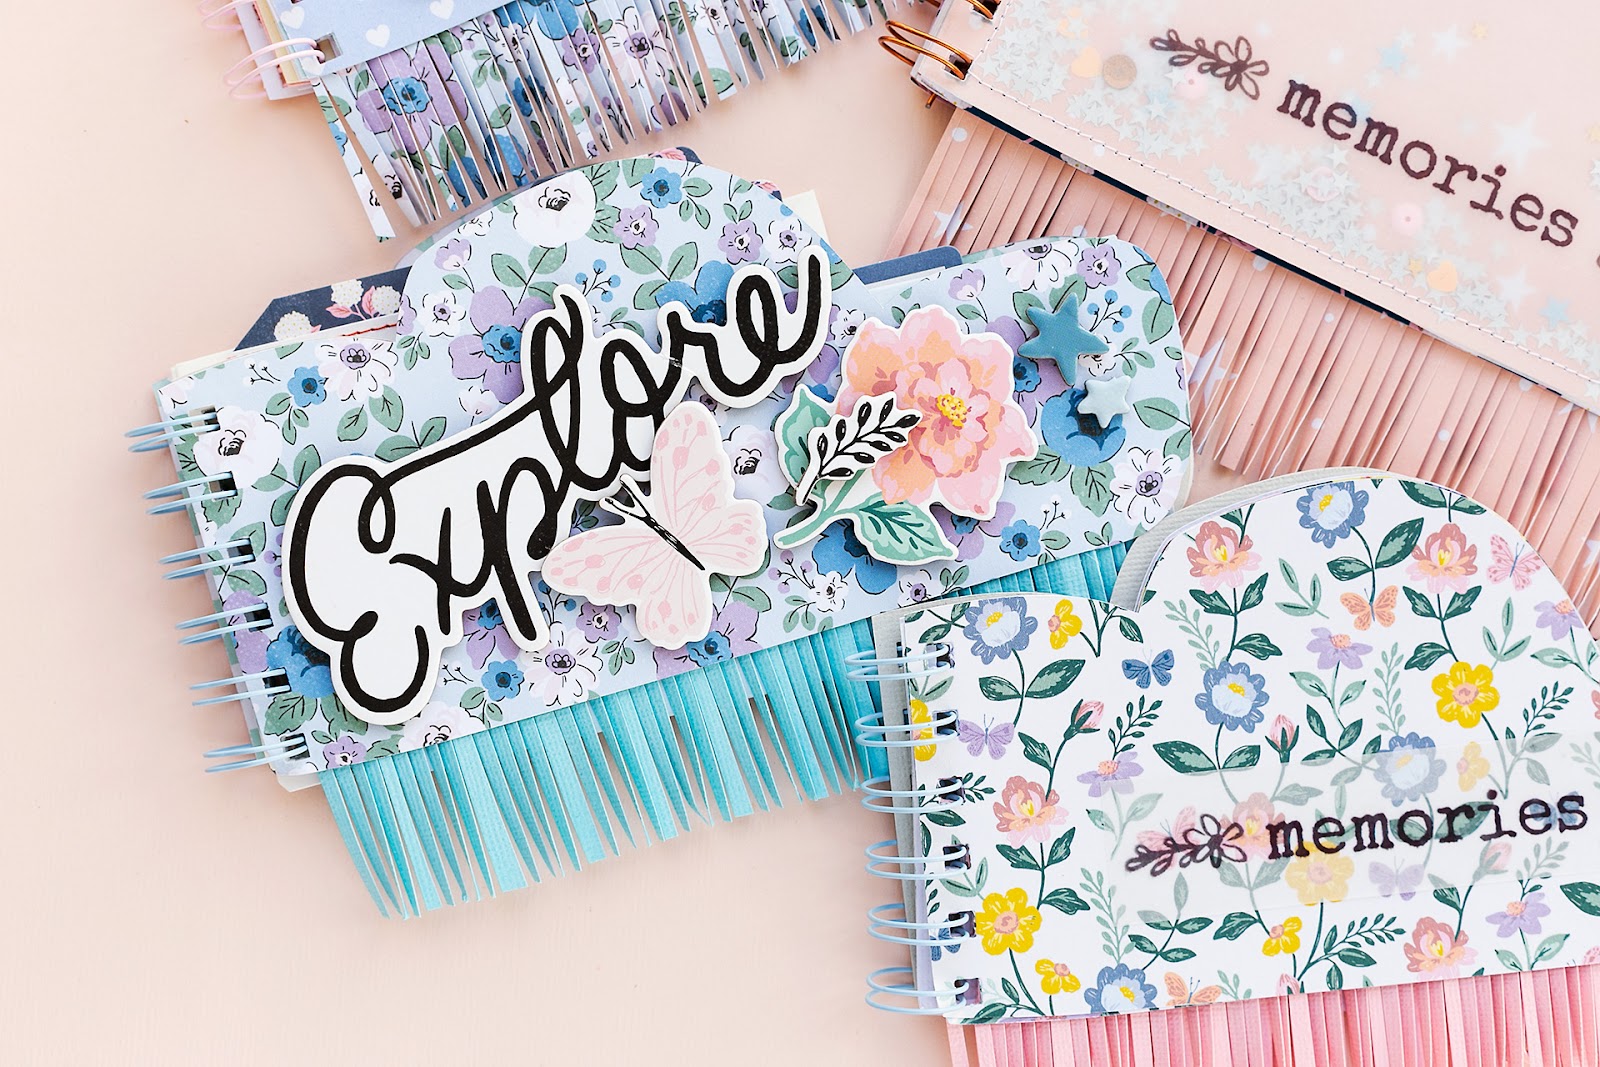
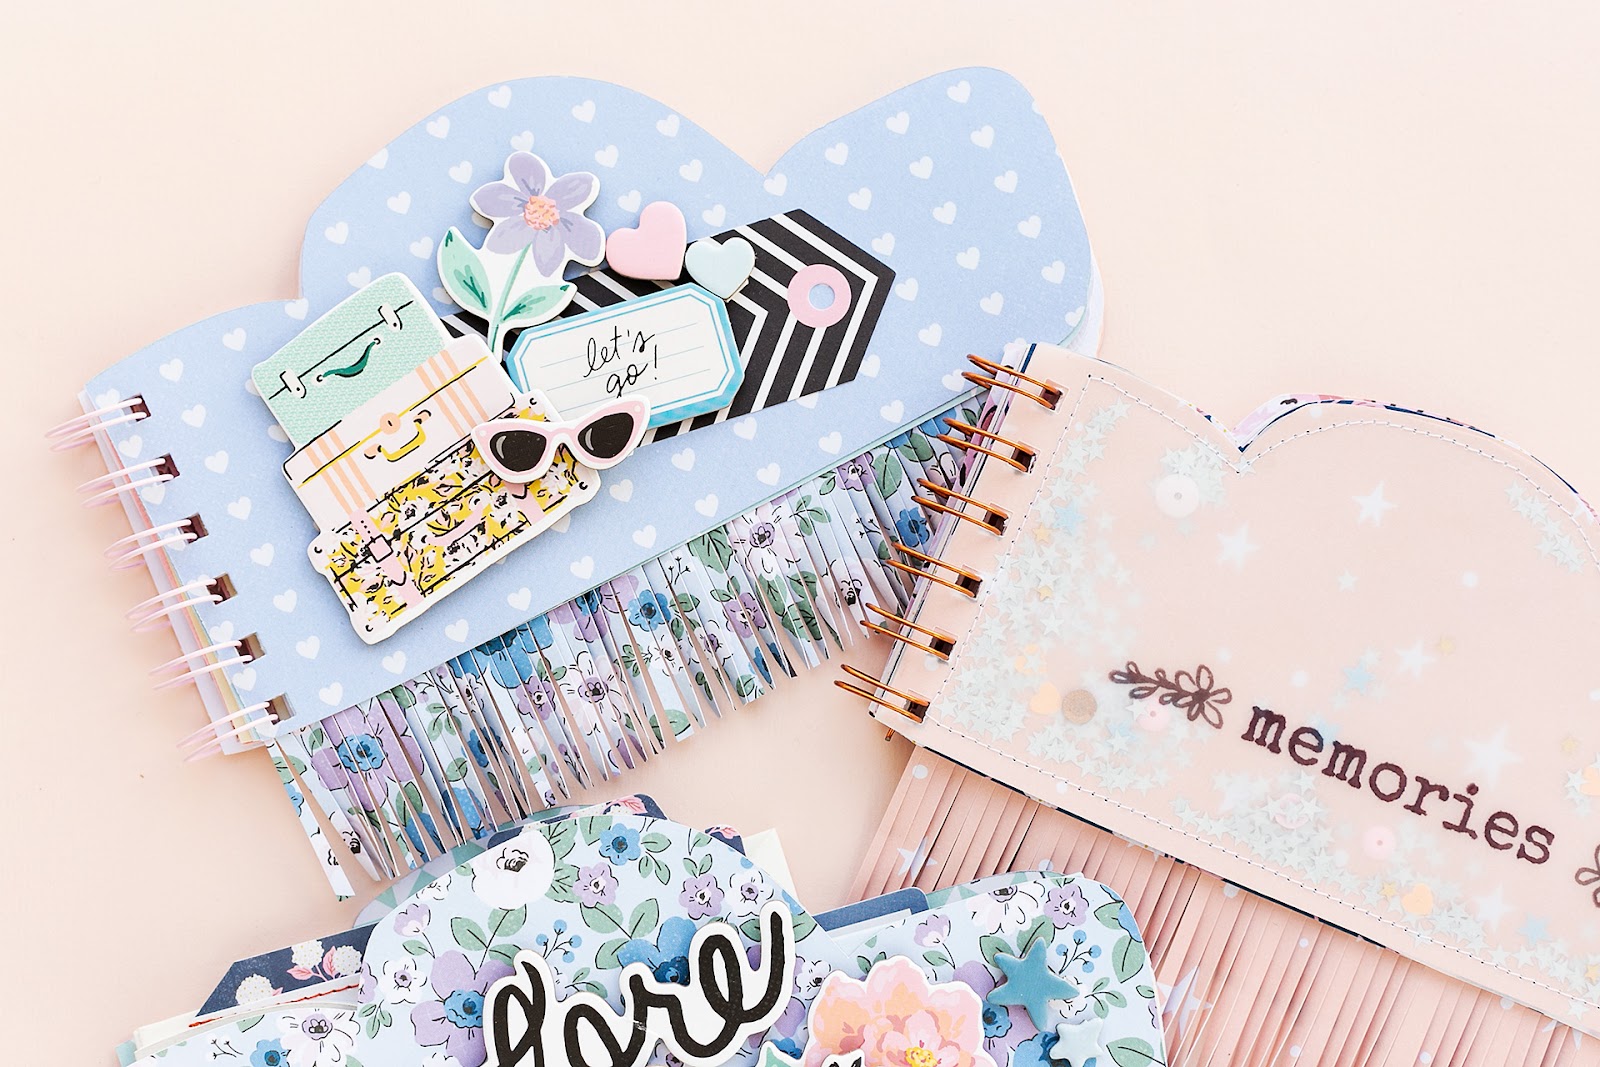
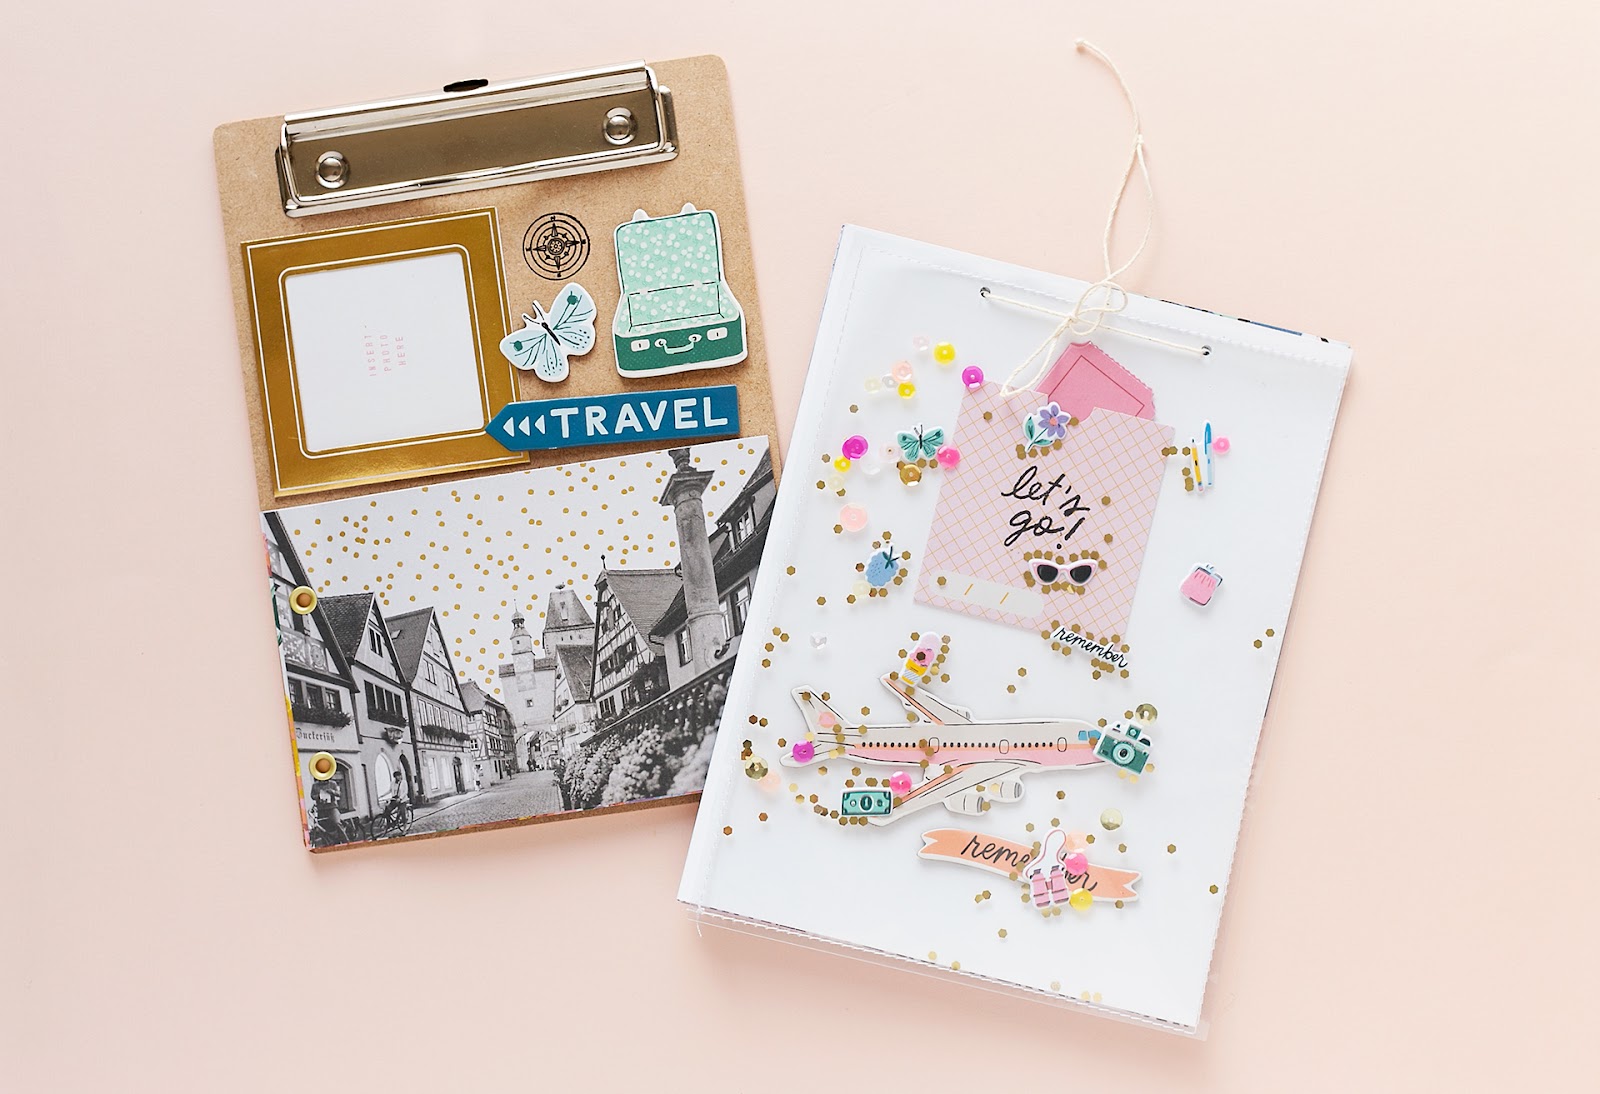
Start with the clipboard. Decorate it with chipboard stickers, a photo frame ephemera from Round Trip, and add some of the postcards with the Crop-A-Dile and two eyelets.


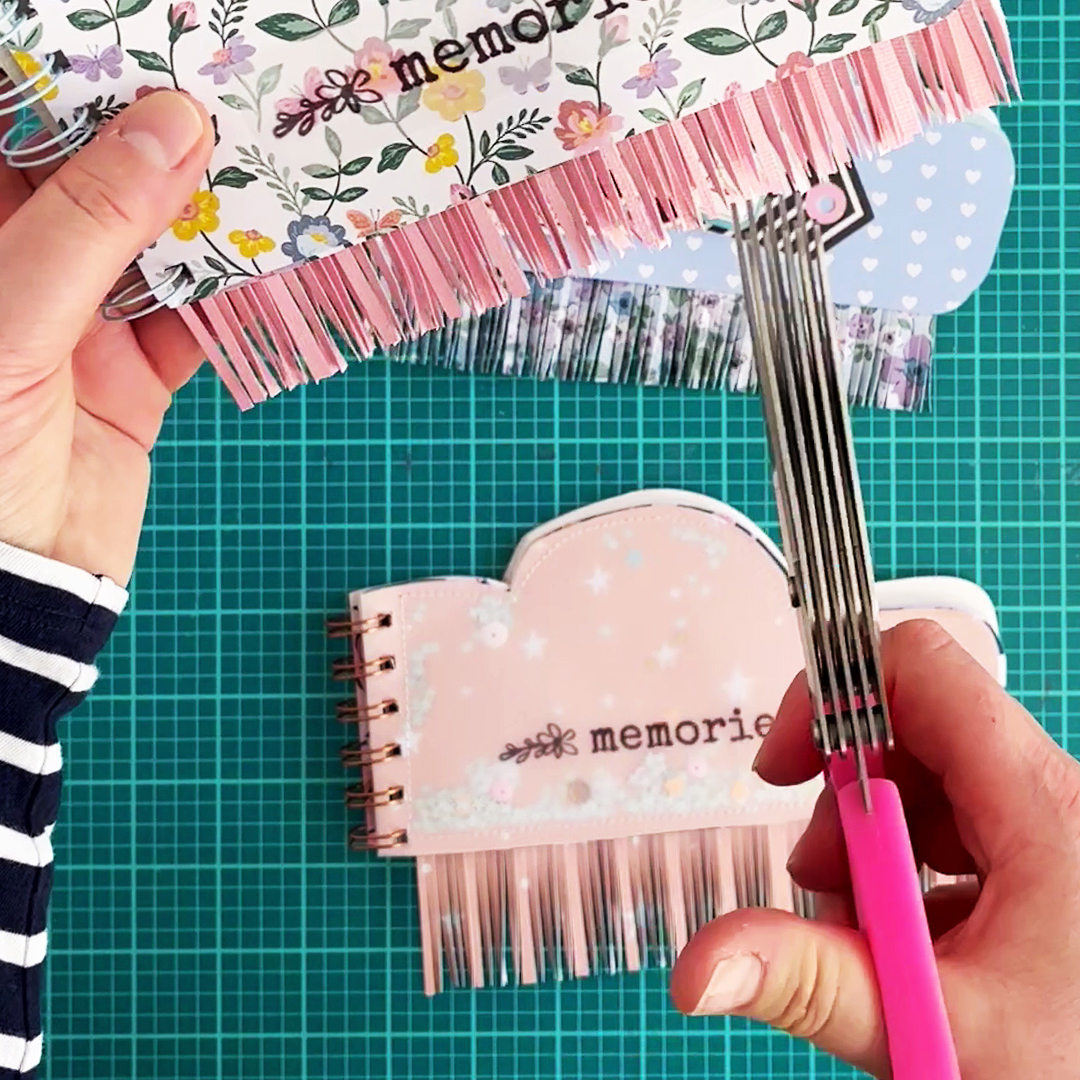
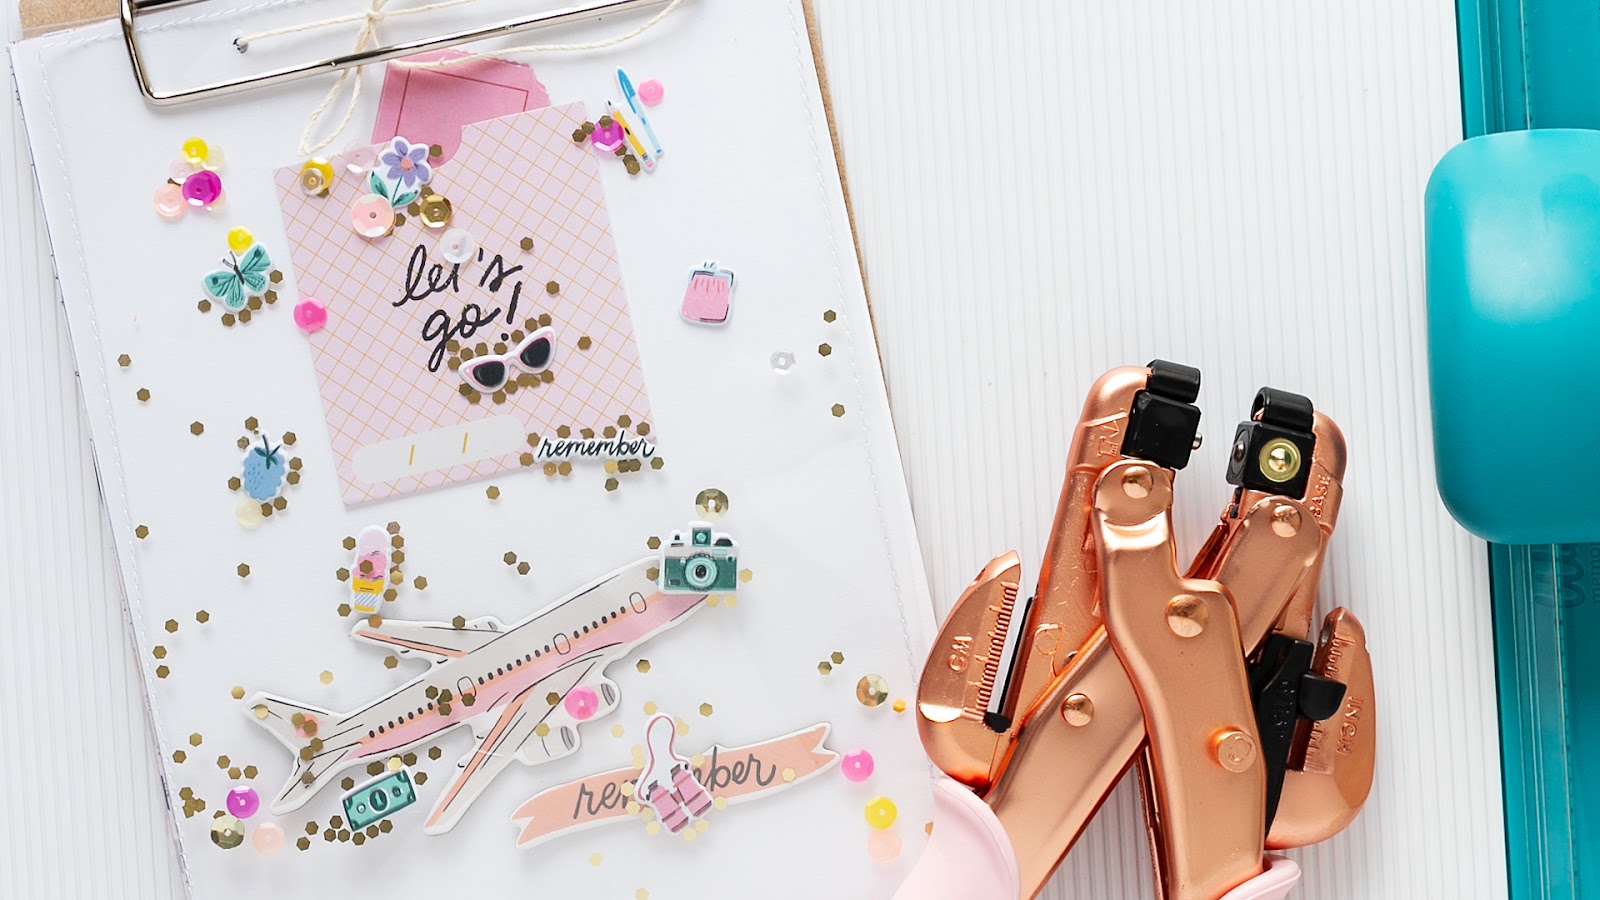
Next, cut patterned papers to fit onto the clipboard. Just measure the length and width and cut the paper accordingly. Then punch holes at the top of the patterned papers with the Crop-A-Dile. Next add baker's twine for the closure. You can even create a fancy cover page with two pieces of accetate foil, sequins, and stickers. I sewed around the edges of the accetate foil with my sewing machine. This will hold the foil together. In addition, it also adds a nice little detail on the cover page of the travel album.


Supplies:


And now please watch my video on YouTube


I hope you enjoyed the video. Thank you for stopping by. If you are looking for more fun mini album inspiration, then check out these posts here on my blog. See you soon here on my blog. Xoxo, Sandra ♥

American Crafts | Sisters Scrapbooking Layout | Splendid by Paige Evans

American Crafts | Sisters Scrapbooking Layout with Splendid by Paige Evans


[AD American Crafts] Welcome to my blog mojosanti and a Sisters Scrapbook Layout with the Splendid Papercrafting Collection by Paige Evans. Today I'm sharing my latest scrapbooking page with a lovely black-and-white photo showing my sister and me back in the '70s. Are you ready? Let's have a look at some photos. Don't forget to read the directions to make a layout for yourself (or your sister). ENJOY!!!


American Crafts | Sisters Scrapbooking Layout | Splendid Paige Evans


DIRECTIONS:
  1. Cut white cardstock to size 8.5" x 11".
  2. Cut strips from the 12 x 12 Double Sided Paper 13 from the Splendid Collection by Paige Evans (ac-34003758). The length is up to you. I cut the strips to size 4.5".
  3. Glue the strips onto the white cardstock with adhesive tape.
  4. Do some stitching ... onto the strips with a sewing machine.
  5. Add a black-and-white photo--this will add a nice contrast to the colorful rainbow paper strips.
  6. Decorate your page with paper clips, stickers, ephemera, and fussy cut elements (like a butterfly).
  7. Enjoy your new scrapbook creation :).


American Crafts | Sisters Scrapbooking Layout | Splendid Paige Evans


American Crafts | Sisters Scrapbooking Layout | Splendid Paige Evans


Are you looking for some more inspiration? If yes, please check out my other scrapbook layouts here on my blog.

Thank you for stopping by today. Wishing you a wonderful day, yours Sandra. ♥

WRMK | Up in the clouds mini albums | Mini Cinch and PrintMaker

WRMK | Up in the clouds mini albums | Mini Cinch and PrintMaker


[AD] Hello and welcome to a post for WRMK with fancy Up In The Clouds Mini Albums. I used the Mini Cinch and the PrintMaker from We R Memory Keepers to make cute and special albums. I'm sharing how-to-instructions and some pretty hot photos :). I hope you like the albums. Are you going to make some yourself? And if you're looking for more inspiration with fringe scissors, check out these two other posts on my blog: 6 Techniques for Scrapbookers and DIY Tassel Tutorial.


WRMK | Up in the clouds mini albums | Mini Cinch and PrintMaker


DIRECTIONS:
  1. Grab the Mini Cinch, the PrintMaker, Fringe Scissors as well as papers, ephemera, and chipboard stickers from Maggie Holmes' Round Trip Collection.
  2. Draw a cloud onto white cardstock with a pencil. Next, cut the cloud shape with a pair of scissors to create a template for your cloud notebooks.
  3. Use the template to transfer the cloud shape onto patterned paper, colored cardstock, and vellum paper.
  4. Cut a rectangle piece of paper to fit onto the bottom of the cloud. Create fringes with a fringe scissors.
  5. Attach the fringe onto the cover of your cloud notebook with double-sided tape.
  6. Print phrases and words onto the pages of your cloud notebook with the PrintMaker.
  7. Bind the pages with the Mini Cinch.
  8. Decorate the cover with chipboard stickers and ephemera. You can personalize your cloud notebooks with the PrintMaker and add words like "memories", "thoughts", or any other things you would like to document.


SUPPLIES and TOOLS:
  • We R Memory Keepers - The Mini Cinch
  • WRMK - PrintMaker
  • American Crafts - Fringe Scissors
  • Maggie Holmes - Round Trip Collection - 12 x 12 Paper Pad (ac-34013591), 12 x 12 Chipboard Stickers (ac-34013657), Ephemera - Stationery Pack (ac-34013597)
Thank you for stopping by today. Wishing you a lovely day, yours Sandra ♥.


American Crafts | Fancy Shaker Cards | Shaker Card Kit by Damask Love at Walmart

American Crafts | Fancy Shaker Cards | Shaker Card Kit by Damask Love at Walmart


[Ad] Welcome to a new blog post featuring Fancy Shaker Cards with the Shaker Card Kit by Damask Love. The kit is available at Walmart - along with some great other kits. The kit comes with everything you need to create fun shaker cards. You get blank cards, envelopes with envelope liners, stickers, washi-tape spools, foam pads, sequins, and shaker elements (stars, circles, and squares). The colors and patterns are really vibrant, fresh, and cool. I created two shaker cards with coordinating envelopes. I made a video for YOU ♥! You can find the link further down. Let's look at the photos first. And if you're interested, please check out my video to find out more.


DIRECTIONS:
  1. Pick a white card base and a colored card base from the Shaker Card Kit.
  2. Gather embellishments like die-cuts, stickers, and sequins.
  3. Choose a blister shape to go along with your embellishments.
  4. Adhere the embellishments onto the card base. Next, add sequins. Now attach the blister shape onto the card base.
  5. You can even cut a window for the blister shape. For round shapes, use a pair of compasses. Messure the diameter and then transfer a circle onto the card base. Cut the circle with a pair of scissors. Finally, attach the blister shape onto the card base.
  6. Have fun creating cards and mini albums with the fancy and fun Shaker Card Kit by Damask Love.

TIP: Watch the sequins - they will be everywhere on your scrapbook table :).


And now please watch my video on YouTube ♥


Thank you for stopping by today. I hope you've enjoyed today's post and my video. Wishing you a lovely day! Xoxo, Sandra ♥