We R Makers | Clean Summer Journal Cover with the Revolution Die-Cutting Machine

We R Makers | Clean Summer Journal Cover with the Revolution Die-Cutting Machine

[AD] We R Makers | Clean Summer Journal Cover with the Revolution Die-Cutting Machine

Today I'm sharing a very simple and easy-to-make project. Use the Revolution Die-Cutting Machine by We R Makers to personalize mini books and journals. I die-cut the title SUMMER from patterned paper and attached the letters to the cover. Very easy! Very simple! And very minimalistic. Please watch my video to see how to make the summer journal cover. Find the link further down!


And now, please watch my video ♥


Thank you for stopping by today. Do you have any plans for the summer? Please share them in the comments. Wishing you a wonderful day! Xoxo, Sandra


We R Makers | Travel Journal with the Slim Line Punch Board with video

We R Makers | Travel Journal with the Slim Line Punch Board

[AD] We R Makers | Travel Journal with the Slim Line Punch Board

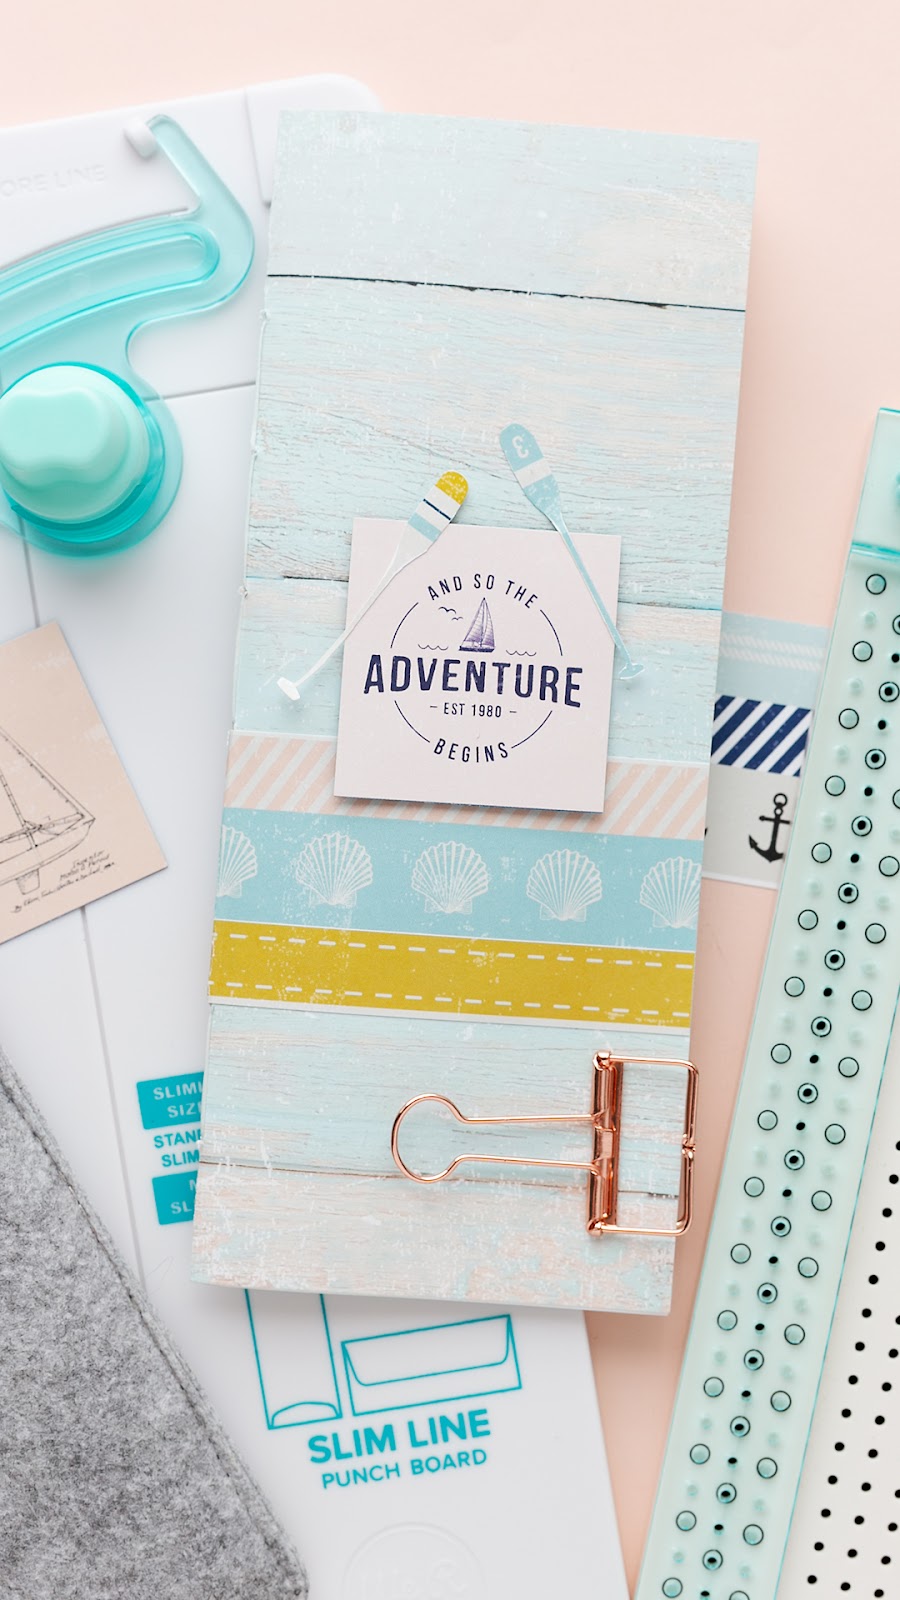
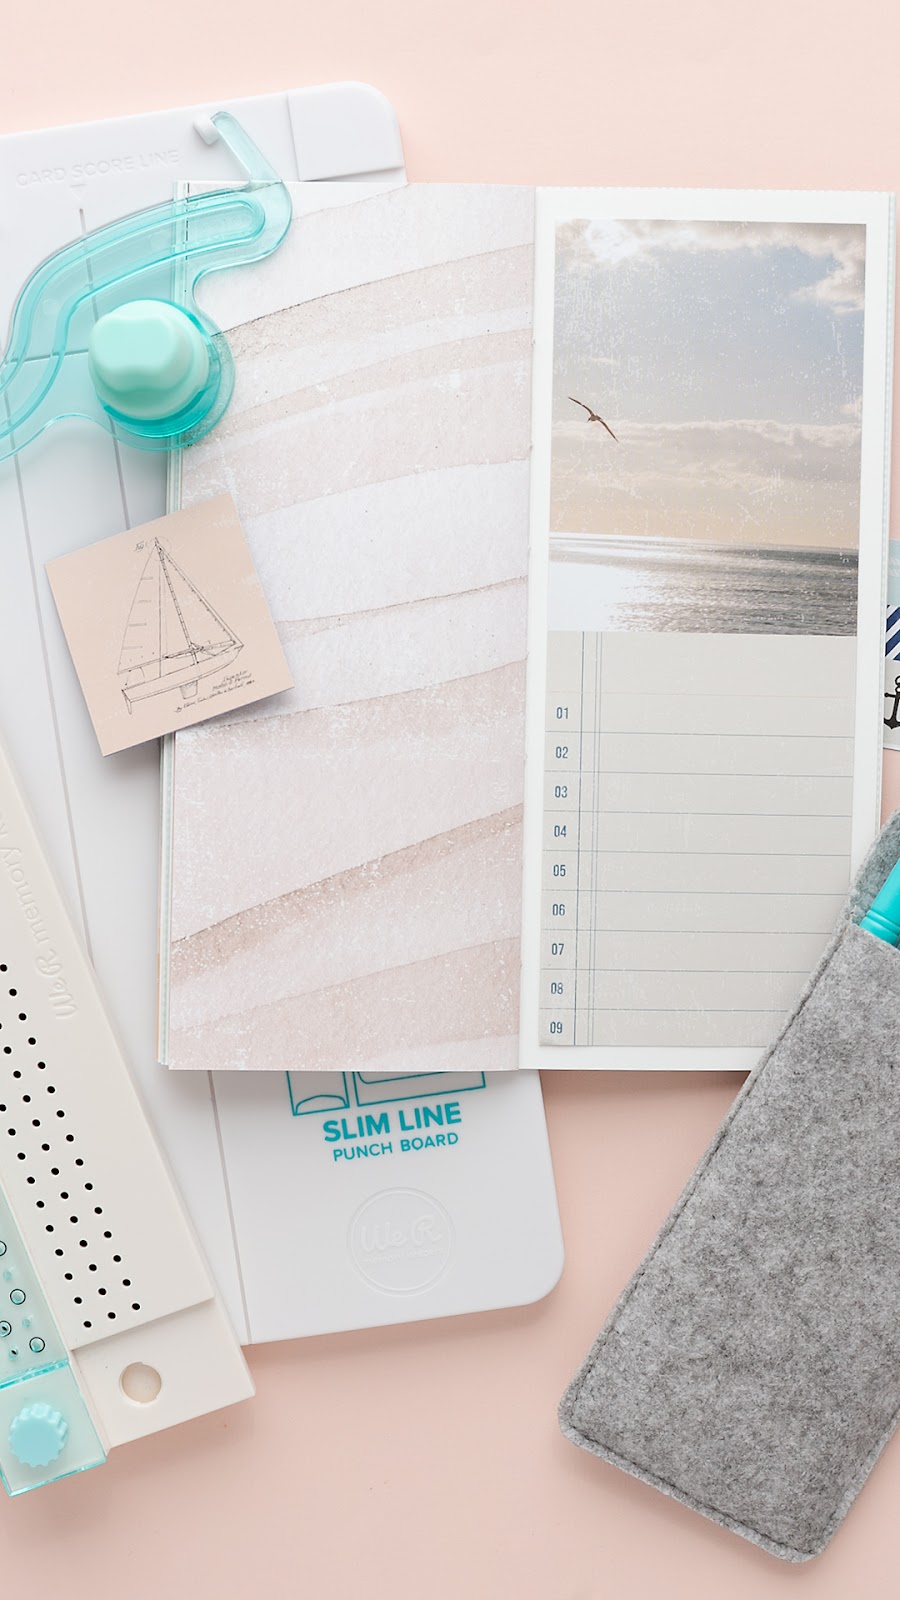
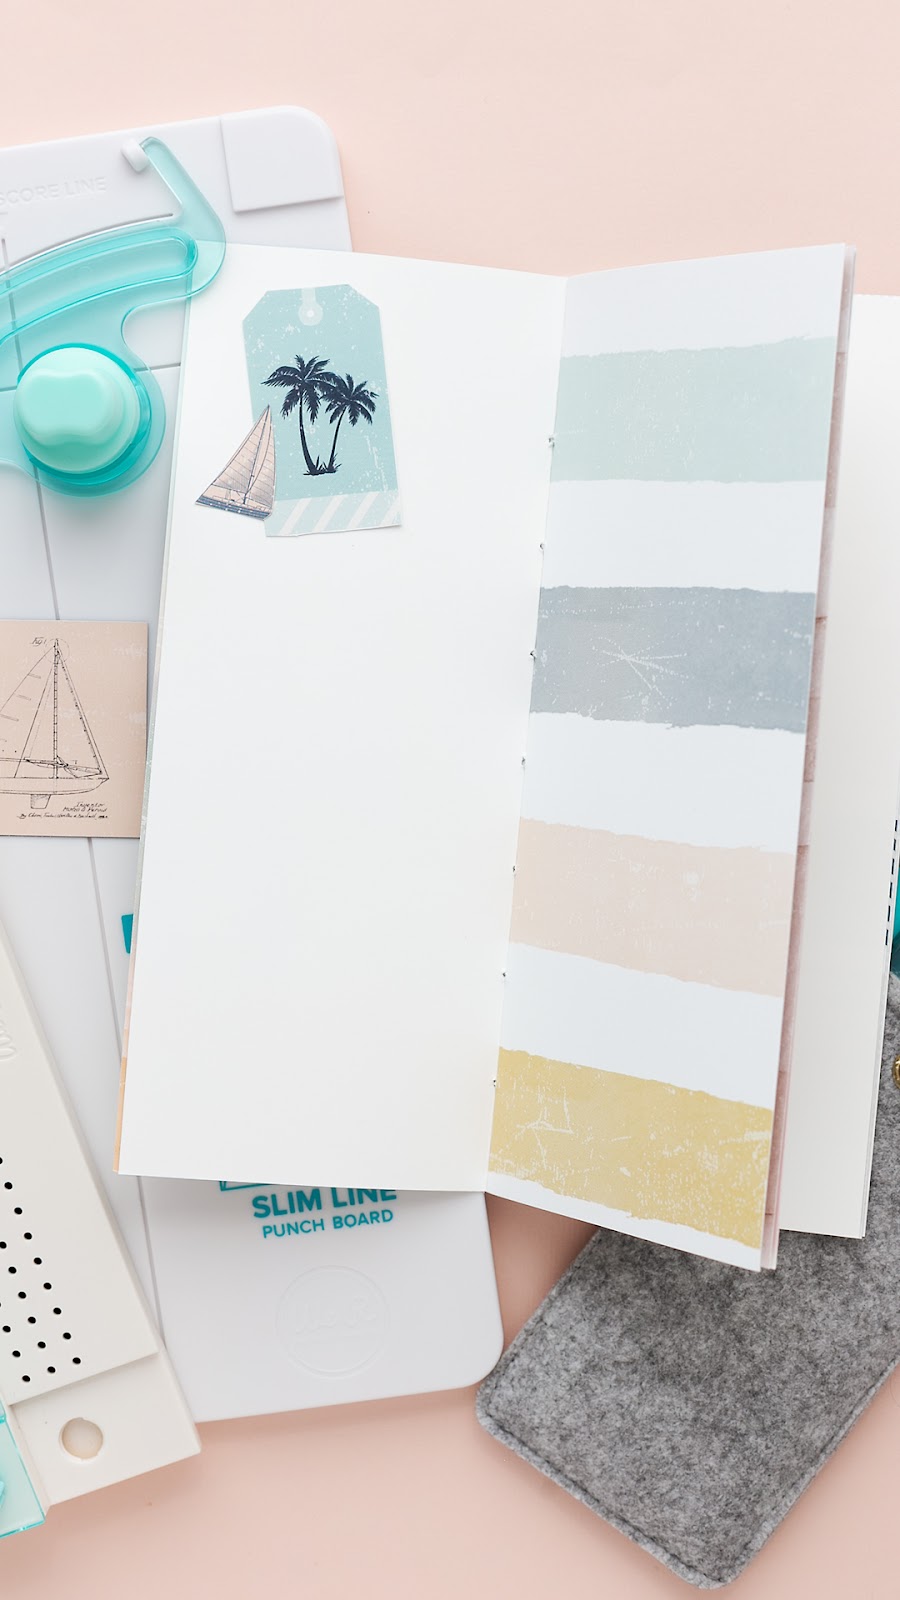
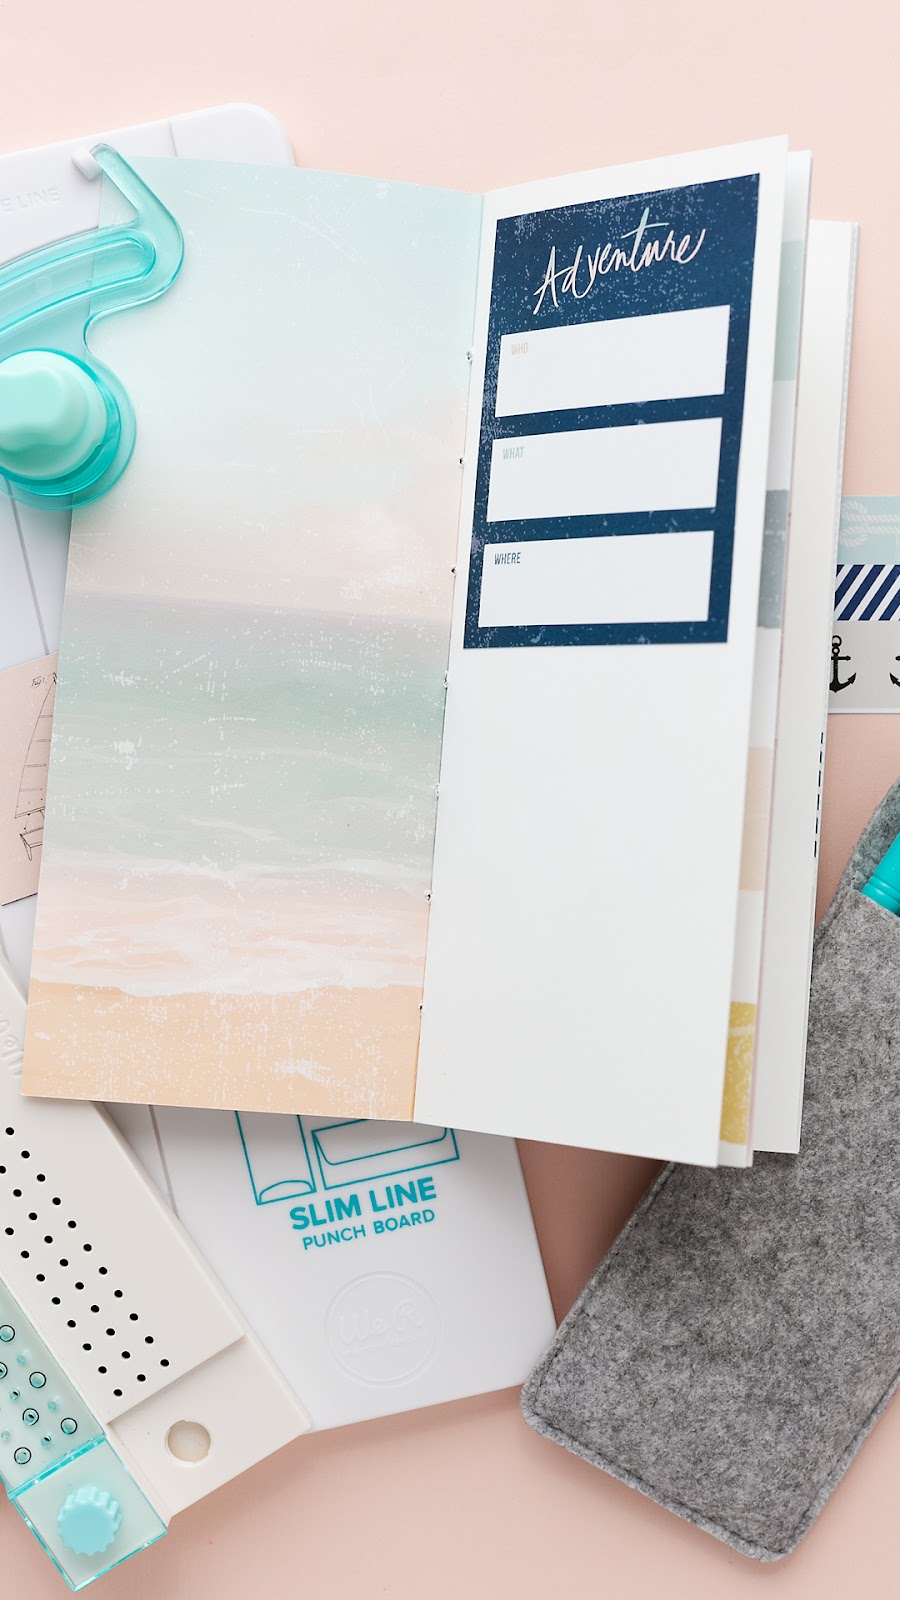
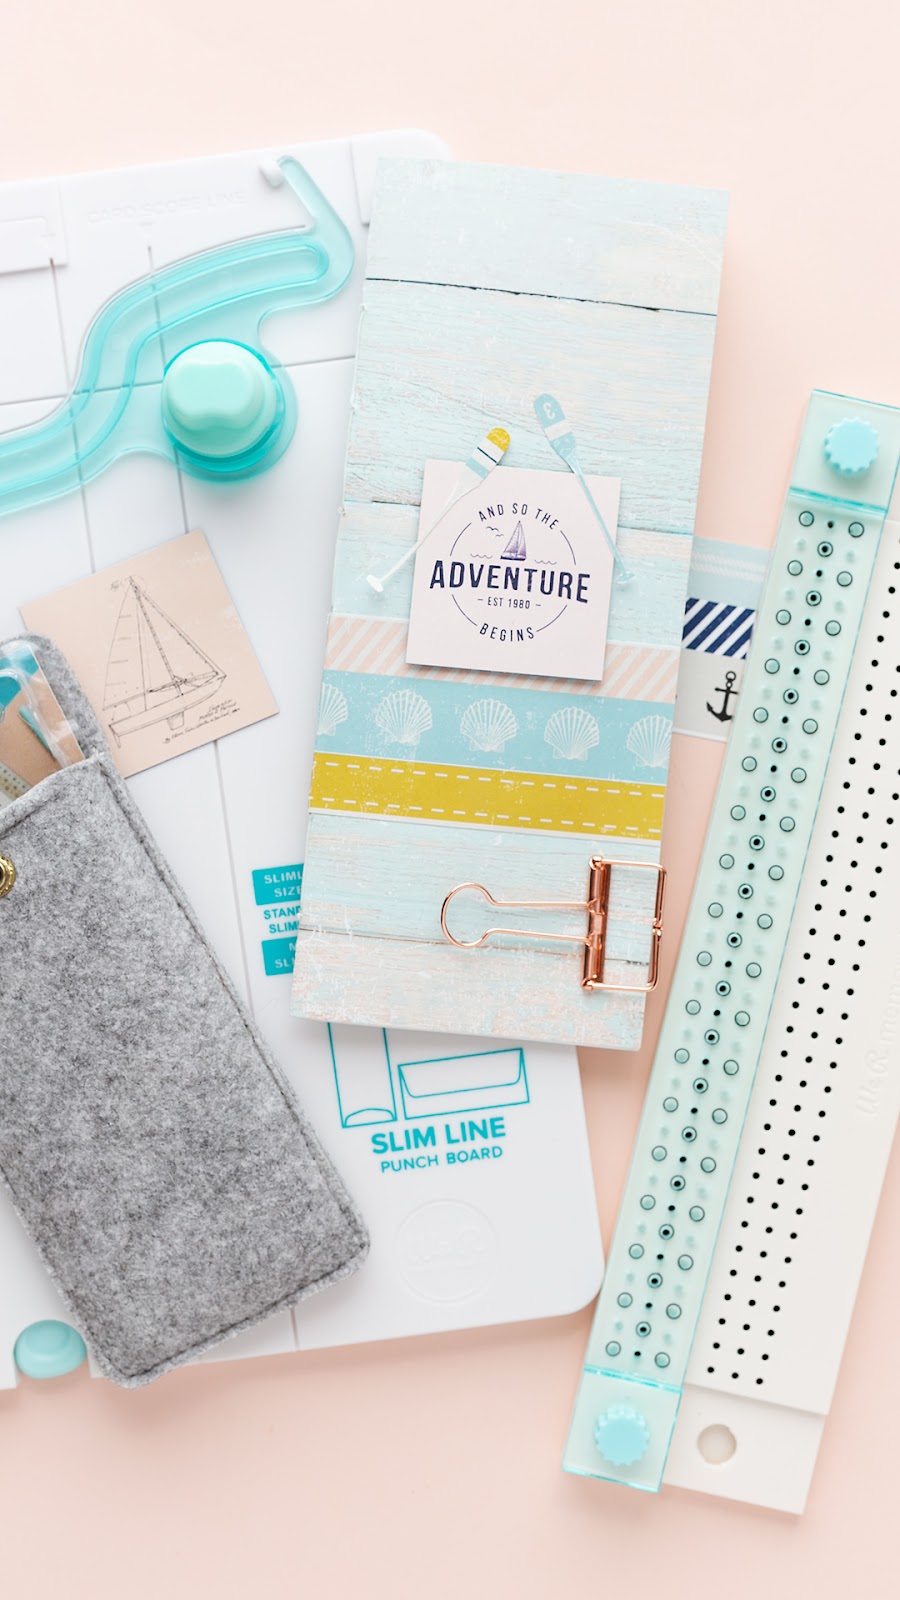
Summer is near and it's time to start preparing ways to document our travel adventures. I went for a slim travel journal with a few embellishments and a lot of room for photos and journaling. To make the journal, I used the Slim Line Punch Board and the Bookbinding Guide - both from We R Makers.

The Slim Line Punch Board let's you not only create cards with coordinating envelopes, it's also great for journals. Follow the instructions that come with the punch board to cut and score patterned papers. I used some of the wonderful and pretty papers from Heidi Swapp's Set Sail Collection. The patterned papers are perfect for any summer papercrafting projects. I really like the designs and colors. The embellishments are great too. By the way, the collection also comes with pretty blank notebooks - giving you enough room for journaling and taking notes. But now onto today's travel journal. I recorded a video to show you how I created the mini book. Enjoy watching - you can find the link further down.


And now please watch my video:


Thank you for stopping by today. Are you going to make a travel journal this year? See you next time here on mojosanti. Xoxo, Sandra

American Crafts | Pretty cards with stencils and acrylic paint | Gingham Garden

Pretty Cards with stencils and acrylic paint and the Gingham Garden Collection by Crate Paper American Crafts

American Crafts | Pretty cards with stencils and acrylic paint | Gingham Garden

Welcome to a fresh post here on mojosanti. I used stencils from the Gingham Garden Collection and acrylic paint from my stash to decorate blank white card bases. Just place the stencils on your card base, apply the paint with a brush and then add stickers to finish your card designs. As a nice detail, I added fringes to one of the cards with fringe scissors. This is a nice and easy technique to add a special twist to your cards. Let's have a look at the designs. And make sure to watch the short video to see how it's done.


Please watch my video to see more:


Thank you for stopping by today. Have you used fringe scissors on any of your projetcs? If not, why not give it a try? See you next time here on mojosanti. Xoxo, Sandra

We R Makers | Scrapbook Layout with the Rotating Cutting Mat

We R Makers | Scrapbook Layout with the Rotating Cutting Mat

[Ad] We R Makers | Scrapbook Layout with the Rotating Cutting Mat

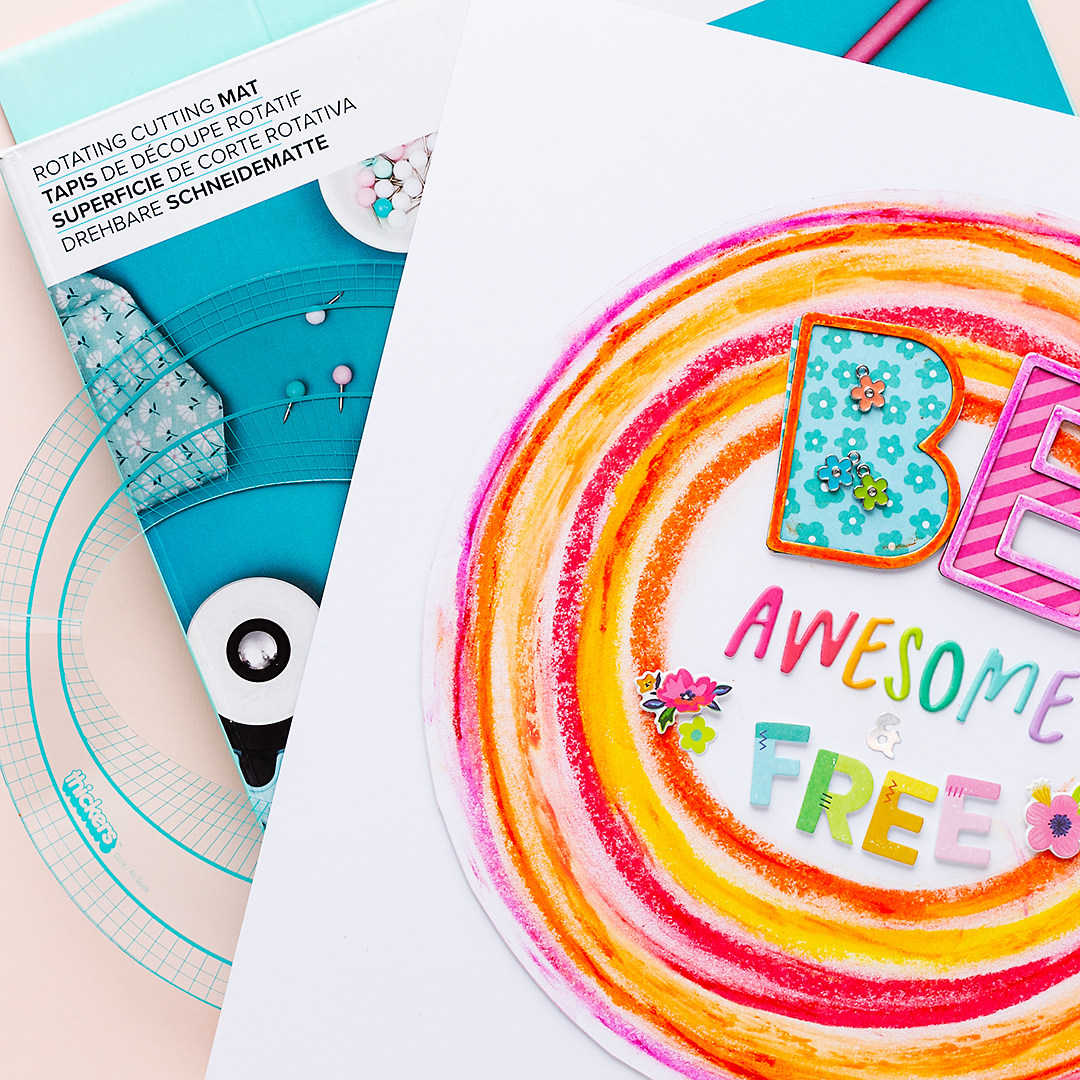
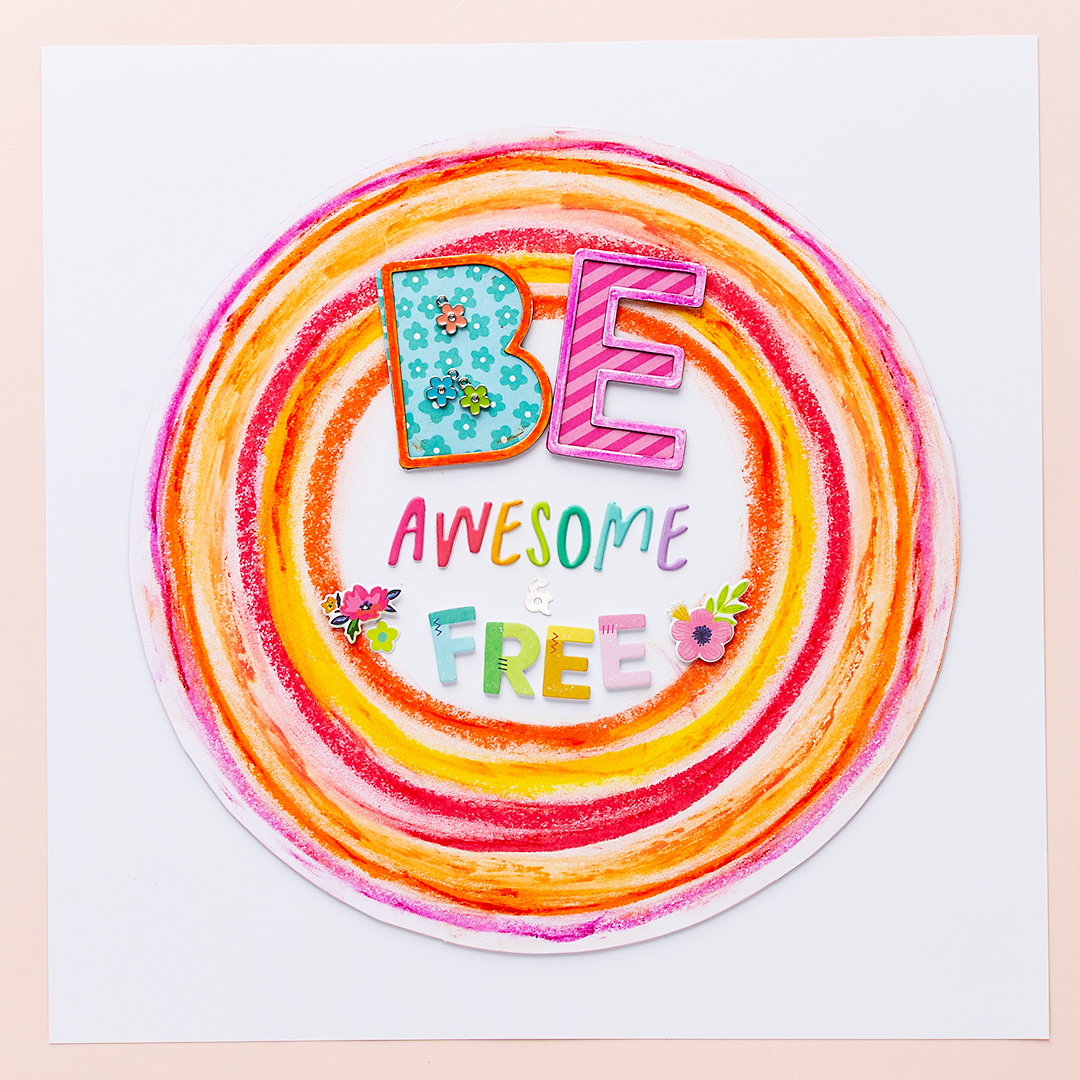
Today I'm sharing a colorful motivational scrapbook layout inspiration along with directions and some tips for creating today's layout. The Rotating Cutting Mat is not only perfect to cut paper. It's also a very helpful tool to draw circles with crayons! Let's check out the project:


DIRECTIONS:

  1. Cut a circle from white cardstock. It should fit onto the rotating cutting mat.
  2. Place the paper on the mat, grab an art crayon and gently press it down to the paper. Then rotate the cutting mat. This will help you draw nice round circles.
  3. Decorate the layout with the die-cuts alpha stickers.


TIPS:

  • Fixate the back of the round paper to the cutting mat with non-permanent tape. This will keep the paper in place while you rotate the cutting mat.
  • Use a kitchen roll, place it gently onto the crayon lines and then rotate the cutting mat. This will blur the lines and smooth out the colors.


SUPPLIES & TOOLS:

  • We R Makers Rotating Cutting Mat
  • American Crafts Blooming Wild Paige Evans Die-Cuts Alpha Shapes
  • American Crafts Vicki Boutin Art Crayons

Thank you for stopping by today. Have you used the Rotating Cutting Mat yet? Please check out my other scrapbook layouts here on my blog. Have a wonderful day! Xoxo, Sandra ♥