Citrus Twist Guest Designer | Scrapbook Page based on a sketch


Scrapbook Page Based On A Sketch


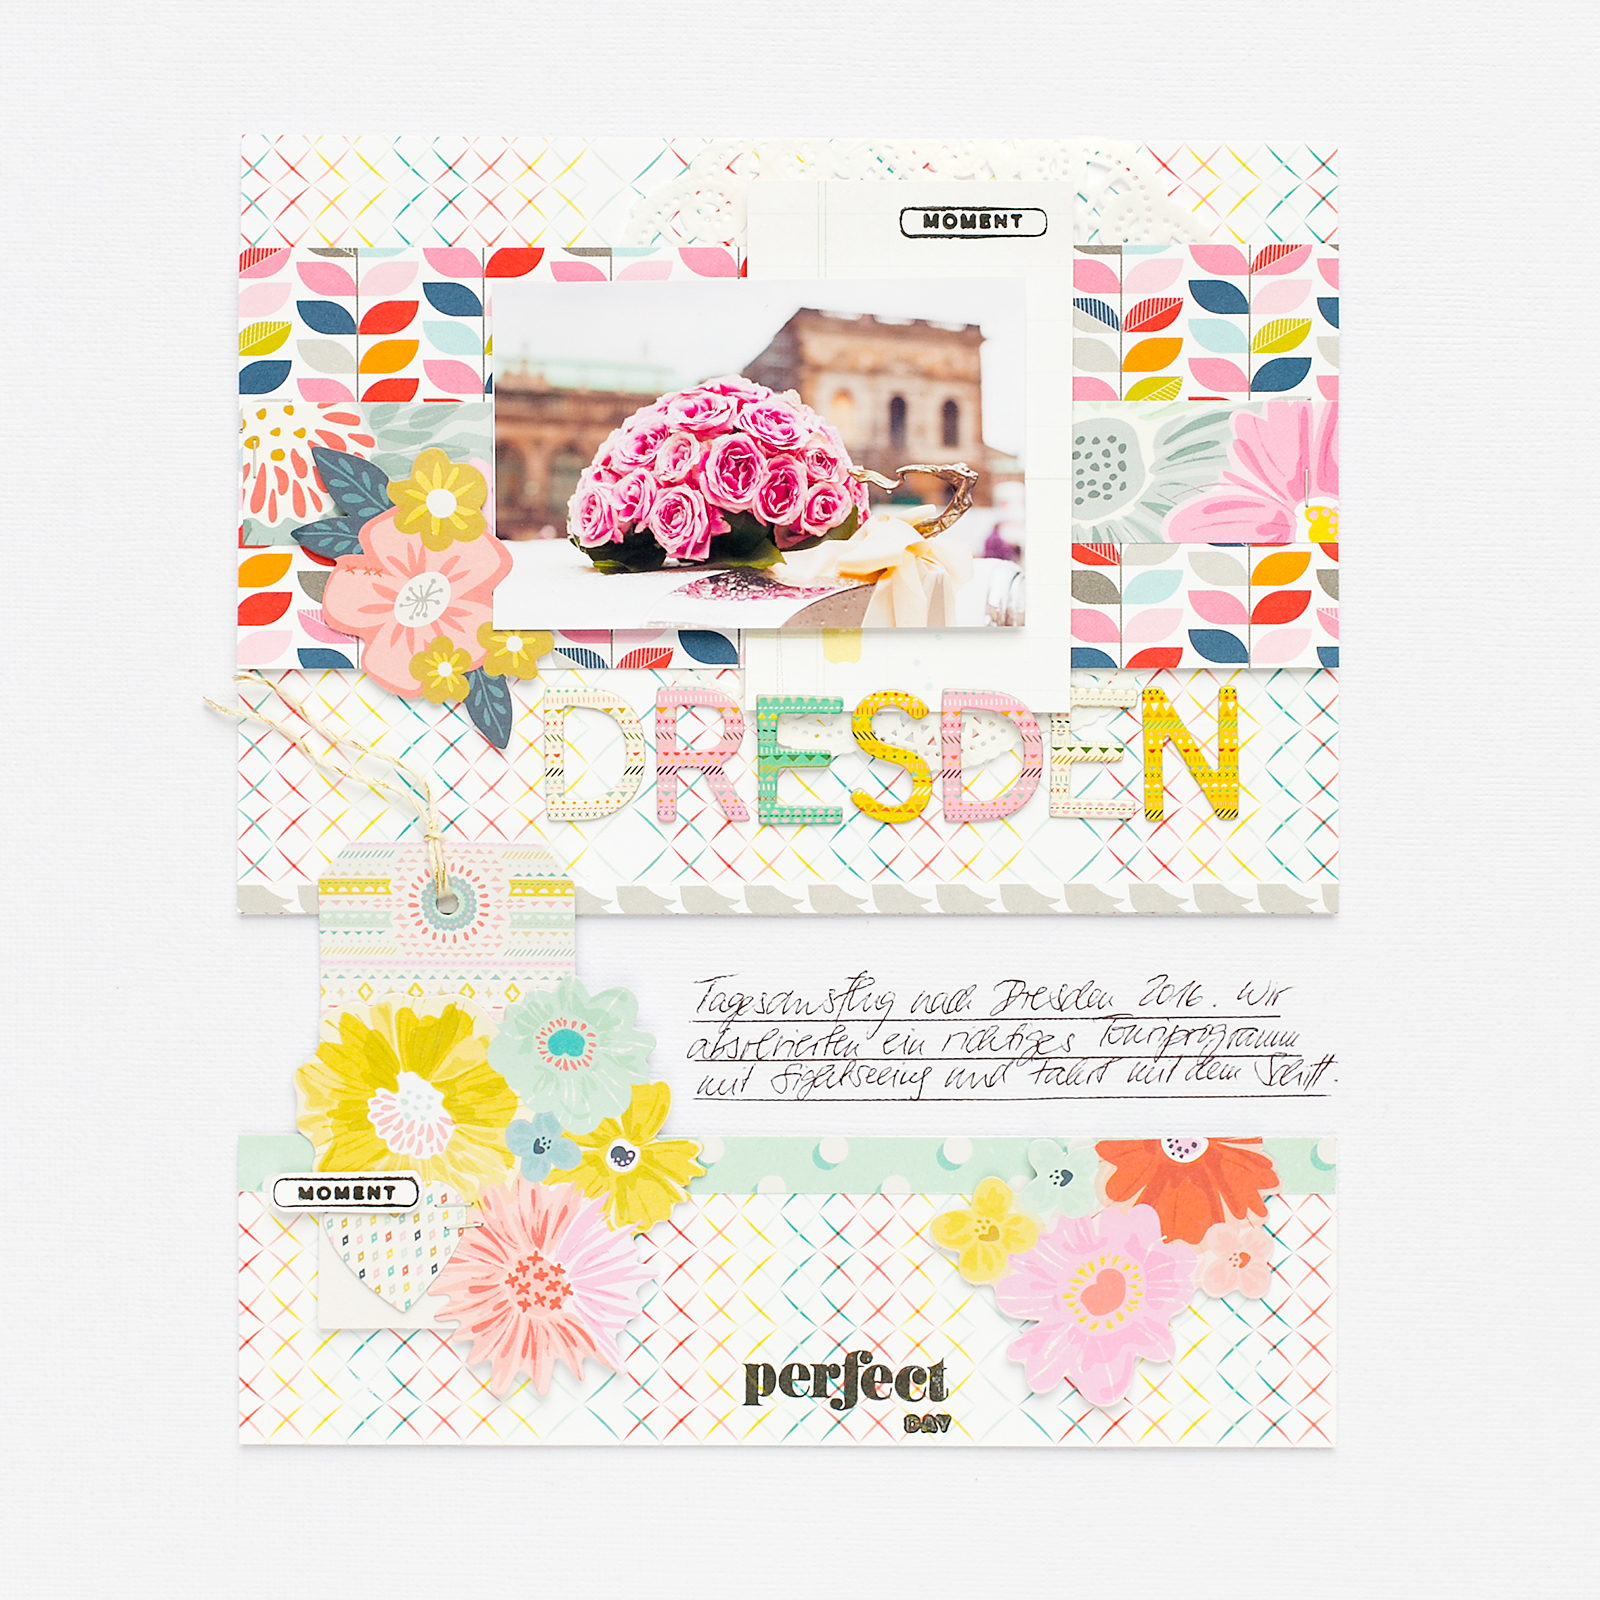
I'm sharing a scrapbook page based on the October Sketch from Citrus Twist Kits. I hardly ever use sketches. I know this might sound strange to many of you. But I prefer to come up with my own ideas. However, it's part of the Guest Designer work for Citrus Twist Kits to create a layout based on a sketch. And that's what I did. Here is my interpretation of the October Sketch. You can find out more on the Citrus Twist Kits Blog too. Thank you for stopping by. Have a good day, yours Sandra.


Scrapbook Layout frei nach einem Sketch


Auf dem Blog von Citrus Twist Kits zeige ich heute ein Layout, welches auf der Grundlage des Oktober-Sketches von Citrus Twist Kits entstand. Ich bin kein Fan von Sketches, denn nach Vorgaben oder Vorlagen zu scrappen, das liegt mir nicht und ich mache das auch äußerst selten, eigentlich nie. Für das Guest Design bei Citrus Twist Kits habe ich es jedoch getan. Und hier ist meine Umsetzung des Oktober-Sketches. Danke für's Vorbeischauen. Liebe Grüße von eurer Sandra.


October Sketch from Citrus Twist Kits


Crate Paper | Decorated Paper Notebook


Decorated Paper Notebook

You've got a thing for decorated handmade notebooks?! I'm sharing a cute clean & simple do-it-yourself inspiration on the Crate Paper Blog and on my blog today. You can read more about the making-of further down.


Dekoriertes Notizbuch mit Ringbindung

Ein Notizbuch mit Ringbindung ist superschnell gemacht. Dazu werden Blanko-Papiere auf die gewünschte Größe zugeschnitten, gelocht und mit Buchringen verbunden. Und hübsch dekoriert macht es nochmal so viel Spaß, Fotos einzukleben und Sprüche oder Ziele darin zu notieren. Auf dem Blog von Crate Paper und hier auf meinem Blog zeige ich euch ein selbstgemachtes Notizbuch mit Ringbindung. Vielen Dank für's Vorbeischauen. Habt einen schönen Tag, eure Sandra.


Detail Shots

Let's have a look at some photos of the decorated notebook. I used embellishments from different Crate Paper Collections. For the cover, I used a clear plastic sheet. I attached a sticker garland, thickers and some bakers twine onto the cover. On the paper underneath, I added stitched details and a ruffled crepe paper border at the top.


Making the decorated notebook is easy-peasy:

  • Cut white cardstock to the desired size (for instance 4 x 6 inches).
  • Punch holes on the left side with a hole punch (for instance Crop-A-Dile).
  • Bind the pages with (pink) ring binders.
  • Decorate the pages with your favourite embellishments from Crate Paper.
  • Add a see-through window with sequins inside and stickers outside. You can use a steel ruler and a cutter knife to cut the window by hand. Or you could use a frame die to cut the window.
  • Add some quotes, notes and goals you want to achieve. 
  • Add your favourite photos (for instance sized 4 x 6 inches to fill an entire page).
  • Done :).


@SandraDietrich for @CratePaper Decorated Notebook Detail


@SandraDietrich for @CratePaper Decorated Notebook Cover


@SandraDietrich for @CratePaper Decorated Notebook Page Spread


@SandraDietrich for @CratePaper Decorated Notebook Lovely Details


@SandraDietrich for @CratePaper Decorated Notebook Fireworks


@SandraDietrich for @CratePaper Decorated Notebook See-Through Window


@SandraDietrich for @CratePaper Decorated Notebook Call Someone


@SandraDietrich for @CratePaper Decorated Notebook Main Thing


@SandraDietrich for @CratePaper Decorated Notebook Detail Bow


Thank you for stopping by today. If you've got the time, please hop on over to the CP Blog too. Have a wonderful day, yours Sandra.


Altenew | Handmade Gift Pocket


Handmade Gift Pocket

"It's the little thoughtful things that make life sweet". Let your friends know you're thinking of them. Bring joy to their everyday lifes by giving a little gift. Show some affirmation that you're happy your friends are in your life. And a tea bag in a handmade pocket will surely make their day. It will show them that you care. I've got a nice do-it-yourself inspiration on the Altenew Scrapbook Blog and on my blog today: A stamped and sewn pocket that holds a handmade gift tag and a tea bag. Find out more here. Thanks for stopping by. Have a wonderful day, yours Sandra.


DIY Papiertasche für Teebeutelgeschenk

Auf dem Scrapbook Blog von Altenew zeige ich euch heute eine Inspiration zur Gestaltung einer Papiertasche für ein Teebeutelgeschenk. Schaut gern auch dort vorbei. Herzliche Grüße von eurer Sandra.


Citrus Twist Kits Guest Designer | Scrapbook Page


Guest Designer for Citrus Twist Kits


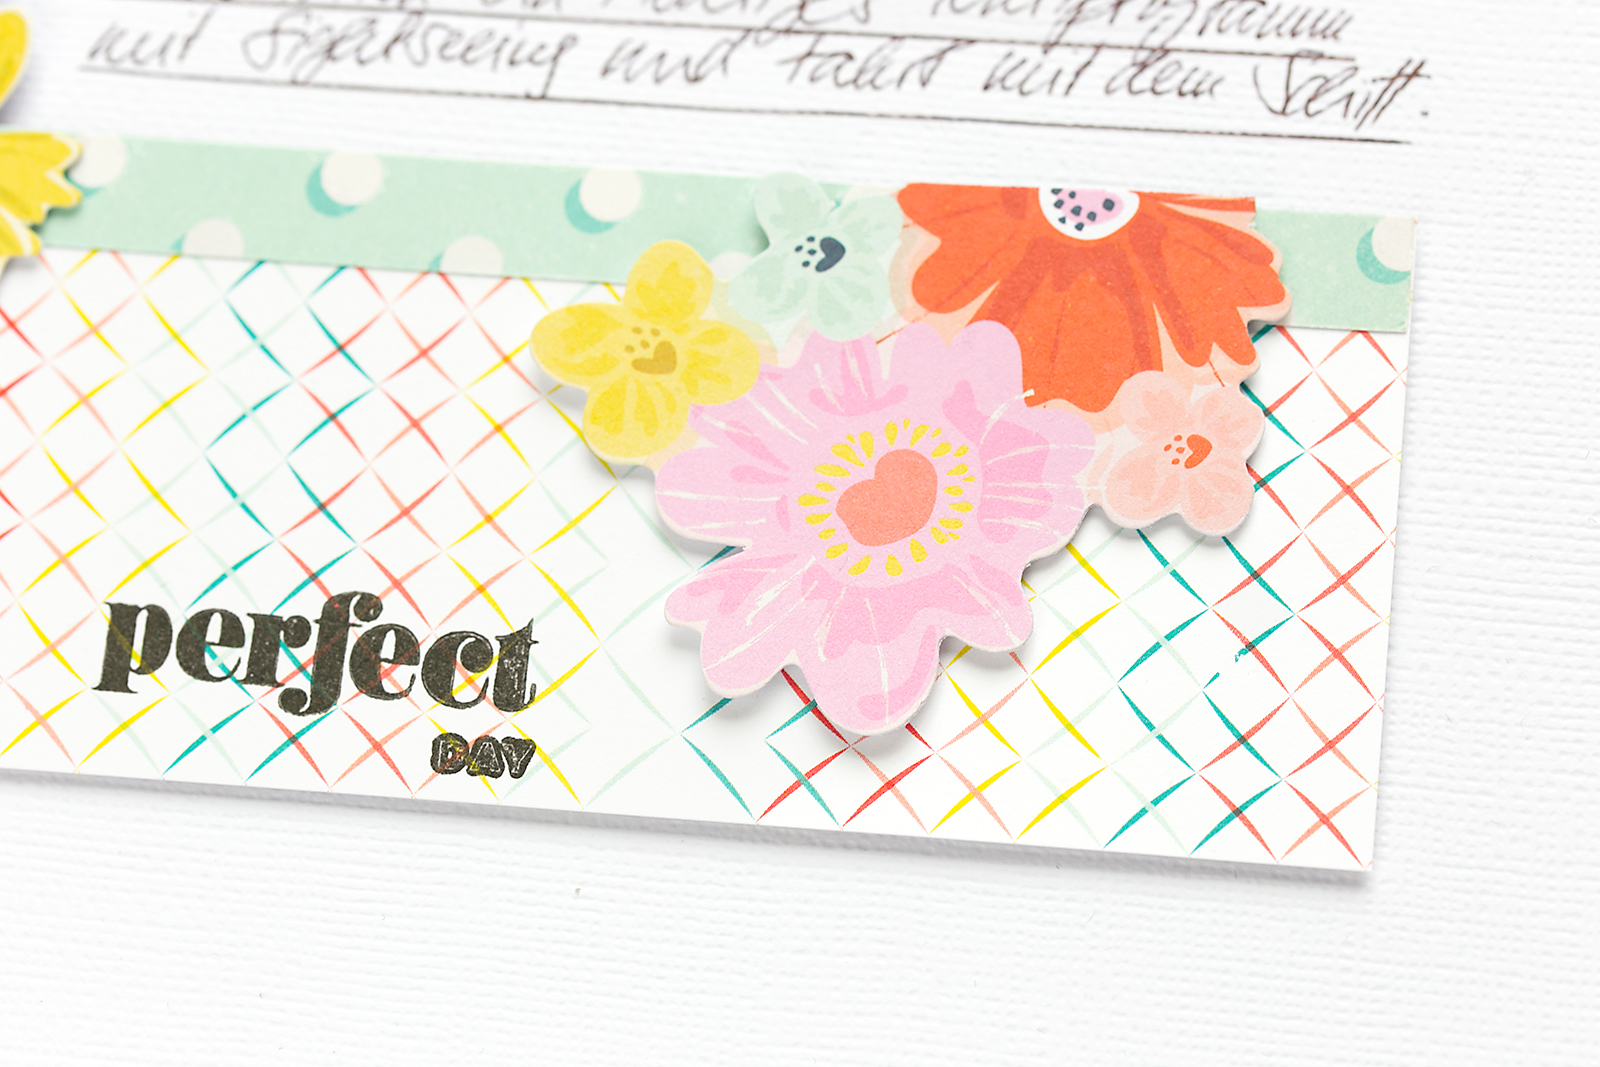
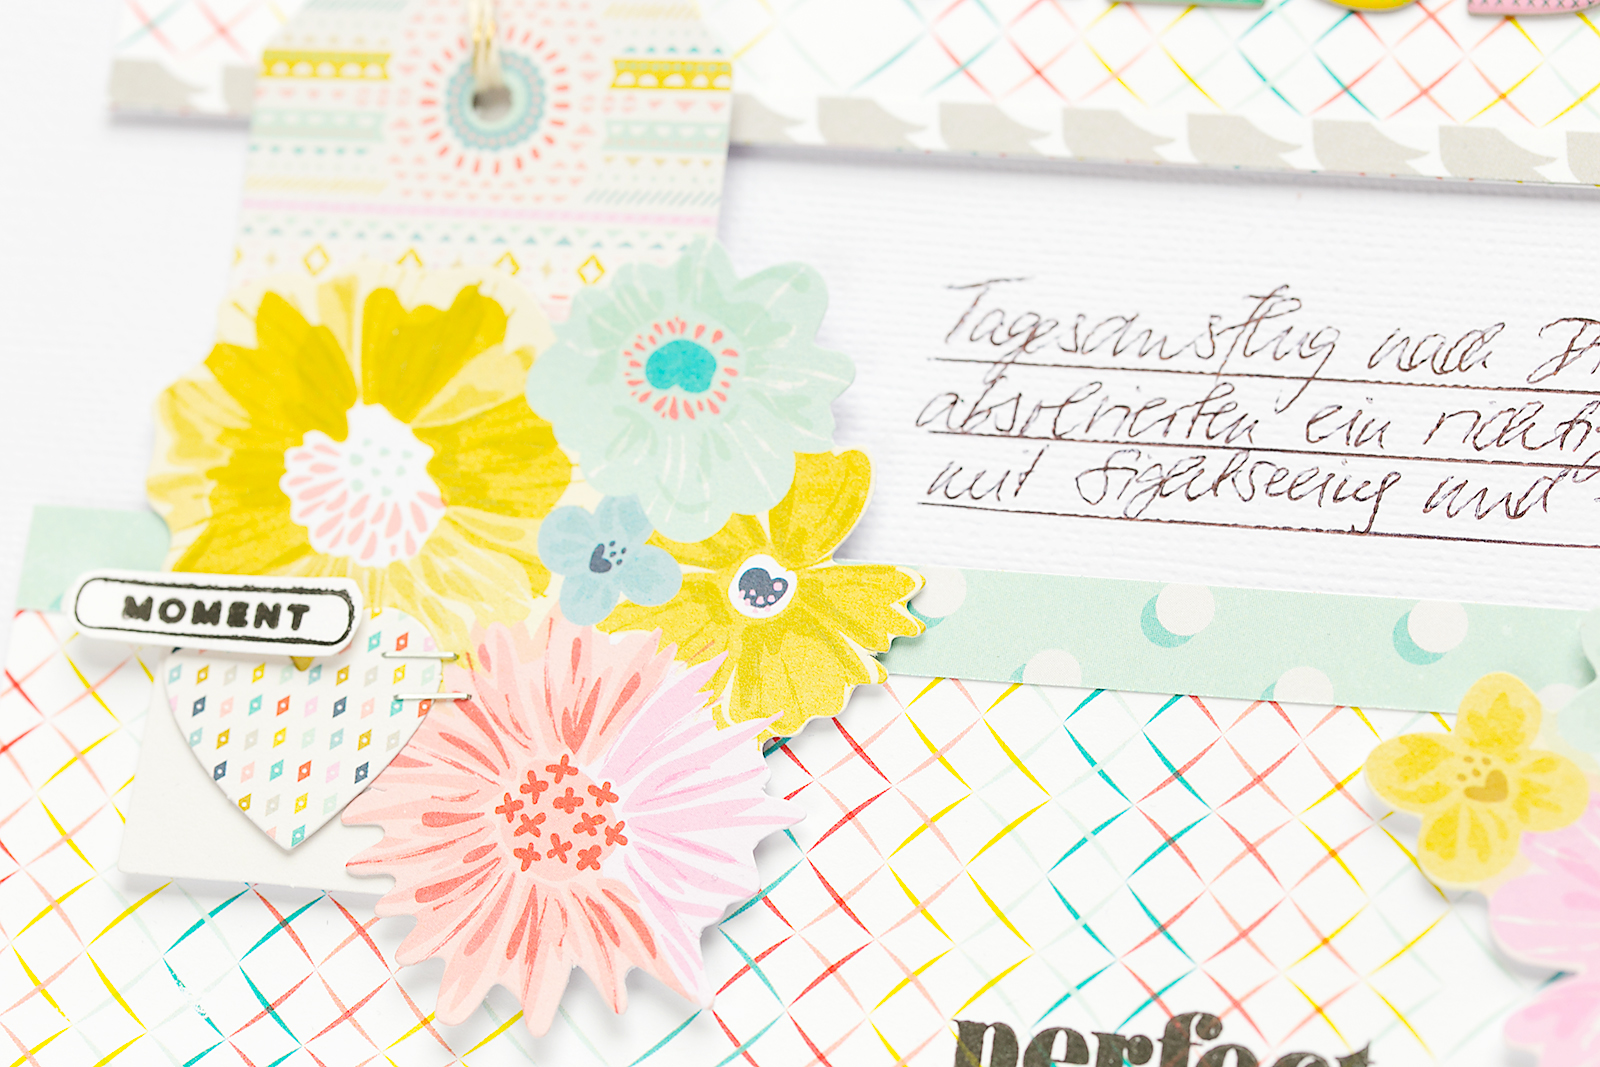
I'm guest designer for Citrus Twists Kits this month. Thank you Trina for having me :). I'm always thankful when I get asked to create with kits and contribute inspiration for how to use materials and supplies for scrapbooking. Today I would like to share a floral scrapbook page that I created with a beautiful patterned paper designed by Paige Taylor Evans. It's from the Turn the Page Collection and it comes with the October Scrapbook Kit from Citrus Twist Kits. If you want to, please head on over and check out the Citrus Twist Kits Blog to find out more. You can find step-by-step instructions for the layout further down here on my blog. Please scroll down for the instructions. Thank you for stopping by. Have a wonderful day, yours Sandra.


Guest Designer für Citrus Twist Kits

Im Oktober bin ich Guest Designer für Citrus Twist Kits, ein US-amerikanischer Anbieter für Monatskits. Mit dem Oktober Scrapbook-Kit gestaltete ich drei Projekte. Eines davon, ein Layout, möchte ich euch heute gern zeigen. Für den Hintergrund verwendete ich ein wunderhübsches blumiges Papier aus der Kollektion 'Turn the Page' von Designerin Paige Taylor Evans. Das Papier ist im Oktober Scrapbook-Kit von Citrus Twist enthalten. Ein kleines Highlight auf dem Layout ist das blaue Schleifenband. Das Kit war in weißes Seidenpapier eingehüllt und mit dem blauen Satin-Band umwickelt. Das Layout ist sehr minimalistisch. Das Hintergrundpapier 'übernimmt' sozusagen die gestalterische Arbeit. Eine Blüte, ein farbenfroher Rahmen für das Foto, ein kleiner Stern, ein gestempeltes Wort für den Titel sowie handgeschriebenes Journaling runden das Layout ab. Ich mag dieses Layout sehr. Ich hoffe, es gefällt euch ebenfalls. Danke für's Schauen. Liebe Grüße von eurer Sandra.


Step-by-Step Scrapbook Page

Are you interested in finding out how I made this simple layout?! Here are the step-by-step instructions. I hope you enjoy today's tutorial.


  • Cut the paper to size 8,5 x 11 inches.
  • Wrap the ribbon around the paper and tie a knot.


  • Use the stamp sweet from the kit and stamp it onto white cardstock.
  • Cut the stamped title with your scissors and adhere it to the bow with foam pads.


  • Attach your photo to the background paper with foam pads and add a colorful frame onto the photo.


  • Place the flower next to the photo and attach it with foam pads.
  • Glue down the star onto the ribbon.
  • Add some handwritten journaling to your layout.
  • DONE :).


Adding just the right amount of details and embellishments can make your scrapbook pages special. Often, less is more. A single eye-catcher like a bow or a carefully placed flower can make all the difference.