We R Memory Keepers | Create Cute Gifts with the Button Press


WRMK Button Press Make cute gifts


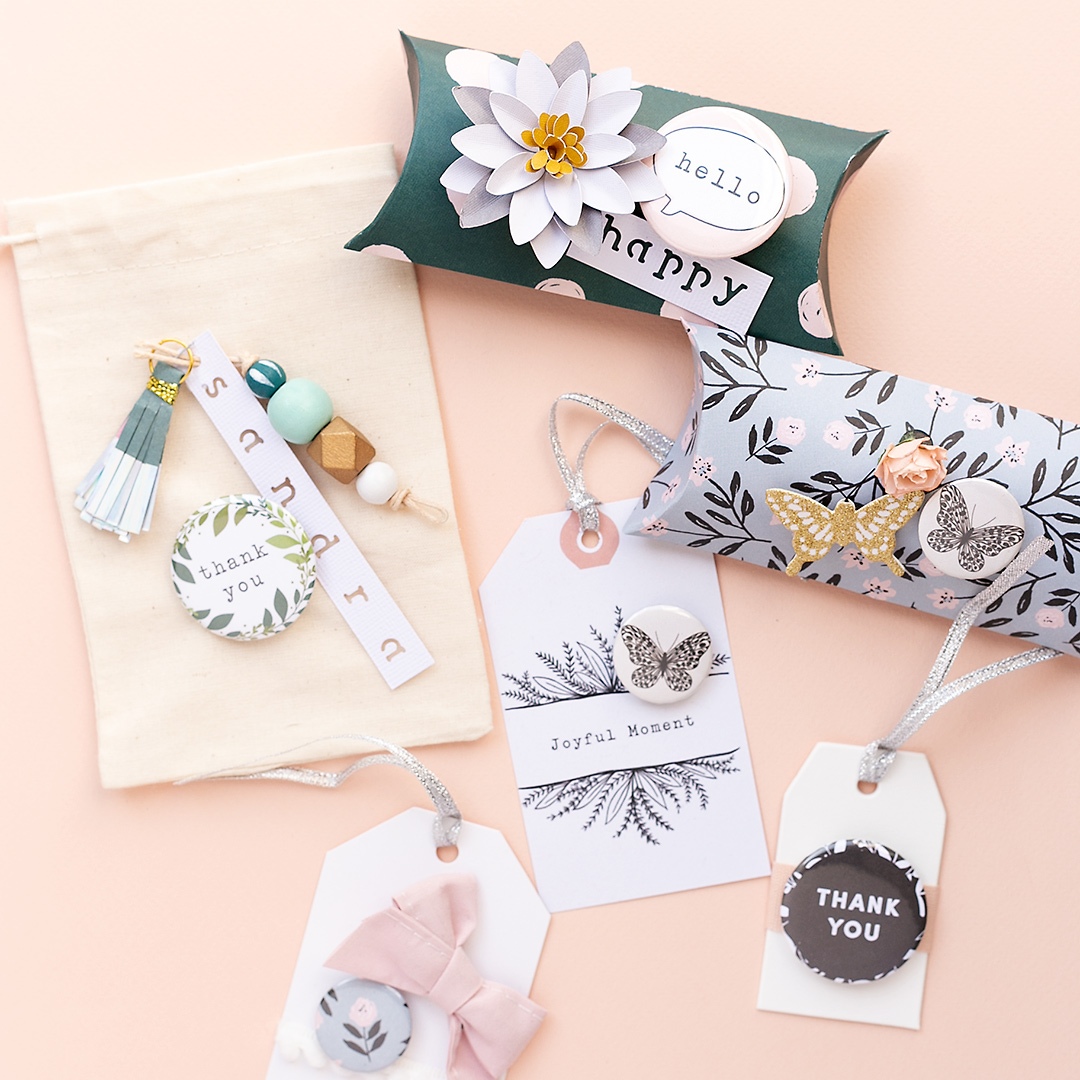
Today I'm sharing cute gift ideas with the Button Press. Whether you want to create gift boxes, gift tags, handmade notebooks or pillow boxes. This post will help you to make great gifts and add that little something to make your paper creations shine. Join me in my latest video on a creative adventure that starts with picking a design and ends with creating adorable gifts for friends, family, and yourself. Please find the video link at the end of this post.


Today's projects:

  • two cute Fall-themed pillow boxes
  • a fun cotton gift bag
  • three clean and simple gift tags
  • a handmade notebook and a slip-in-pocket to store your favorite buttons and flairs
  • the most simple Halloween gift box


And here are my projects with the Button Press:


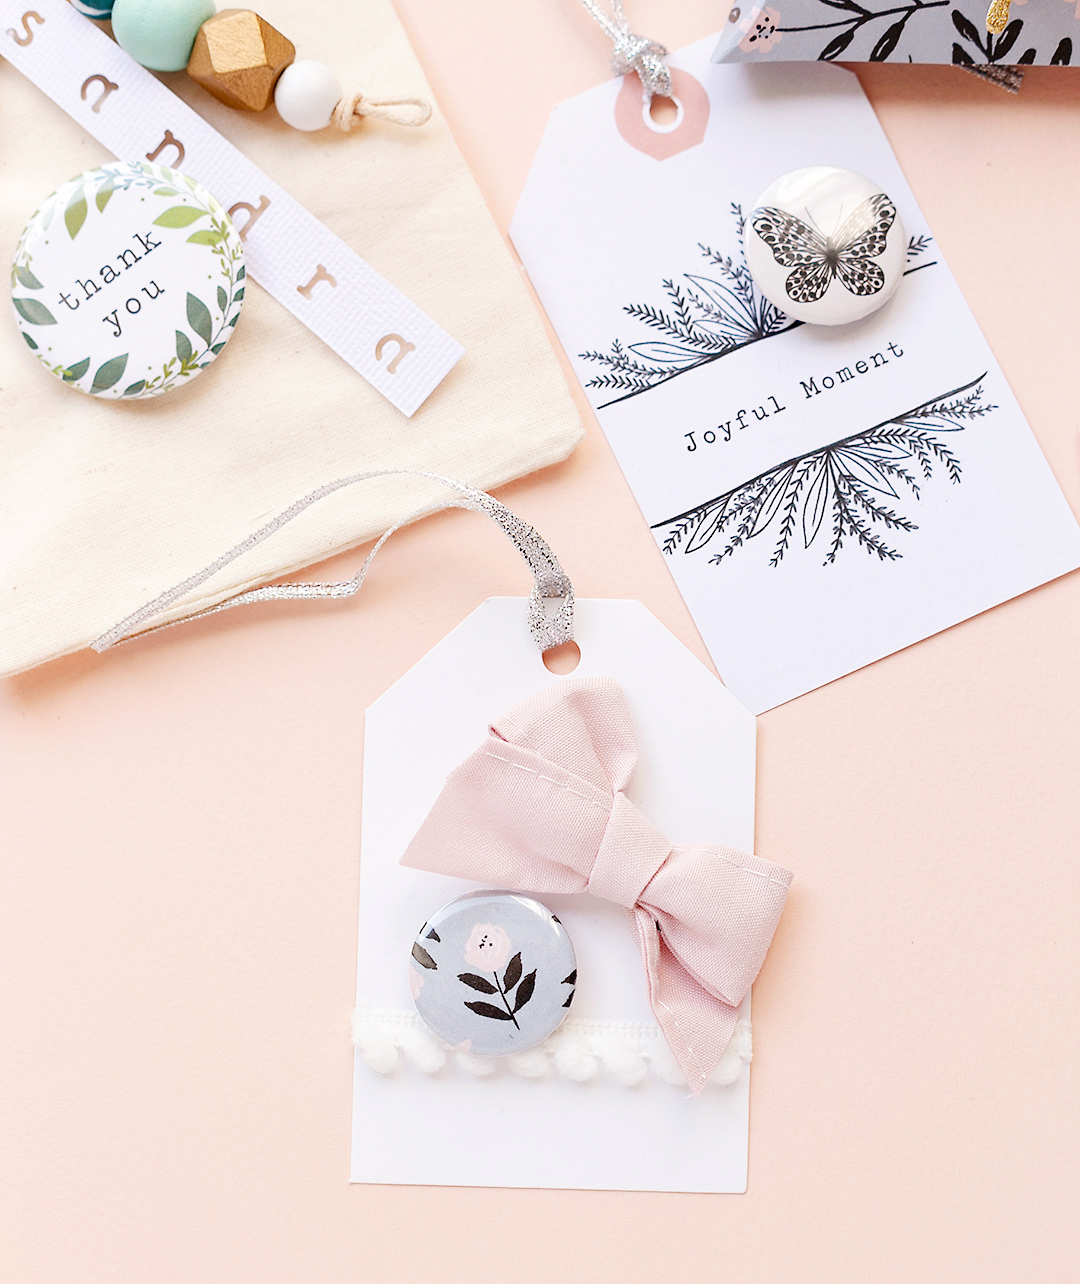
Gift Tag with Bow and flair Button Press


Supplies:


If you would like to see how to make these gifts, please watch my video on YouTube:


Projects by mojosanti with the Button Press


Thank you for stopping by today! And now hop on over to the WRMK Blog to find out more. Wishing you a lovely day, yours Sandra.


American Crafts | 4 Happy Cards with 'The Avenue' by Jen Hadfield


4 Happy Cards with The Avenue Collection


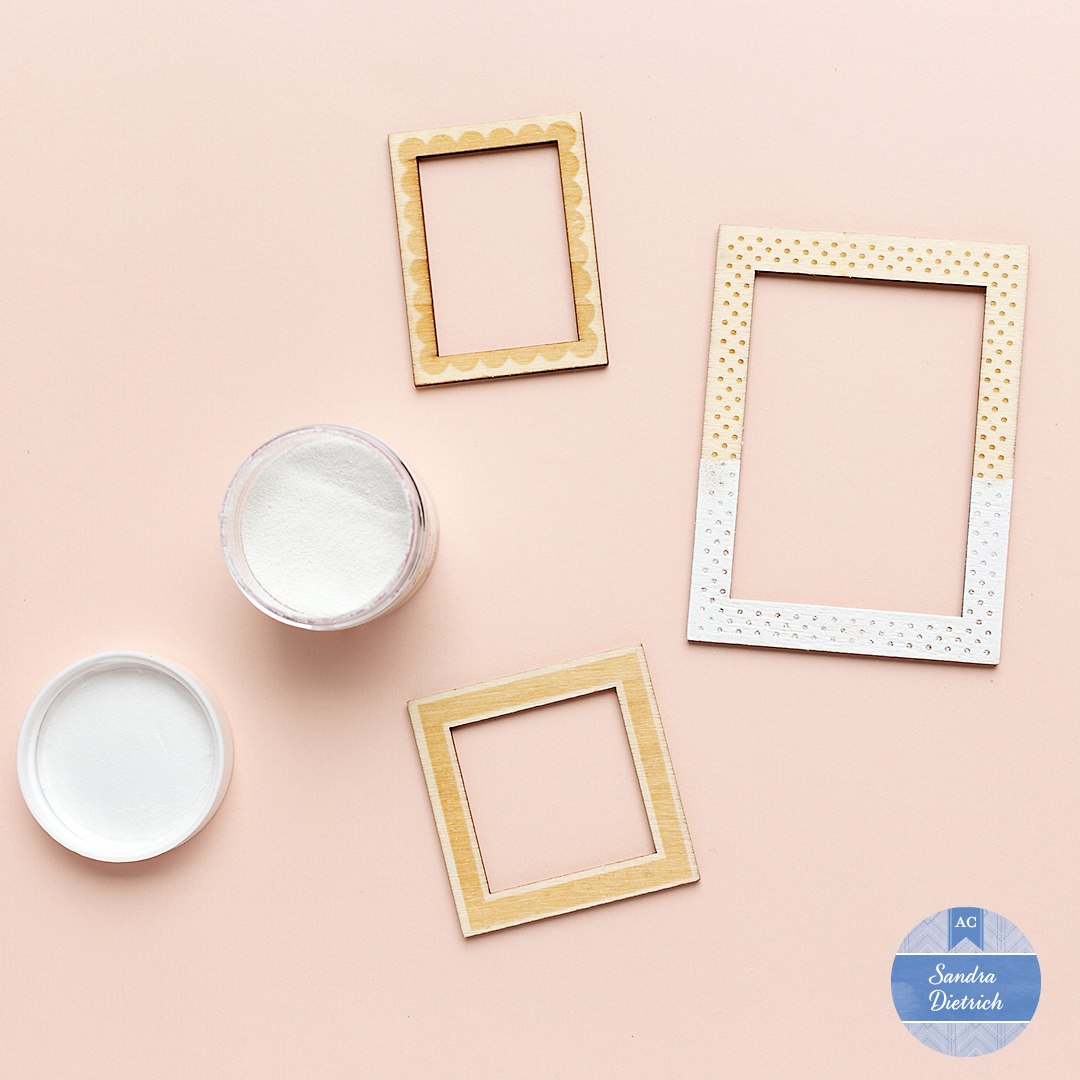
Welcome to a new post here on my blog featuring 4 Happy Cards with "The Avenue" Collection by Jen Hadfield. It's great to see you here! The cards I'm sharing today are great to send cute fall greetings to friends and family. One of the cards features a wooden frame. And I altered it with the heat embossing technique. I used white embossing powder and a heat gun to customize the frame embellishment.


Two Fall cards with The Avenue Collection

Card saying Happy created with scrapbook supplies


How to customize a wooden frame from "The Avenue" by Jen Hadfield: Attach washi-tape onto the wooden frame. Apply embossing powder. Next, use a heat gun tool to heat the powder. Enjoy your customized wooden frame :).


Heat embossing technique with powder and heat gun

Embossing powder and wooden frames Jen Hadfield

Card with a girl on a scooter Jen Hadfield The Avenue

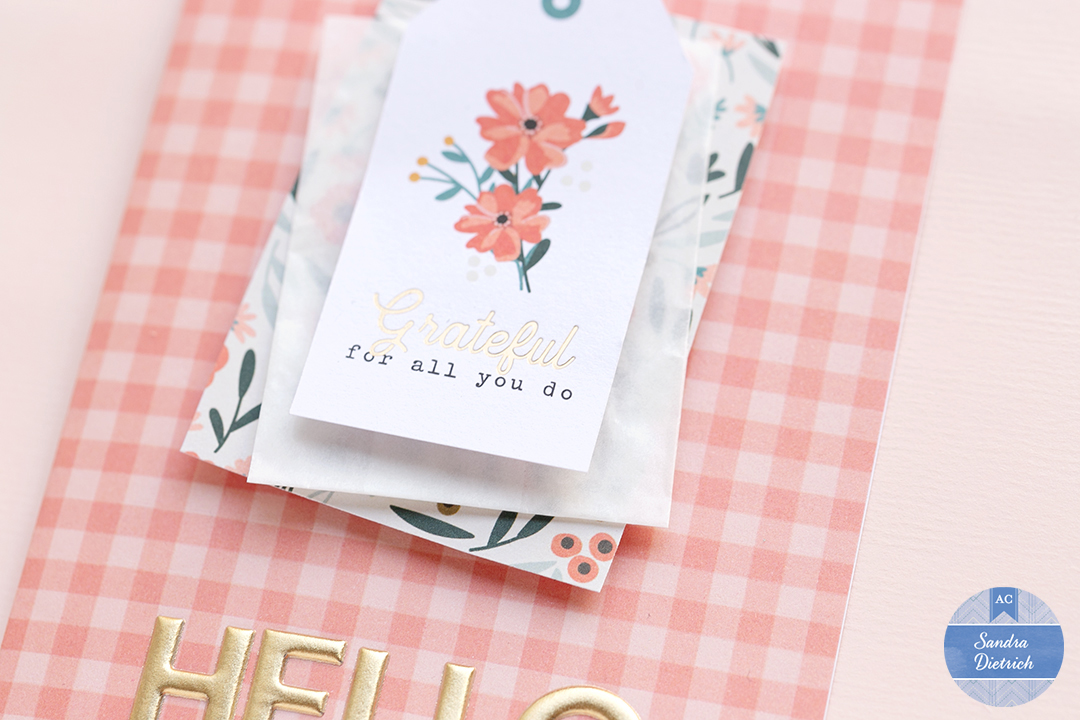
Grateful for all you do The Avenue embellishment

Hello Fall card with layered embellishment

Cute Thank you card with a squirrel and frame

Leather tag saying Thank you

Supplies: American Crafts | Pebbles | Jen Hadfield "The Avenue" Collection: 12 x 12 Paper Pad with Gold Foil Accents (736959), 6 x 8 Paper Pad with Gold Foil Accents (736958), 6 x 12 Cardstock Stickers with Gold Foil Accents (736960), Ephemera Icons (736963), Wood Veneers (736974), 12 x 12 Double Sided Paper Fifth Ave. (736946), Cardstock Sticker Book with Gold Foil Accents (736969), Thickers Phrase Puffy Gold Foil (736962), Stickers Puffy Phrase (736968), Embossed Faux Leather Tags (736971)


4 Happy Cards with 'The Avenue' Collection by Jen Hadfield


Thank you for stopping by. And now hop on over to the American Crafts Blog to find out more. Wishing you a wonderful day, yours Sandra.


American Crafts Storyteller | 2 Tips to create an awesome scrapbook layout


Welcome to a new blog post here on my blog. Today I want to share 2 tips to create an awesome scrapbook layout. The secret to make your layout awesome is to add something handmade to your project.

My 2 tips:

  1. Customize the background and
  2. add at least one handmade embellishment.


Before I go into detail, let's first have a look at the finished scrapbook page:


Tip 1: Customize the background. There are a lot of options. I used a stencil and embossing paste to create a nice texture and an eyecatcher on the scrapbook page. Some of the words will be covered later by the photo and embellishments. However, just knowing that you created the background yourself, will make your layout special :).


Tip 2: Create a handmade embellishment. I used an ordinary paper clip and added a washi-tape flag.


How to: paper clip with washi-tape flag. Grab a paper clip. Get a washi-tape spool. Place a strip of washi-tape onto the top of the clip. Glue the washi-tape strip as shown in the photo below. Cut to the desired shape. Done!


Add bold flower ephemera pieces onto the layout for a happy look & feel:


Supplies: American Crafts | Vicki Boutin 'Storyteller': Bohemian (34001326), Narrative (34001328), Sticker Book (34001341), Embellishments (34001342), Embellishments (34001343), Washi Tape Spools (34001345), Wild Soul Stencil (34001348)

Thank you for stopping by today. And now have a look at the post over on the American Crafts Blog to find out more. Wishing you a lovely day, yours Sandra.

WRMK | Embellishments and backgrounds for cards | Sticky Gel Mat


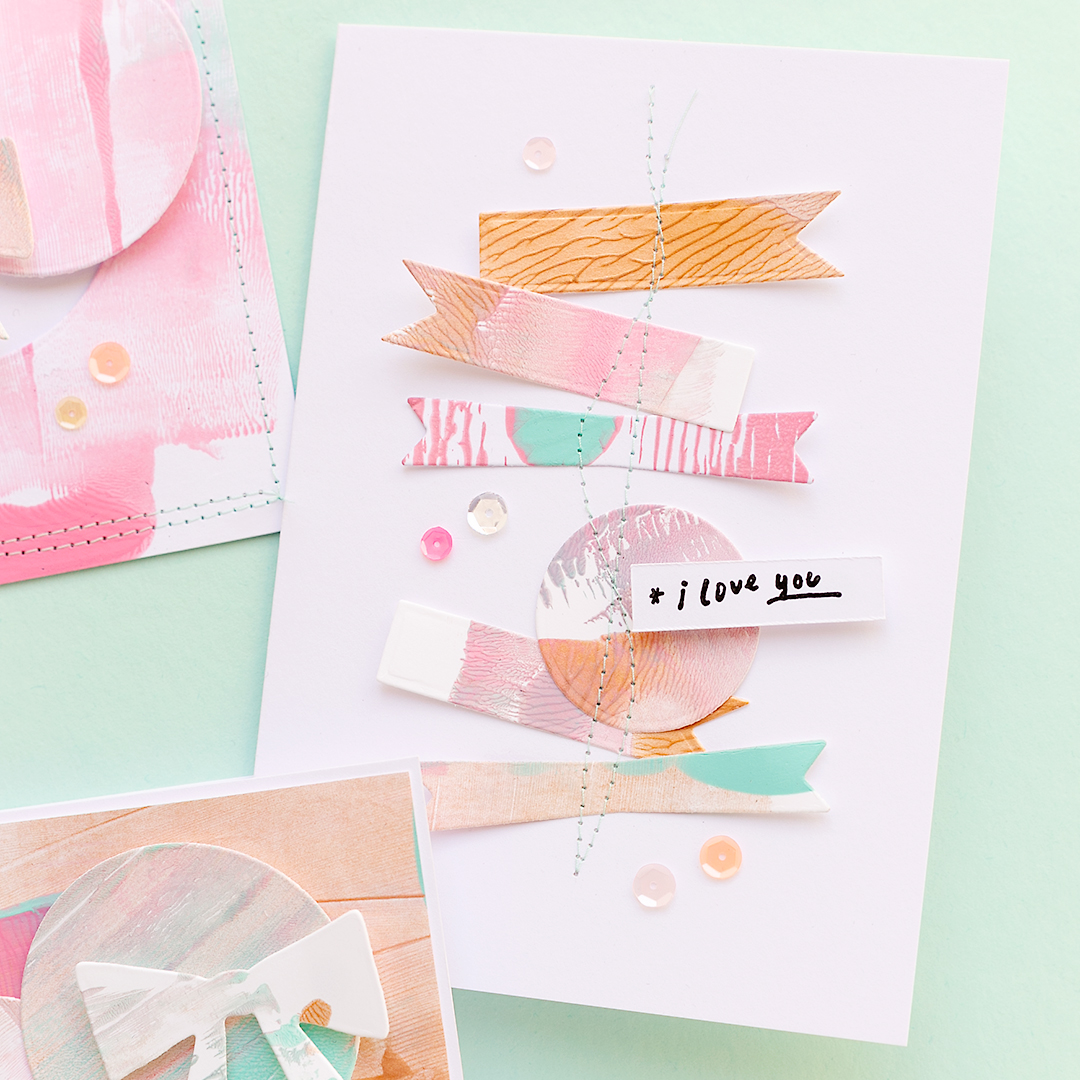
Welcome to a new post here on my blog. I'm glad you're here :). I tried the Sticky Gel Mat by We R Memory Keepers. And made fun backgrounds with acrylic paints by Maggie Holmes and Vicki Boutin. Please watch the short video tutorial. Find the link at the end of this post. Once I finished the backgrounds, I used a variety of dies and cut embellishments to decorate my cards.

Tipp: Use the following dies to create cute decorative elements ...

  • circles
  • bows
  • tags
  • and any other dies you love.
And add stitched details for even more fun!!!


And now watch the short video tutorial how to create backgrounds with the Sticky Gel Mat by We R Memory Keepers.
https://youtu.be/_tdAi9tpjZk
The video tutorial shows you how to use the Sticky Gel Mat by We R Memory Keepers with acrylic paints, brayer and white paper. Use fun color combinations like pink, light blue and rose gold. Either use the paper as the background for cards or create fun embellishments with dies and stamps. Have fun! Supplies you'll need: Sticky Gel Mat (WRMK), brayer, acrylic paints, toothpick, paper (and a variety of dies to create embellishments).


Thank you for stopping by today. I hope you feel inspired to create fun embellishments and backgrounds for cards with the Sticky Gel Mat. Wishing you a lovely day, yours Sandra.